views
- Fill a wine bottle with water and insert it upside down into the soil of your plant.
- Place a large jug of water near your plant pot, then insert one end of a length of twine into the jug and the other into the soil of your plant.
- Puncture holes in a plastic bottle, fill it with water, and bury it next to your outdoor plant.
- Wrap your entire plant in a plastic bag to create a mini greenhouse.
Glass Watering Bottle
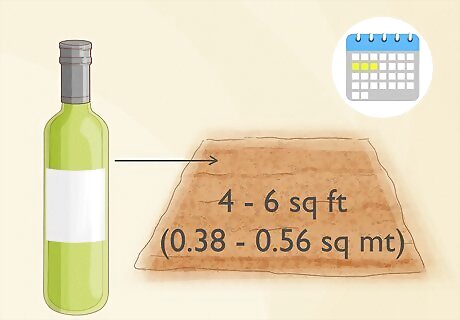
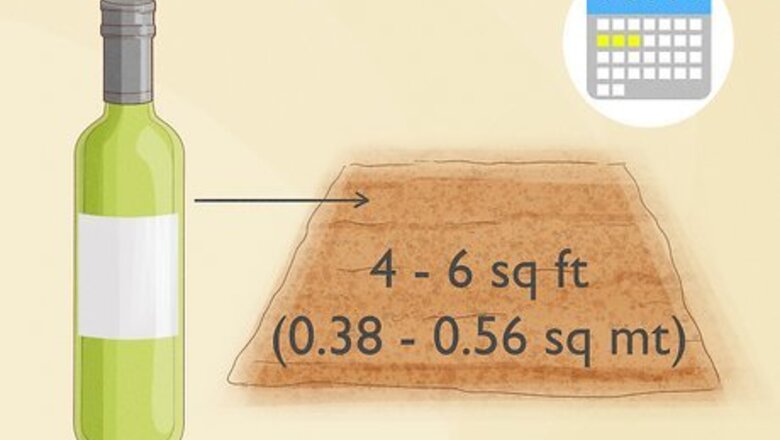
Get a glass bottle with a narrow neck. Using a wine bottle is ideal, because it will be large enough to water 4 to 6 square feet (0.38 to 0.56 square meters) for up to 3 days. If you don't need to water such a large area, you can use a smaller bottle, such as a soda or beer bottle. Alternatively, you can also use a store-bought watering globe or aqua globe.
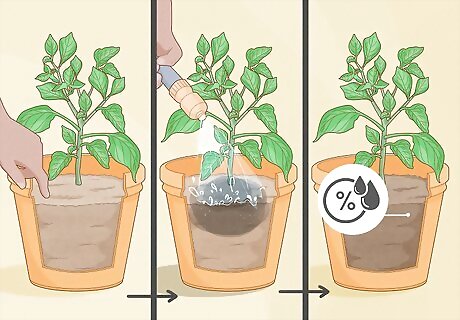
Saturate the plant’s soil with water. If the soil is dry, it’ll soak up all of the water that is in the bottle. Check if the soil is dry by sticking your finger into the topsoil. If it feels dry, water it now.
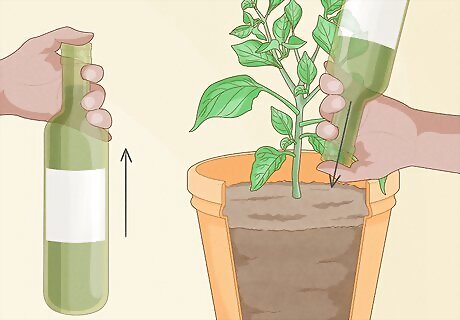
Fill the bottle with water and place your thumb over it. Use your thumb to completely cover the hole so that no water will drain out when you turn the bottle upside down. Then, position the bottle right next to the plant you want to water. At this time, you can also add liquid fertilizer to the bottle if you like.
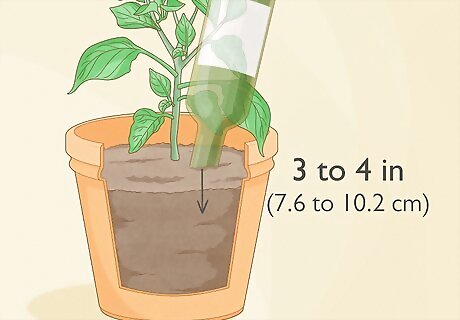
Turn the bottle upside down and push it 3 to 4 in (7.6 to 10.2 cm) into the soil. As you're pushing the neck into the soil, move your thumb out of the way. Make sure that the bottle's neck is several inches in the soil so the bottle will stay in place. It's okay if the bottle leans to the side, as long as it feels secure. Once the bottle is in the soil, the wet, compacted soil will prevent the water from draining out. When the soil dries, gaps appear between the clumps of soil, which lets in air. This air will push out some of the water from the bottle to water your plants.
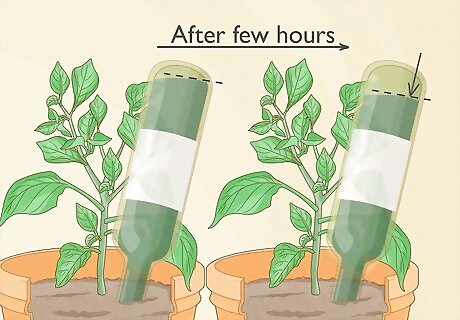
Mark the bottle to be sure the water is draining properly. Draw a line on the bottle with a marker or tape, right at the water level. Then, leave the bottle alone for at least a few hours. Check to make sure that the water level has lowered. If it has, your bottle is working well. If the water isn’t draining, soil might be clogging up the bottle opening. If this happens, punch a few holes in the lid that came with the bottle using a hammer and nail. Then, take the bottle out of the soil and clean it. Refill the bottle, put on the lid, and insert it into the soil again.
String Drip System
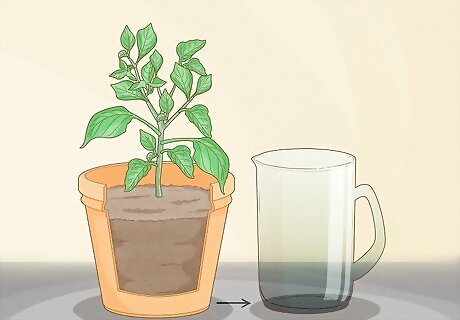
Place a 1 gallon (3.8 L) jug next to your plant. Position the jug so that it is out of direct sunlight so the water won’t evaporate too quickly. Don't fill the jug with water yet. Generally, a gallon of water will keep your plants watered for about a week. If you're only going for a few days and have a small plant, a mason jar will be big enough to keep it watered.
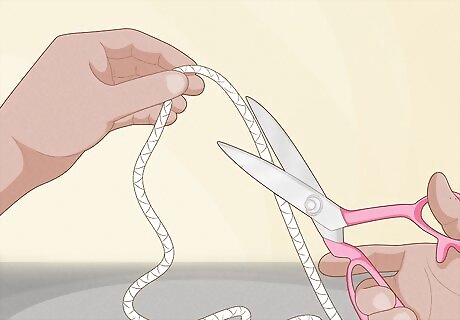
Cut a long piece of cotton or nylon twine. Measuring isn’t necessary, but make sure the twine is long enough to reach from the jug to the base of your plant. Cut one piece of string for each of your plants. If you have a lot of pieces of twine, tie a paperclip on each piece to keep them separated. If you can't find cotton or nylon twine, or if it is too thin, braid 3 strips of cotton fabric together, and use that instead. The string must be able to hold water. If it can't hold water, this method won't work.
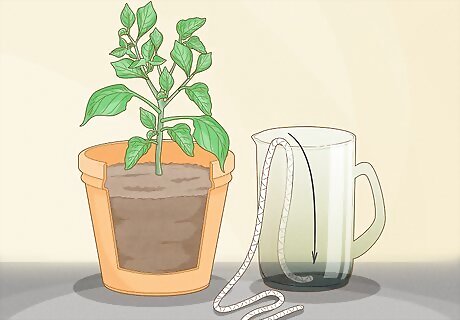
Place 1 end of the string inside the jug. Lower the twine until it’s completely submerged and the end of the string touches the bottom. This way, you won't run into the risk of the jug running out of water while you are away. If you tied paperclips on your twine, drop the paperclip into the water to hold the end of the string down.
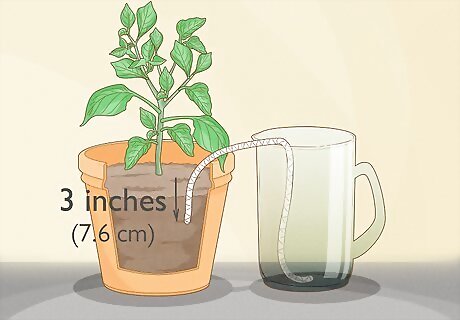
Poke the other end of the string about 3 inches (7.6 cm) into the soil. Make sure the string is out of direct sunlight. Partial sun is fine, but if there is too much sunlight, the string will dry out before it can get the water to the plant.
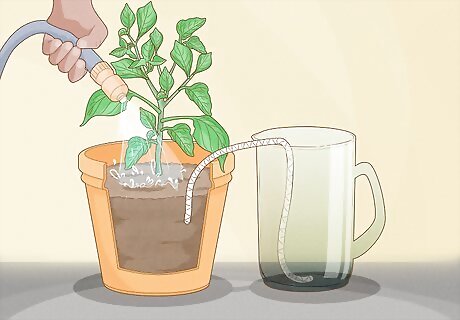
Saturate the soil before you fill the jug. If the soil is too dry, it will soak up all of the water from the jug before you leave on your trip. By the time you get back, there may not even be any water left in the jug. Water the soil before making the string drip system to avoid this issue.
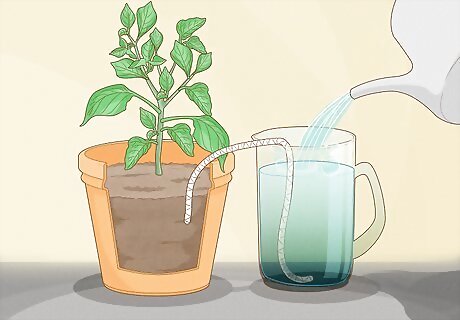
Fill the jug with water. Make sure the strings stay submerged. The twine needs to touch the bottom of the container so that it soaks up the water. If your plants need fertilizer, you can also add some liquid fertilizer into the water at this time.
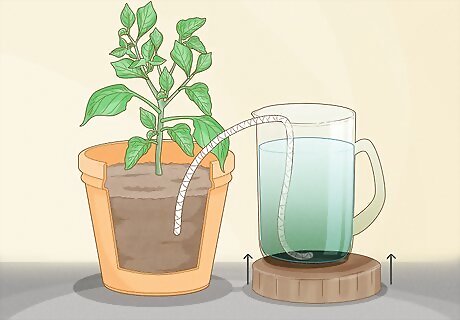
Position the mouth of the jug above the top of the plant. If your jug isn’t high enough, place it on a shelf, upturned pot, or a large book. Gravity will pull water from the jug down into your plant’s soil.
Bottle Drip Irrigation System
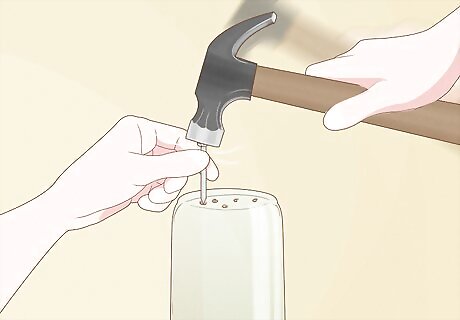
Poke 2 holes in the bottom of a 2 litres (2.1 US qt) bottle using a hammer and nails. Place the pointy end of the nail against the base of the bottle, then carefully bump it with the hammer. After the nail goes through the plastic, remove it and make the next hole. The water will flow out of the holes you put into the bottle to irrigate your plants. You can use a smaller bottle if your plant is very small.
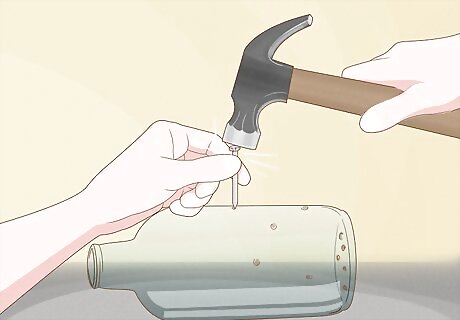
Add 3-5 holes to one side of the bottle. The bottle will water one plant, so you only need holes on the side of the bottle that faces that plant. Limit yourself to no more than 5 holes because too many will drain your water too quickly. It's better to start with too few holes than too many. You can always add more holes later if there aren't enough, but it will be difficult to cover up holes that are already there.
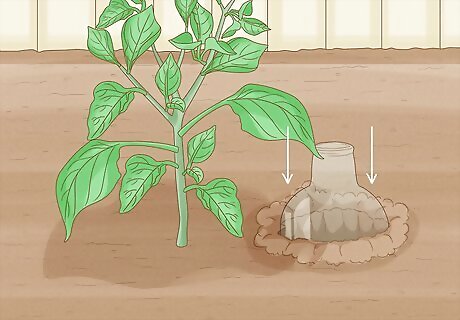
Bury the bottle in a hole next to the plant. Use a shovel to dig a hole that’s deep enough to cover the bottle up to the neck. Then, place the bottle in the hole with the holes you made facing the plant. Pack the dirt around the bottle to keep it stable. Make sure you don’t disturb your plant’s roots.
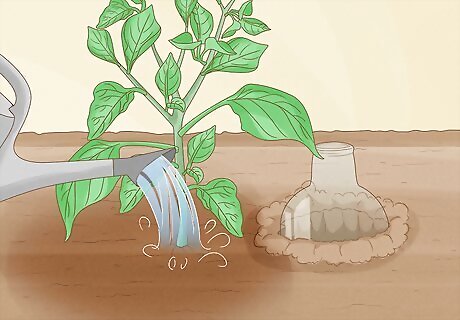
Dampen the soil so it won’t soak up all the water. If the soil is too dry, it will soak up all the water from your bottle before you even leave for your trip. Thoroughly water your plants before adding water to the bottle.
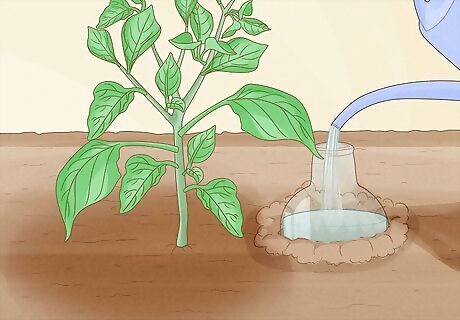
Fill the bottle with water. Use your water hose or a handheld container to pour fresh water into the irrigation bottle you just made. The water will slowly leak out from the holes. If you want to fertilize your plant, add it to the bottle after you fill it with water.
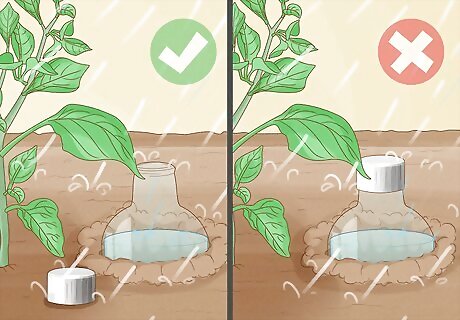
Leave off the cap if you want to collect rainwater. If you’ll be gone for a while, rainwater will make your irrigation system last longer. Just leave the bottle open so water can flow into it. Generally, the bottle will water your plant for at least a week or longer. If it rains, your irrigation bottle will last longer.
Plastic Bag Greenhouse
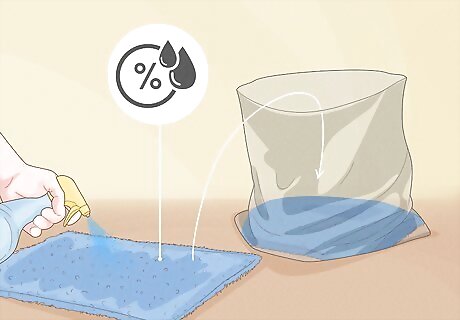
Place a damp towel in the bottom of a large, clear plastic bag. Make sure the plastic bag is big enough to fit over your potted plant. The bag will trap moisture in the bag so it drips back into your plants, watering them. You can do this without the towel, but using one will add more moisture to your mini greenhouse. A clear bag works best because sunlight can pass through it.
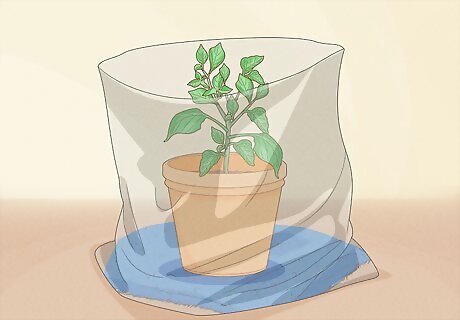
Place your plant inside the bag on top of the towel. Make sure the entire plant is covered so the moisture gets trapped inside. It’s okay to put more than 1 plant in the bag, as long as they all fit. If you put more than one plant in the bag, it’s ok if they touch a little. However, don’t let the leaves get tangled together.
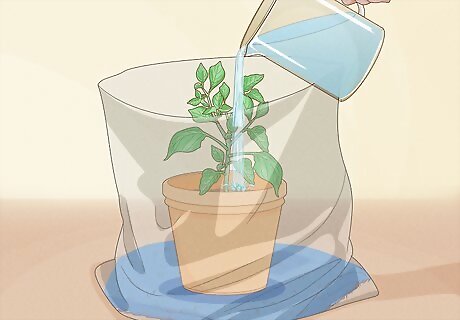
Water your plant if the soil is dry. Use your finger to check if the soil is wet or dry. The bag works by trapping water inside, so make sure the soil is wet before you close the bag. Add water as needed. If you’ve recently watered your plant, you may not need to water it.
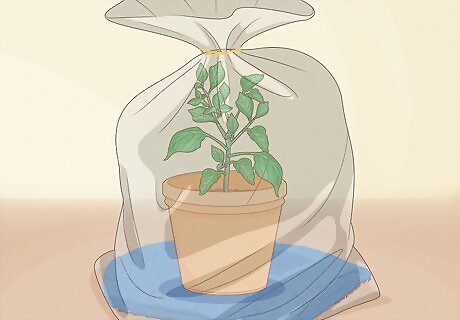
Tie the bag loosely to create a mini greenhouse. Trap some air in the bag so that it’s not tight around your plant. If necessary, blow a little air in the bag to puff it up. To secure the bag, knot the ends or wrap a rubberband around the top of the bag.
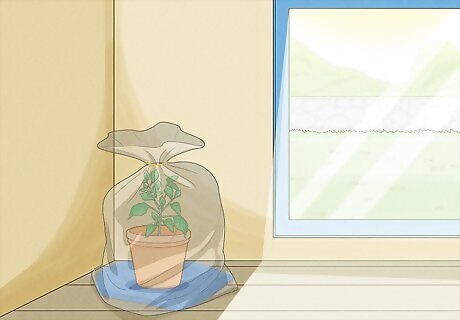
Move the plants away from direct sunlight. Partial sunlight is okay, but direct sunlight will heat up the bag and burn your plants. Place your plants indoors or outdoors, depending on what works best for you.
Bathtub
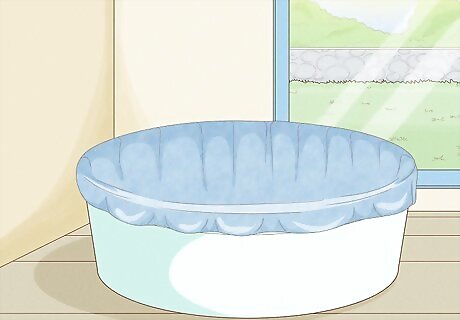
Line your bathtub, sink, or a large container with towels. The towel is technically optional, but it will prevent the plant pots from scratching your tub, sink, or container. Use as many towels as you need to cover the surface. You could also use a plastic sheet or a trash bag to protect from scratches. However, a towel is usually easier to keep in place once you add water.
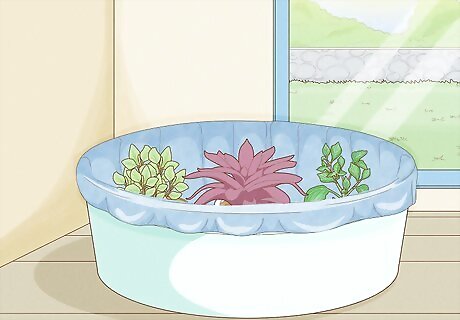
Arrange your plants on the towels. Place all of your plants in the tub, sink, or container—or as many that will fit. It’s okay if the plants are touching each other, but make sure they aren’t so close that the leaves could get tangled. If you have any plants that require a lot of direct sunlight, it’s best to use another method unless you have a window in your bathroom.
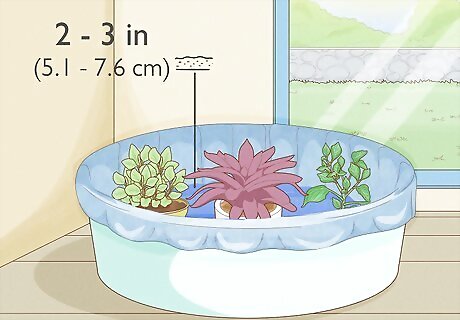
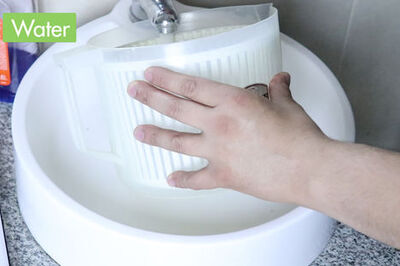
Add 2 to 3 in (5.1 to 7.6 cm) of water. Cover both the towel and the lowest part of the plant pot. Your plant will draw water through its pot's drain holes as needed. This method isn’t great for plants that don’t need a lot of water, such as succulents or cacti. Too much water will make their roots rot.
Friend or Neighbor
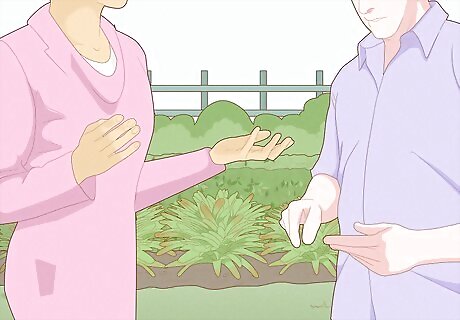
Ask a friend or neighbor to water your plants. Choose someone who lives fairly close to you so that it’s easy for them to help you out. Then, arrange for them to stop by once or twice a week to take care of your plants. If you have indoor plants, give the friend or neighbor a spare key. Consider using some homemade watering systems, as well. This way, your plants will rely on the homemade watering systems, and all your neighbor will have to do is refill the bottles when they get empty.
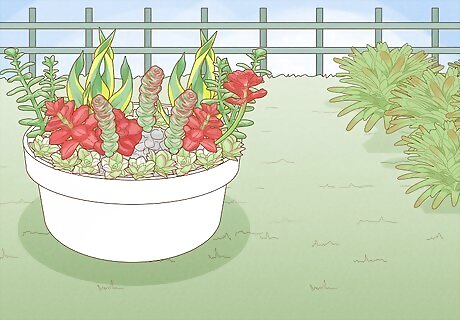
Group potted plants together based on watering needs. This will be easier for your friend or neighbor to keep track of. For example, you can keep all of the succulents in 1 area, and the ivies in another. To keep your house clean, consider storing the plants on a tray that can catch any dirt that drains out.
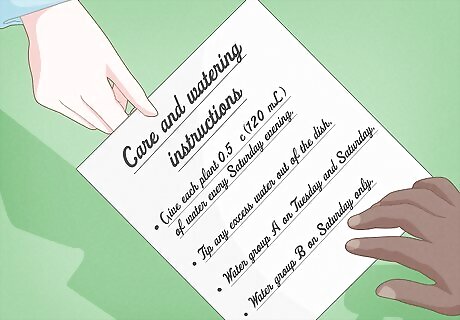
Write down specific care and watering instructions. Be detailed about what you want your friend or neighbor to do because they might not have the same plants as you. Explain which plants need watering and how often. You might write: Give each plant 0.5 c (120 mL) of water every Saturday evening. Tip any excess water out of the dish. Water group A on Tuesday and Saturday, and water group B on Saturday only.
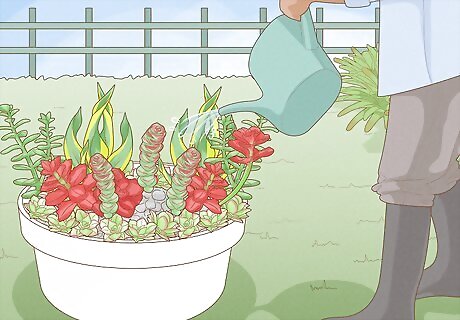
Water your plants before you leave. Cut down on the visits your friend or neighbor needs to make by thoroughly watering your plant before heading off on vacation. You’ll be able to enjoy your time away, knowing your plants are well-tended.
Offer to return the favor. Even if you know that your friend or neighbor will say "no," it would still be polite to offer. This will reassure your friend or neighbor that you aren't just using them. They will also be more likely to help plant sit for you the next time you go on a trip. You could also offer to pay them for their time. You might offer them $10 to $20 per visit.








Comments
0 comment