

Open the Final Cut Pro application on your computer.
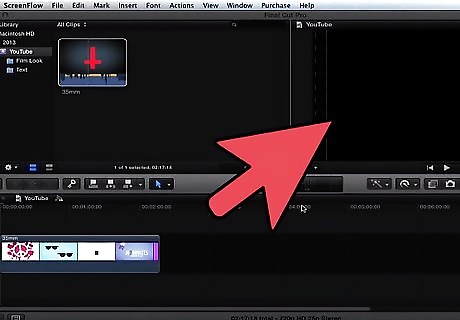
Open the Project Library by clicking on the icon of a film reel located in the bottom-left corner of Final Cut Pro.
Open the project you want to add text to by double-clicking on the project's name.
Click on the "Effects" tab in your project's Bin. The Bin is a square area shaded in gray, located in the upper-left corner of your Final Cut Pro session.

Click on the "Video Generators" folder to expand it for additional options.

Open the "Text" folder by clicking on it.

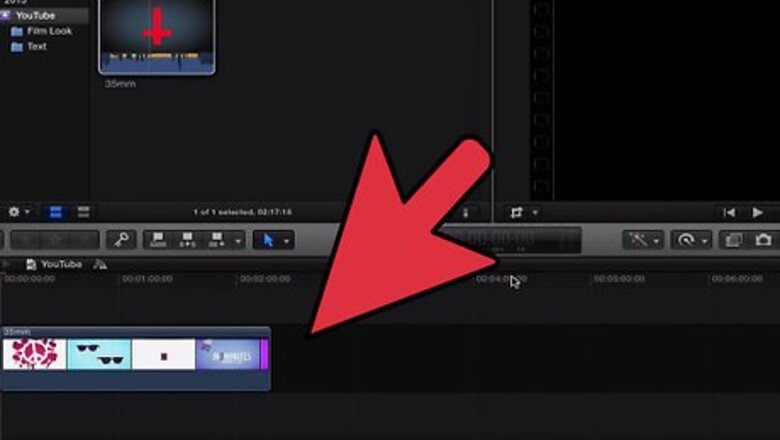
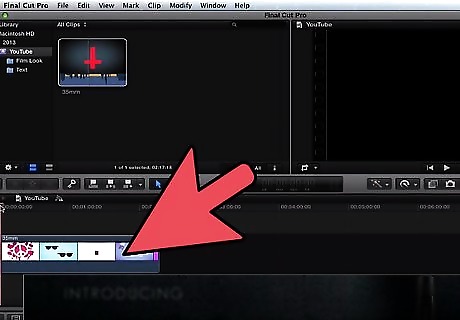
Click on the "Text" option and drag it to the blank spot in your Sequence (located within your Timeline) where you want to want to add text. The Timeline is located in the very bottom section of your Final Cut Pro session. A Sequence is a portion of time in your video within the Timeline. If you need to add a new Sequence to your Timeline for text, go to "File" in the top toolbar of your Final Cut Pro session, point to "New," and select "Sequence."

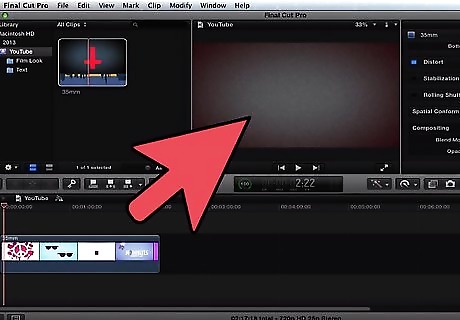
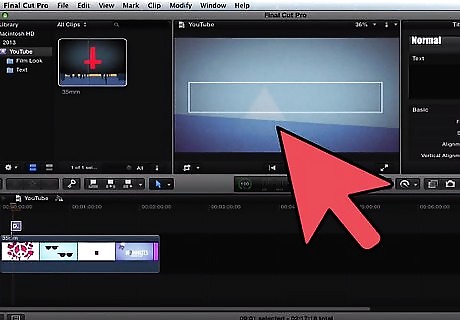
Open the Text block that now appears in your Sequence by double-clicking on it. This procedure will provide you with an enlarged preview of your Text and place it in the Viewer window. The Viewer window is located in the top middle section of your Final Cut Pro session.

Click on the "Controls" tab within the Viewer window to bring up the control panel, which will allow you to modify and write the text for your video.
Click in the empty box to the right of the "Text" section to write the text you want to appear in this particular section, or Sequence, of your video. You can also adjust additional text features in the Text control panel, such as the text's font type, font size, font color, and alignment.
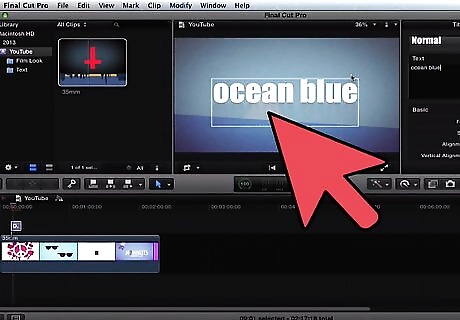
Preview your text by clicking in an area outside of the control panel. This process will display your work in the Viewer window. Click back inside the control panel section if you want to modify the appearance of your text. You can also preview your text in the Canvas window by clicking and dragging the Playhead to the text spot in the Sequence. The Playhead is a yellow, upside-down triangle in your Sequence that moves along the Timeline when you play your video. The Canvas window is located directly to the right of your Viewer window.

Move the Text block to the layer directly above your video clip so your text will appear within the video when it plays. Navigate to the video section of your Sequence. Click and drag the Text block to position it above your video in the Sequence.

Save your video project by pointing to "File" in the toolbar of Final Cut Pro and clicking on "Save Project."


Comments
0 comment