views
Creating Your Account
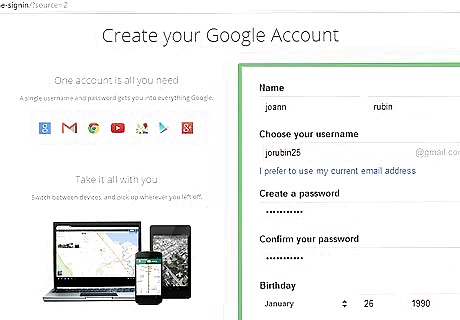
Create a Google account. In order to upload videos to YouTube, you will need to create a Google account. Creating a Google account is free, and if you already use Gmail or Google Drive, you already have an account.
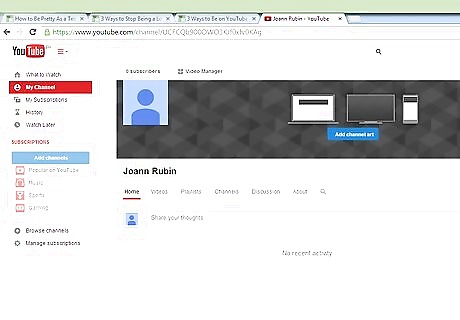
Create a channel. Your YouTube account is defined as a "Channel". This is your hub for all of the content you upload and comments you make when you are logged into YouTube. By default, your channel will have the same name as your Google account. If you want to use a different name on YouTube, you will need to create a new Channel. You can have multiple Channels on one Google account. Each Channel will also get a corresponding Google+ page. To create a new Channel, click your account name in the upper-right corner and then click the "All my channels" link. This will open a page showing all of your linked Channels. Click the "Create a new channel" button to create a new Channel. You will be asked to enter a name for your new channel as well as choose a category. Choose a channel name that relates to your content. This will help make your channel more recognizable and more authoritative.
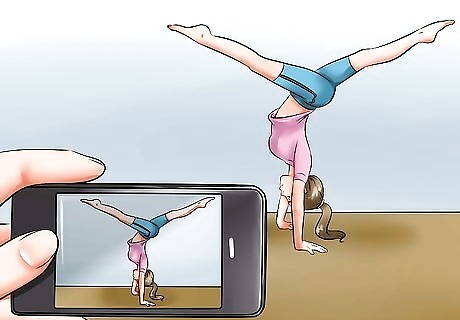
Obtain your video recording equipment. What you need will vary depending on what you are planning on making. Are you going for a TV-like feel with your video? You'll need a decent camcorder and some editing software. Are you just filming yourself? You can probably get by with just a webcam. If you're uploading animation, then you just need your animation tools, no camera required.
Customizing Your Channel
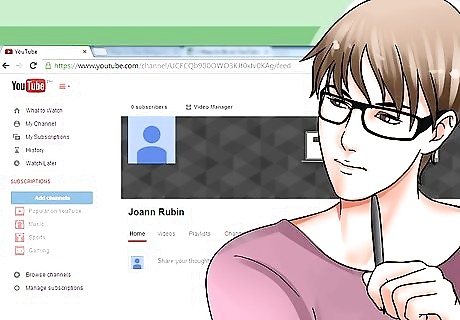
Understand why you need to customize. Your Channel page is where your viewers will be spending their time, viewing your videos and posting comments. Your Channel should reflect your content, and a professional-looking Channel will help entice viewers to stay. Open your Channel page by clicking the menu button in the upper-left corner of the YouTube page and select "My Channel".
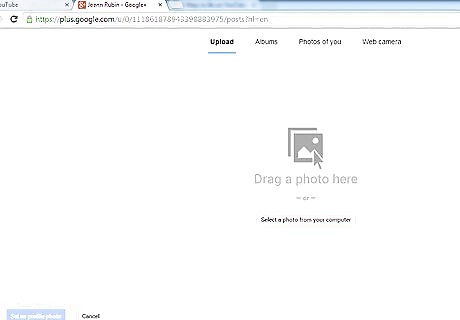
Add a profile image. This will be seen every time you post and next to each of your uploaded videos. You will be taken to Google+ to add the photo there. Changes will then be reflected on your YouTube Channel page.
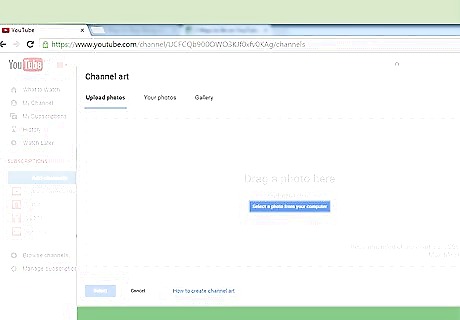
Add some channel art. Your channel has a banner that appears at the top of the page, and can be seen whether the viewer is on PC or a mobile device. This banner is essential for your Channel's branding, and can really help you to stand out. You can add channel art from images uploaded to your Google+ page, or you can upload pictures directly from your computer.
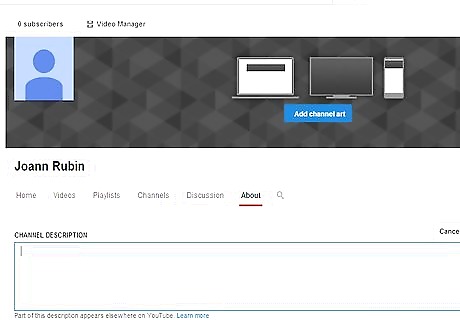
Add a description. Your Channel's description appears in the YouTube search results, and allows viewers to quickly get a feel for what your Channel offers. A good description can help draw in viewers, but a misleading description will drive them away.
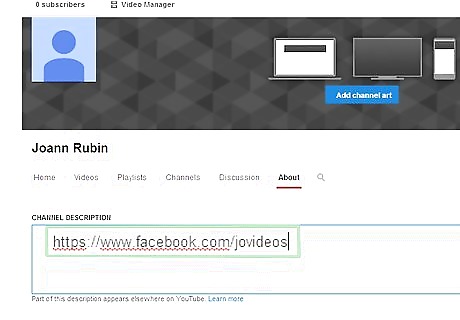
Add links. You can add links to the About section of your Channel. These links allow viewers to easily access your other pages on the internet. Use these links to direct viewers to you other sites or online store.

Look at other Channels. If you're having difficulty deciding how to customize your Channel, take a look at some of the popular channels in your niche. These can give you ideas on how some of the more popular Channels have branded their identities.
Uploading Your Videos

Shoot and edit your video. You will get a lot more traction with your videos if you've put a little effort into making them look nice. Keep the following tips in mind when shooting and editing your video: YouTube videos should have an introduction, especially if they are part of a series, but the intro should be no longer than 10 seconds. You should add a little content first it to catch the attention. The intro should identify you and your channel, as well as the content of the video. Use transitions to good effect. Transitions help move the viewer from scene to scene or to a new topic. A transition helps the viewer follow along as they watch. Remove unnecessary scenes and mistakes. YouTube isn't live, so you should take the time to remove mistakes and reshoot anything that didn't turn out how you wanted it. Avoid "uhs" and "ummms". Practicing a script will go along way towards making a good video.
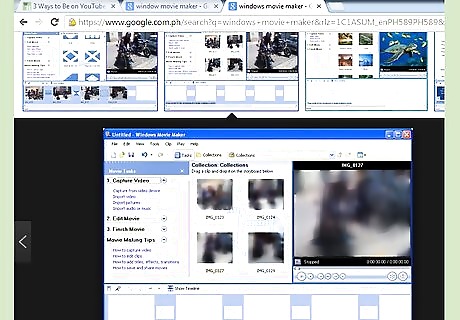
Encode your video for YouTube. When you've finished shooting and editing your video, you'll want to encode it properly so that you don't lose any quality when the video is uploaded. There are a variety of programs that can do this, such as Sony Vegas, Avidemux, and Windows Movie Maker. Videos should be in MP4 format using the H.264 codec for maximum compatibility and highest-quality compression
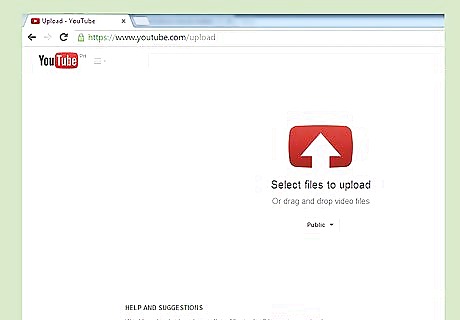
Upload the video to your channel. Click the Upload button in the upper-right corner of the YouTube page. Make sure that you are signed in with the correct channel when you upload your video. When uploading a video for everyone to see, make sure that the video is set to Public sharing, so that it can be searched for and found by YouTube visitors. The uploading and conversion process can take a significant amount of time, especially if you have a slow connection. You can record directly from your webcam instead of uploading a video, but it is recommended that you record your webcam video in another program that gives you more editing options.
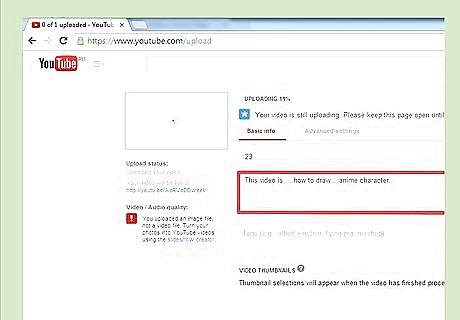
Add a description. Every video needs at least a basic description. It should inform the viewer what the general gist of the video is, and how it might relate to them. The description appears next to the video thumbnail when the video shows up in search results. Avoid copying the title of the video into the Description field. Spend a few minutes coming up with a unique description.
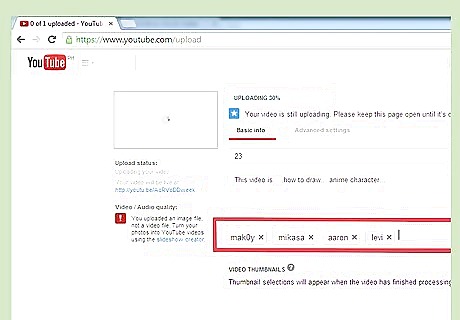
Add tags. Tags are single words or short phrases that help to categorize your video. This will help your video appear as a related video when someone is watching a different video. Make sure that your tags are accurate, so that you are drawing in the correct audience. All of your videos should have at least three tags, if not more. Make sure to tag your video with your own personal brand. This will help your videos appear when your name or brand is searched through Google or YouTube. Look at other videos in the same category as you and see how they are using tags. Choose tags that are closely related to your video. Don't forget synonyms.

Share your video. Once your video is uploaded, tagged, described, and annotated, it's ready to share with the world. You'll gather some viewers simply through search results, but it can help to advertise your video else. Link to it in your blog, post a link on Facebook or Google+, and let your Twitter followers know that a new video is available. The more eyes that you can reach, the more likely that your video will increase in popularity.

Monetize your videos with ads. If you meet certain criteria, you may be eligible to earn money off the views your video gets. This may entail placing an ad at the beginning of your video, and will require creating an AdSense account.

Upload often. A good channel gets updated on a regular basis. All of the best YouTube personalities update their channel at least once a week. Many people will upload one major video per week, with smaller videos peppered in between the major releases. Check out the release schedules for a few of the more popular channels in your niche. This will give you a good idea about how often you should be updating.








Comments
0 comment