views
Using Block Site on a Computer
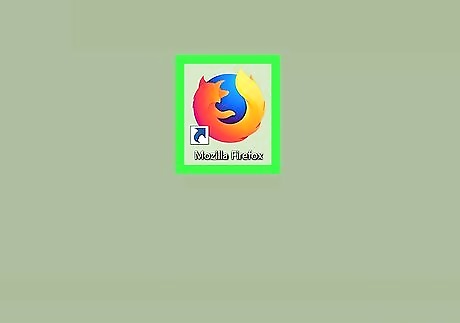
Open Firefox on your computer. You'll find it in your Windows Start menu or your Mac's Applications folder. Look for the icon of an orange fox wrapped around a blue orb.
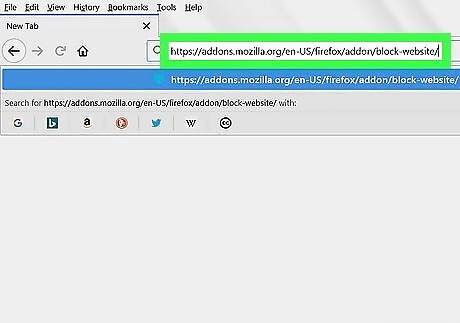
Go to https://addons.mozilla.org/en-US/firefox/addon/block-website. This add-on, called Block Site (by Ray), lets you block individual websites in Firefox. It also lets you set up a private password so you'll be the only person who can remove sites from the block list. This Firefox add-on is a part of Firefox's Recommended Extensions program, which means Firefox staff has vetted its functionality and security. Still, make sure to research add-ons before installing them.
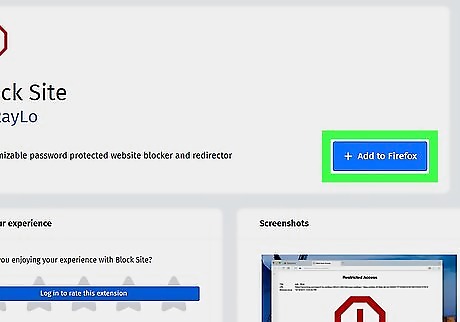
Click the blue + Add to Firefox button. It's in the top-right area of the page.
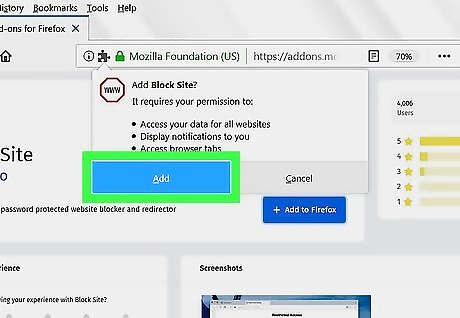
Click Add on the pop-up warning. This adds the extension to Firefox.
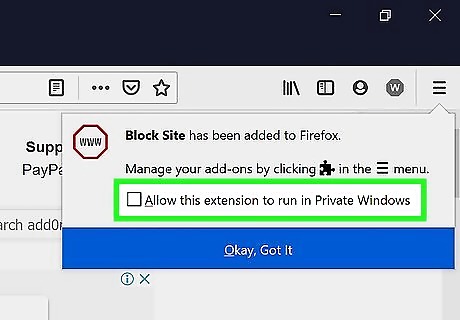
Check the box next to "Allow this extension to run in Private Windows." This appears in the top-right corner of the browser on the "Block Site has been added to Firefox" window. Checking this option ensures that websites you block will remain blocked when someone tries to open a private browsing window.
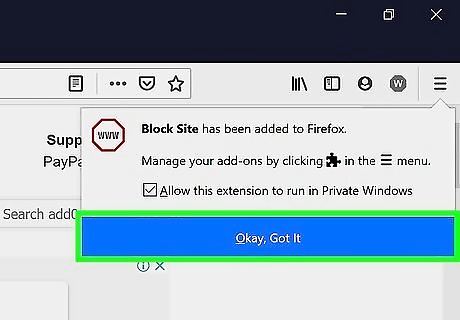
Click the blue OK, Got It button to confirm. The add-on is now ready to use.
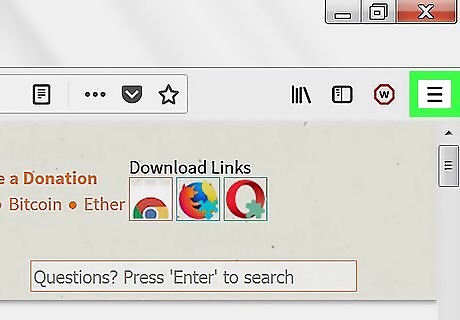
Click the menu ☰. It's the three horizontal lines at the top-right corner of Firefox. A menu will expand.
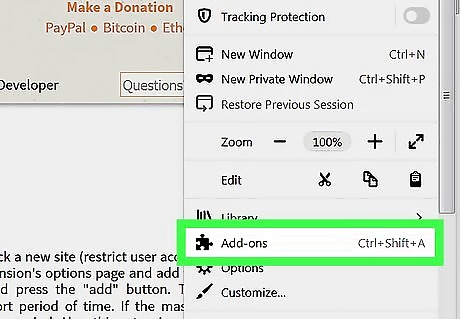
Click Add-ons on the menu. It's the option with a puzzle piece icon.
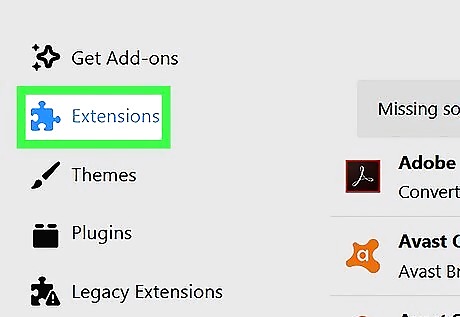
Click the Extensions tab. It's on the left side of the window.
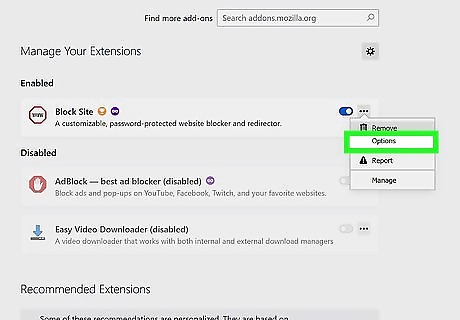
Open Block Site's options page. Scroll down until you find the Block Site heading, click the three horizontal dots beside it, and then select Options.
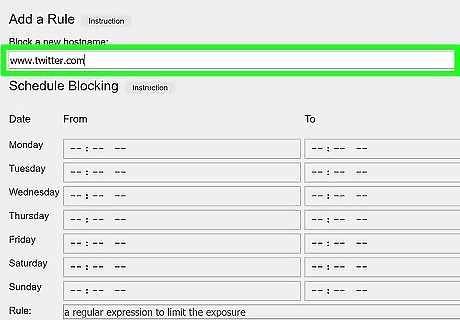
Type or paste the URL of a website you want to block. This address goes into the "Block a new hostname" field at the top of the page. For example, if you wanted to block Twitter, you would type www.twitter.com into this text box.
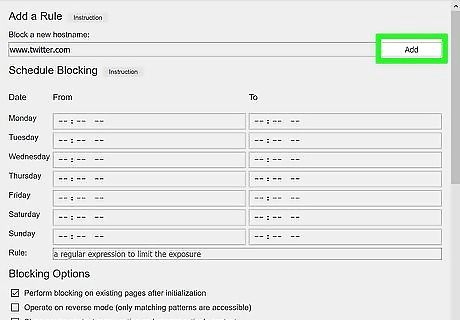
Click Add to add the site to the block list. The site you entered will now appear under "Existing Rules" at the top of the page. You can remove sites from this list at any time by clicking Remove next to its entry. If you want blocked sites to redirect to a specific page (e.g., Google), click the "Redirect to" text box and then type an address. If you skip this step, Block Site will simply redirect people who attempt to go to the site to a page that says "Restricted Access". Add additional sites to the block list by entering their addresses into the "Block a new hostname" field and clicking Add.
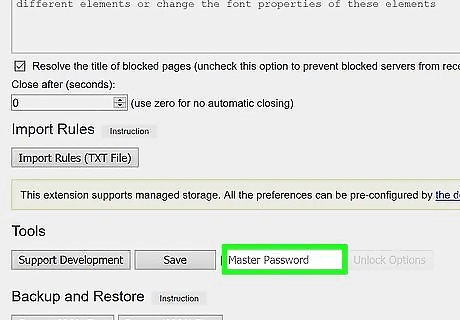
Create a master password. Scroll down to the "Master password" text box at the bottom of the page and type a password you'll remember. This password will be required for making changes to the blocked site list.
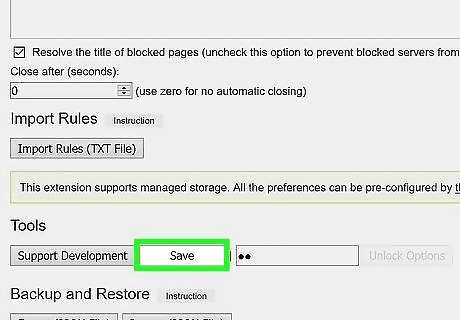
Click Save to save your changes. It's at the bottom of the page. Once your settings are saved, the sites you entered will be blocked to everyone who uses Firefox. When you want to edit your settings, return to the Options area of Block Site, enter the master password, and make your changes.
Using the Hosts File in Windows
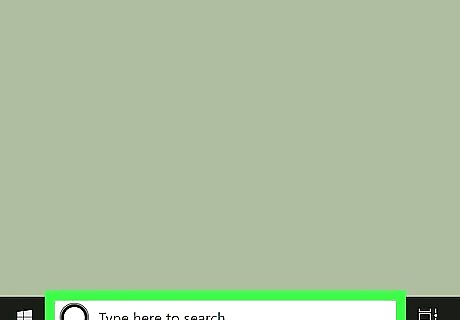
Open the Windows search bar. If you don’t already see the bar to the right of the Start menu, click the circle or magnifying glass icon that appears there to open it. This method will block a specific website from all browsers, not just Firefox.
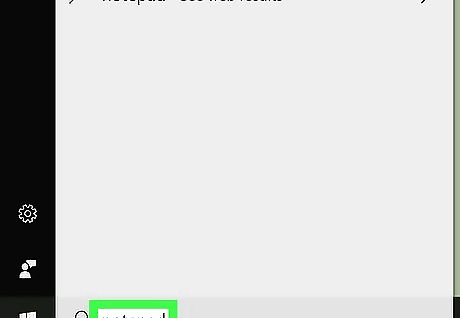
Type notepad into the search bar. Don’t press anything else. A list of search results will appear.
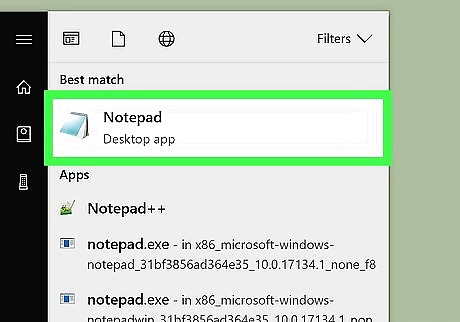
Right-click Notepad in the search results. A menu will appear.
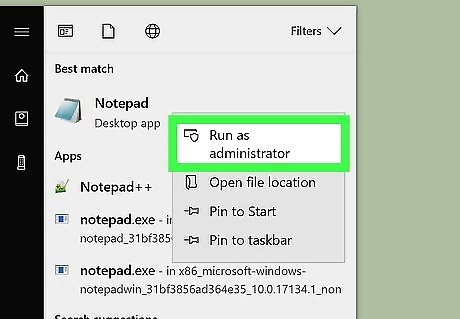
Click Run as administrator. This opens Notepad as an administrator, which allows you to edit the file you’ll use to block a website. If prompted to confirm, click Yes .
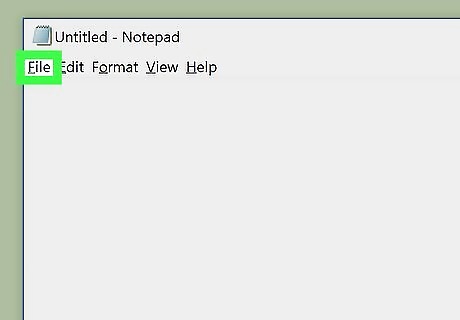
Click the File menu. It’s at the top-left corner of Notepad.
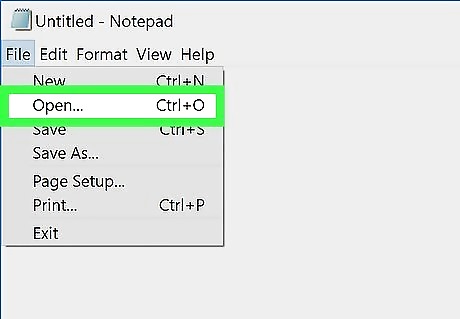
Click Open.
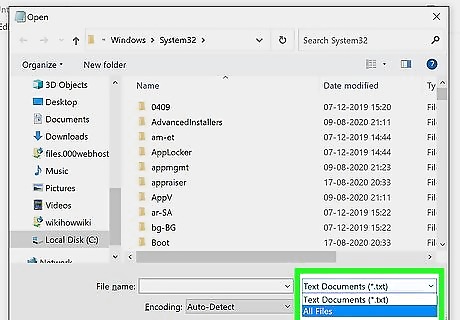
Select All Files from the file type drop-down menu. It's the menu near the bottom-right corner of the window that says "Text Documents (*.txt)" by default.
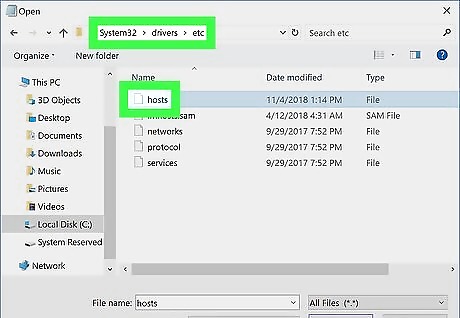
Type or paste the full path to the hosts file into the “File name” field. Typically the path is C:\Windows\System32\Drivers\etc\hosts. If you’ve installed Windows on a different letter hard drive (e.g., D), replace the drive letter in the path.
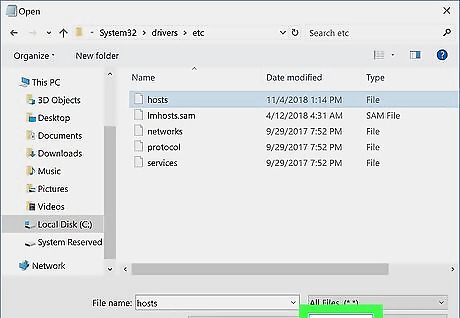
Click Open. This opens the hosts file in editing mode.
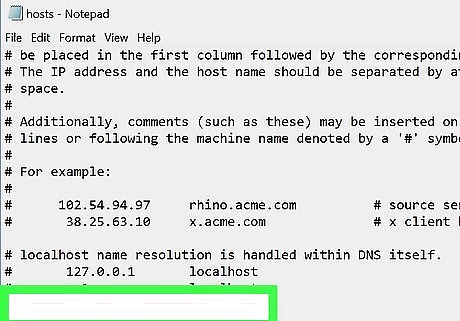
Place your cursor at the bottom of the page. Scroll down to the bottom of the file, then click below the bottom item. You’ll be adding text to its own line at the bottom of the file. Make sure there are no characters on the new line. Although the preceding lines begin with hash (#) symbols, yours must be blank.
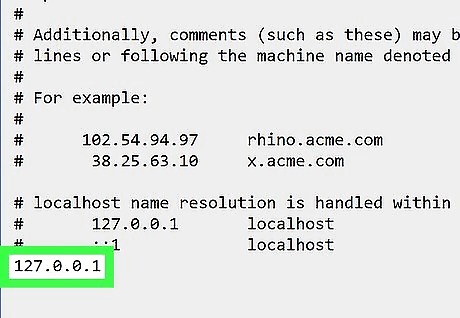
Type 127.0.0.1 at the bottom of file. Remember, there should be no symbols before this address.
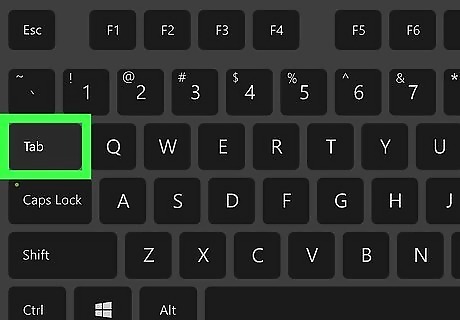
Press Tab ↹. This inserts the appropriate amount of space between the IP address you entered and the site you want to block.
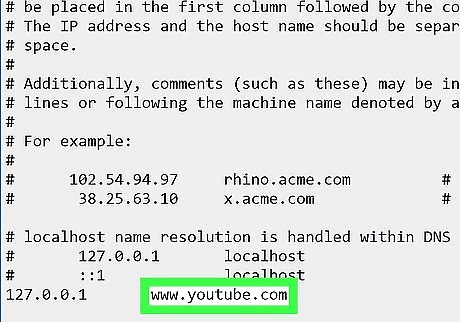
Type the address of the site you want to block. For example, if you want to block YouTube, type www.youtube.com. Don't enter the "https://" or any characters after the domain name.
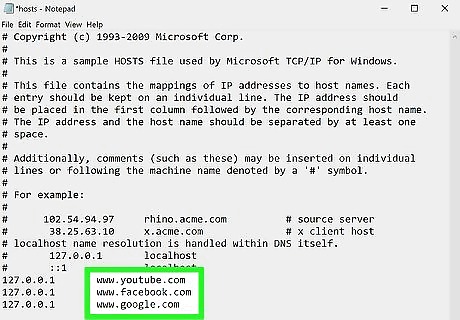
Add additional sites to block (optional). If you'd like to block other websites, press the Enter key to continue to the next line, type 127.0.0.1, press the Tab key, and then enter another web address. Continue entering sites on their own lines until you're finished.
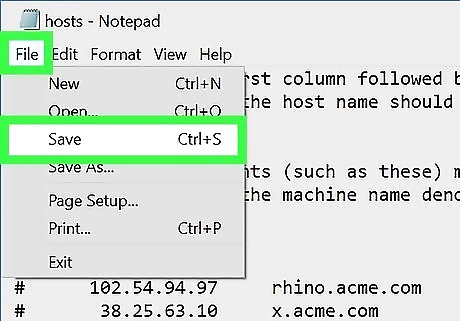
Click the File menu and select Save. If you are prompted to confirm the save, follow any on-screen instructions to do so.
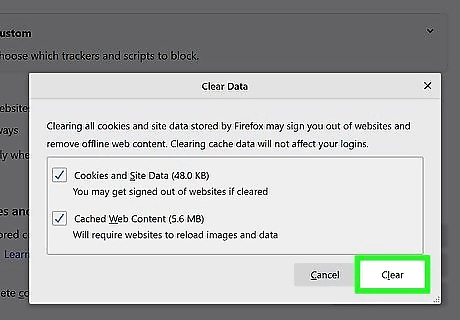
Clear your Firefox cache. To do this: Open Firefox from the Start menu. Click the menu icon at the top-right corner (three horizontal lines). Click Options. Click the Privacy & Security tab in the left panel. Click Clear Data under "Cookies and Site Data." Check both boxes and click Clear.
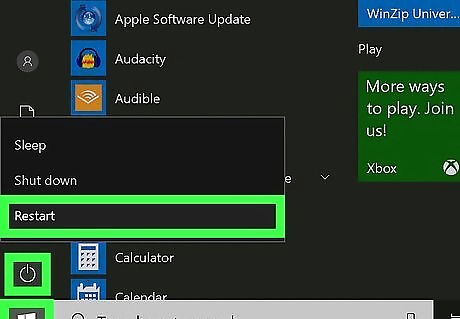
Restart your PC. Once your PC comes back up, the blocked website(s) will no longer be accessible in Firefox.
Using the Hosts File on macOS
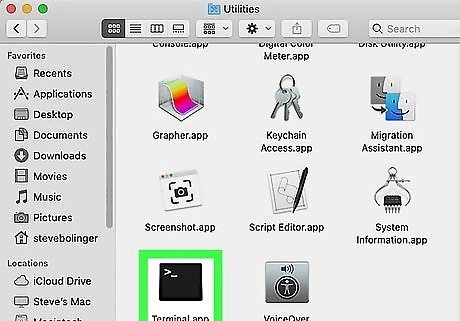
Open a Terminal window. To do this on your Mac, click the magnifying glass at the top-right corner of the screen to open Spotlight, type terminal into the search bar, and then press ⏎ Return. This method will block a specific website from all browsers, not just Firefox. You must have your administrator password to use this method.
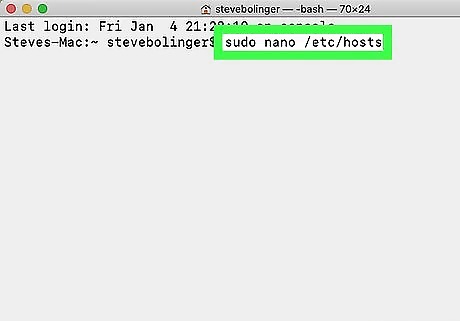
Type sudo nano /etc/hosts and press ⏎ Return. A password prompt will appear.
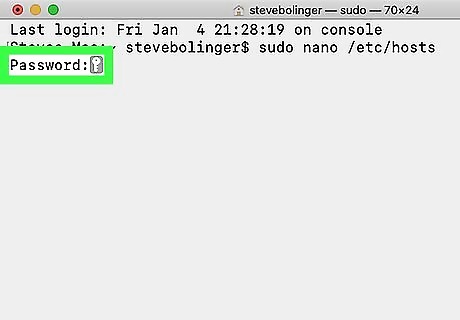
Enter your administrator password and press ⏎ Return. You won't see the characters you type, but that's by design. This opens the file for editing.
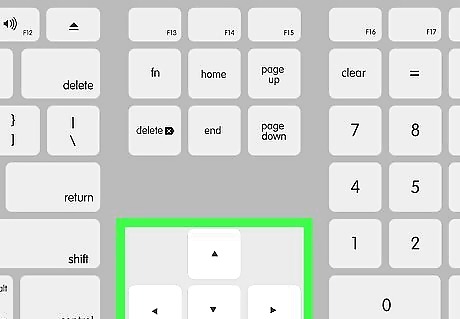
Use the arrow keys to move to the bottom of the file. You can stop moving downward once the mouse cursor is on its own new line. There should be no other characters on the line you'll be typing on.
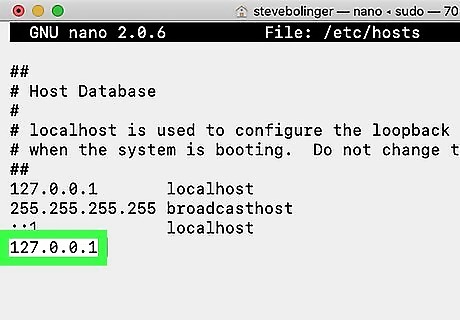
Type 127.0.0.1 and press the Tab ↹ key.
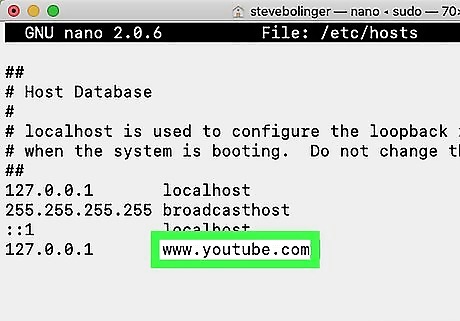
Type the web address of the site you want to block. For example, if you want to block YouTube, type www.youtube.com. Don't include the "https://" or anything after the domain name. To block another site, press the Return key to open a new line, type 127.0.0.1, press the Tab key, and then enter the next address.
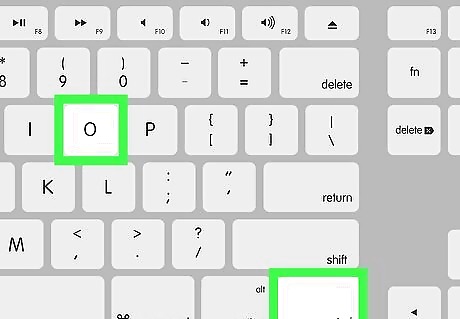
Press Control+O. This saves the file.
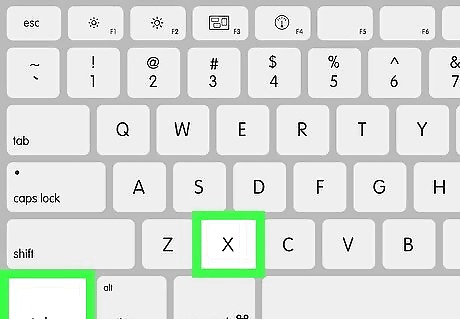
Press Control+X. This exits the editor.
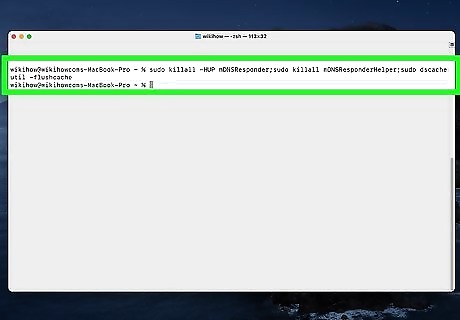
Flush your Mac's DNS cache. To do this on macOS Sierra and later, type sudo killall -HUP mDNSResponder;sudo killall mDNSResponderHelper;sudo dscacheutil -flushcache at the prompt and press the Return key. This resets your computer’s DNS cache, allowing the blocking to begin. If you're using macOS El Capitan, use sudo killall -HUP mDNSResponder instead.
Using Leechblock NG on Android
Visit https://addons.mozilla.org/en-US/android/addon/leechblock-ng in Firefox. Leechblock NG is a free Firefox add-on that lets you block websites in the browser. You can even choose to block the site only during certain time periods, as well as set a password so nobody else can edit the block list. Leechblock NG has nearly all positive ratings on the Firefox Add-ons site and is updated regularly. Still, make sure to research add-ons before installing them. This will only work for Firefox, not other browsers on your Android.
Tap + Add to Firefox. A warning message will appear, letting you know which permissions Leechblock NG needs to work.
Review the warning and tap ADD. This installs the add-on.
Tap the menu ⋮. It's the three vertical dots at the top-right corner of Firefox.
Tap Add-ons on the menu. A list of installed add-ons will appear.
Tap LeechBlock NG and select Options. This opens the settings page for LeechBlock. You'll see that there are several tabs called Block Set 1, Block Set 2, etc. You can designate a tab to specific blocking settings—for example, if you want to block certain sites 100% of the time, you could add those on one tab. If you only wanted to block certain sites between midnight and 6 AM, you could add those to a separate tab.
Enter a name for your block set. You could call it "Block List" or something similar. If you want to create separate block lists, feel free to enter a name that's more reflective of the sites/settings you'll be using on this tab.
Enter the site(s) you want to block. Each blocked site should appear on its own line. Don't worry about adding the "https://" at the beginning. For example, if you wanted to block twitter, you could just enter www.twitter.com or twitter.com. To add another site, press the Enter key on your keyboard and type the next address.
Choose when to block the site(s). You can choose times and dates if you'd like. If you want to block the site(s) all the time, tap the All Day button. Otherwise, enter your desired times. To block sites every day of the week, check the boxes next to all 7 days.
Tap Save Options at the bottom of the page. You can return to that tab any time you wish. Feel free to create additional tabs for other times and dates now.
Tap the General tab. This is where you can set a password so nobody can undo your settings.
Select a password option under "Access Control." It's the first drop-down menu on the page. For best results, select Require the user to enter a password here.
Enter a password you'll remember. It can be as many or as few letters as you'd like.
Scroll down and tap Save Options & Close. Now that your options are saved, anyone who attempts to visit the selected sites in Firefox will be unable to do so. If they attempt to change the app settings, they won't be able to without your password.
Using Content Restrictions on an iPhone or iPad
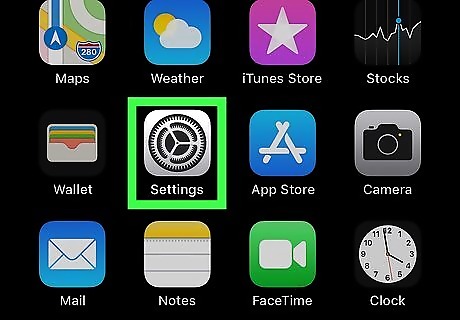
Open your iPhone's iPhone Settings App Icon Settings. Tap the Settings app icon, which resembles a set of gears on a grey background. This method will also restrict websites in other web browsers on your iPhone or iPad, including Chrome and Safari.
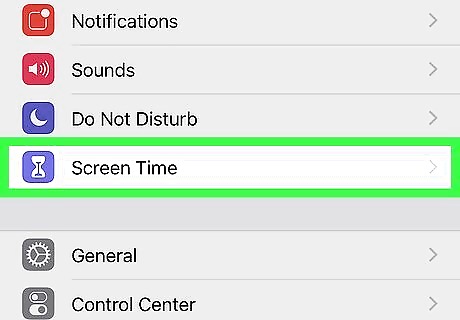
Scroll down and tap Screen Time. It's in the second group of settings.
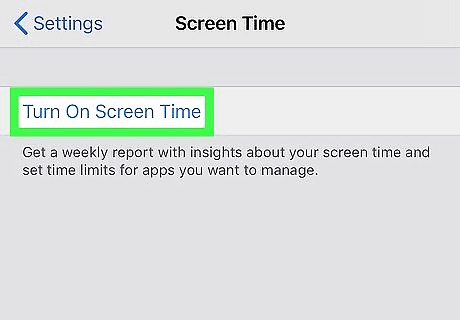
Tap Turn On Screen Time if you haven’t already. If you don’t see this option, Screen Time is already enabled and you can skip to step 6.
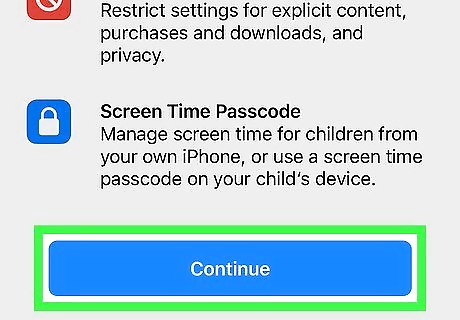
Tap Continue. This turns on Screen Time, a tool that allows you to monitor and regulate your iPhone or iPad usage.
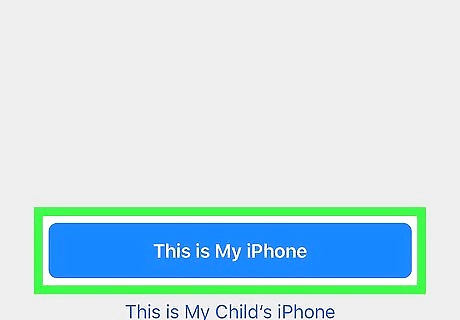
Tap This is My iPhone. If you’re using your child’s iPhone, you can tap This is my Child’s iPhone instead, which will give you other options for regulating your child’s time on this device.
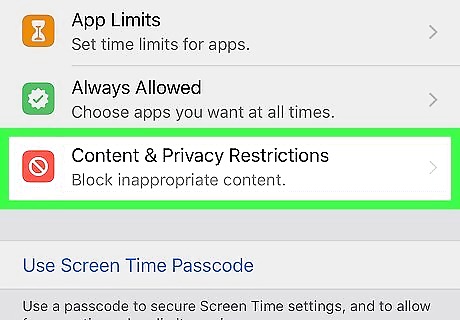
Tap Content & Privacy Restrictions.
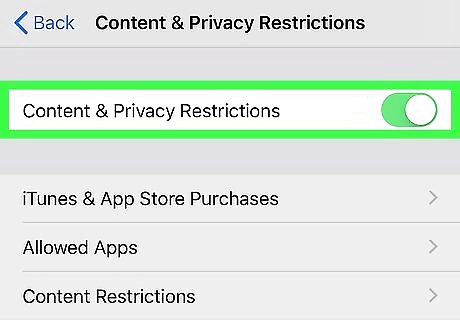
Slide the “Content & Privacy Restrictions” switch to iPhone Switch On Icon.
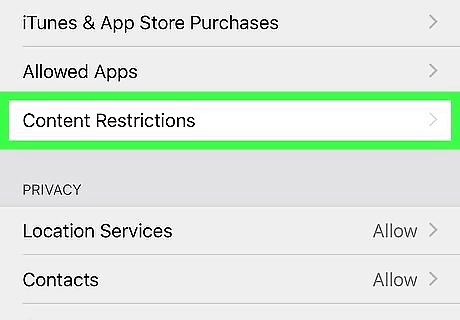
Tap Content Restrictions. It’s near the top of the menu.
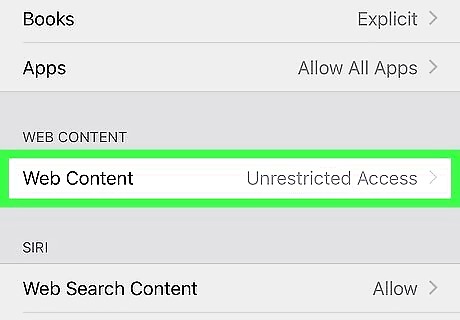
Tap Web Content. It’s under the “WEB CONTENT” header.
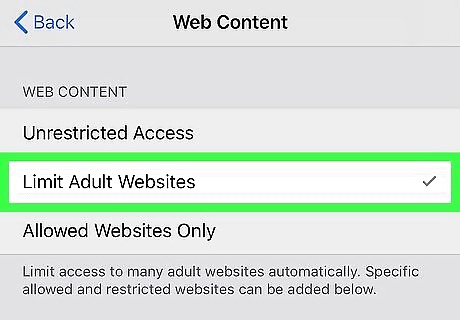
Tap Limit Adult Websites.
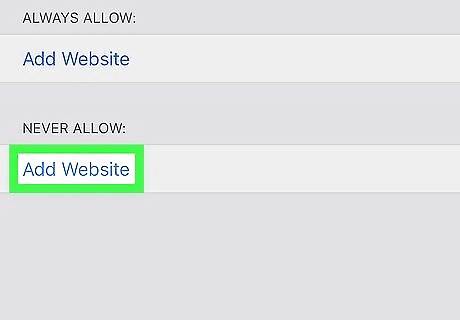
Tap Add Website under “NEVER ALLOW.” It’s the second instance of “Add Website” on the menu (at the bottom).
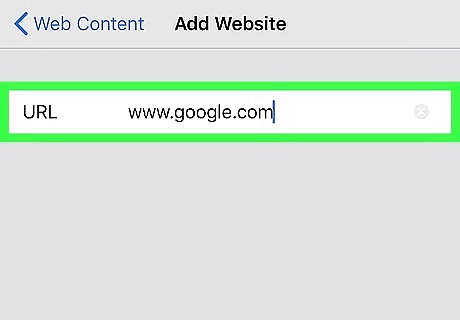
Enter the address of the site you want to block and tap Done. This adds the website to the block list and begins blocking it immediately. For example, if you wanted to block Google, you would type in www.google.com here.


Comments
0 comment