views
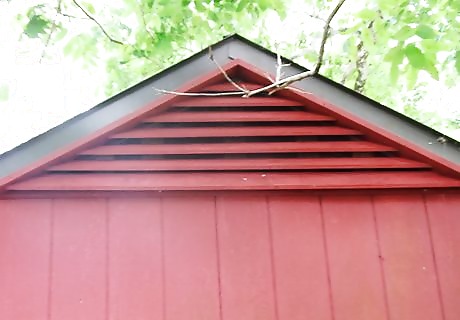
Measure the gable to decide how large a vent you can put into it and to determine the pitch of the roof if you want your vent to match it. This article will describe construction of one that fits the center of the gable underneath the roof flashing.
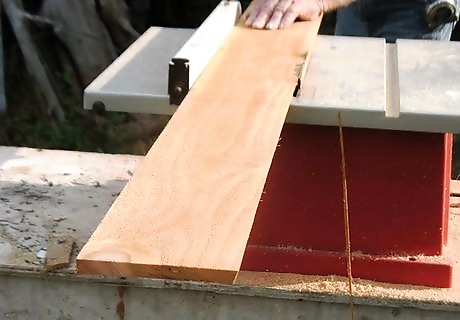
Figure out how much lumber you will need and what type you will use. Rough sawn cedar is used in the images here for durability and appearance, but any weather resistant lumber can be used. If you want to get exact material requirements, you may need to produce a scale drawing with specific nominal dimension lumber lengths and sizes.

Assemble other tools and materials you will use for the project. See Things You'll Need for tools and other items, below. A table saw, a work table, a compound miter saw, and a finish nailer are very helpful for the project.
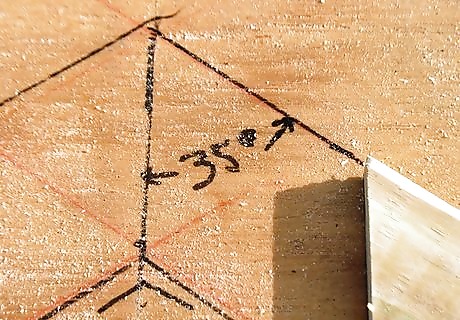
Lay out the shape and size of your vent on a flat work table or sheet of plywood. Drawing it here to scale will allow for determining accurate lengths and angles, and to help you position the pieces together for fastening.
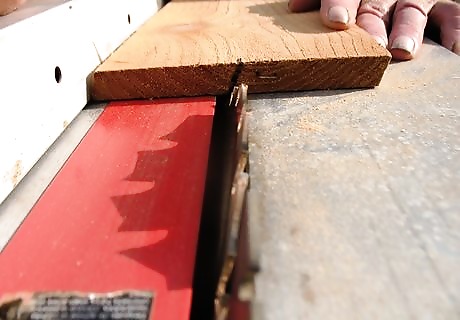
Rip the louver boards on a bevel. 22.5 degrees is generally enough, but 30 or even 45 degrees may be preferred. If you measure carefully and cut with a table saw, you should be able to get two vanes from each board, assuming you are using 1X6 cedar fence boards. These will be the stock cut for vanes later.
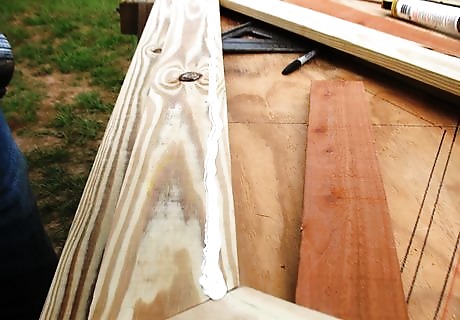
Cut the face frame (1X4 treated southern yellow pine in images, used for strength, not appearance) to the sizes and angles established from your layout. A miter saw is helpful in getting accurate angle cuts.
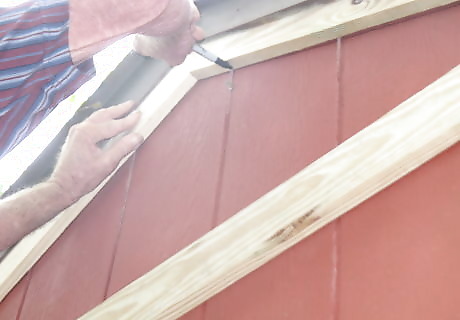
Assemble the face frame using finish nails or screws, then test fit on the gable where it will be installed. You may want to scribe the inside dimension while doing this to make cutting the hole in the siding easier later on.
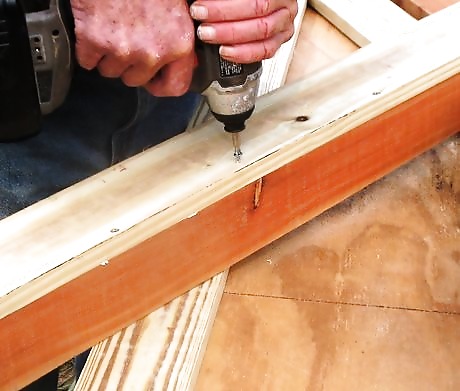
Cut the louver vane frame, again, using the layout for lengths and angles. The frame should be at least ⁄4 inch (1.9 cm) deeper than the width of your vanes to make sure it doesn't leak.
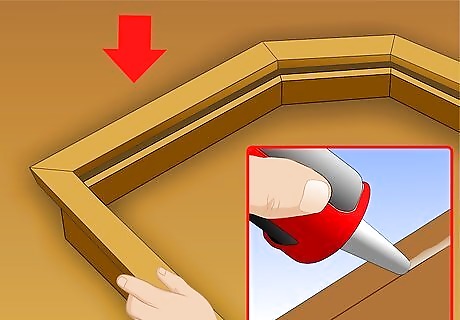
Attach the vane frame to the face frame, caulking the seam with a waterproof sealant and using rust resistant wood screws.
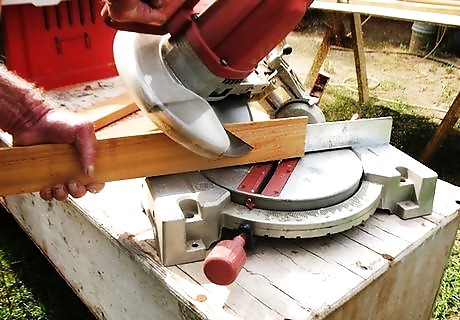
Cut a compound angle on one end of a piece of the vane stock ripped earlier. The width angle will be 45 degrees, the bevel should be about 30 degrees, with both long points facing the same direction and opposite the direction of the bevel on the edge of the stock.
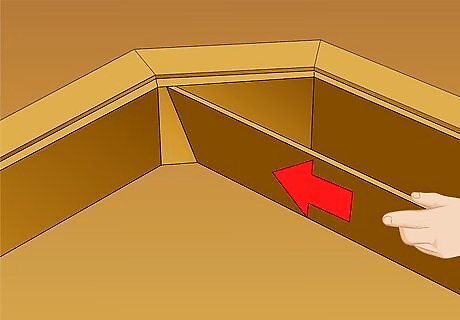
Place the stock so it fits within the vane frame to determine the overall length of this first vane. You can check the fit of the angles approximately at this time but until the opposite end is cut, it isn't possible to do exactly.
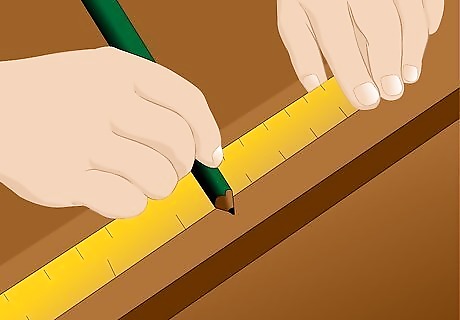
Mark the approximate length of the vane, and cut it an inch or so longer than needed to allow for angle adjustments when it is fit into position.
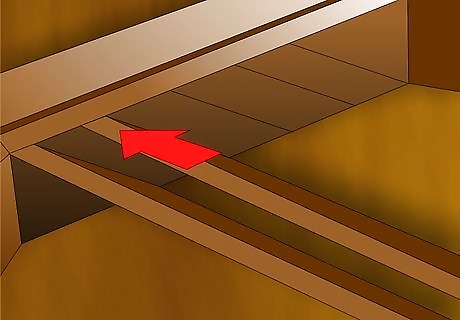
Try the vane when it cut to see how well the angles fit. Make scribed adjustments and check the angles on the saw so later cuts on the next vanes will all be the same.
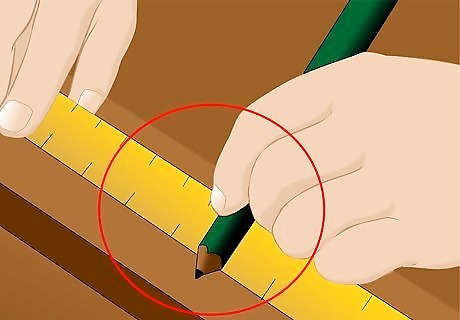
Mark the frame about 3 inches (7.6 cm) higher up and measure the difference in length form you longest vane to this one. If it is ten inches shorter, you can reduce the length of subsequent vanes by the same amount to space them equally without measuring each one.
Cut all the vanes needed to complete the louver. Make sure each angle is cut so it faces the same way in relation to other angles and sort them by length.
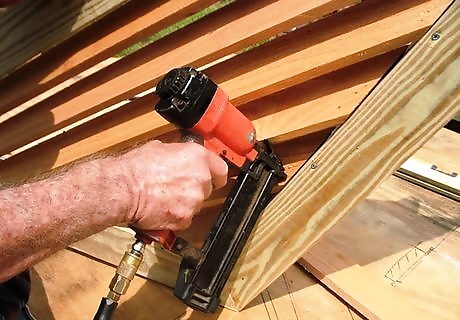
Begin installing the vanes working from the shortest (top) to the longest, nailing each end, and keeping the vanes flush with the bottom (back) of the face frame so insect screening can be stapled to them later.
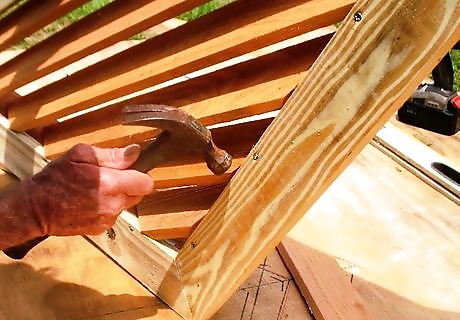
Turn the louver over to complete nailing from the back side where the ends are more easily accessed. Use a finish nailer with corrosion resistant nails or corrosion resistant screws and a screw gun depending on your preference. Remember, the louver will be exposed to weather conditions, so it should be built securely to prevent wind damage that will result in leaks into your building.
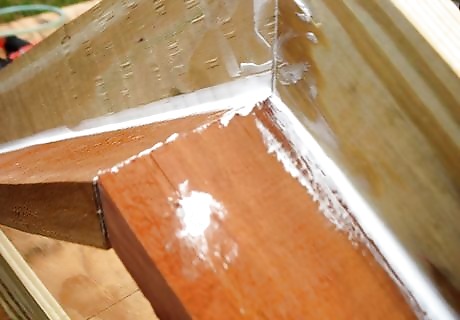
Caulk, then paint or stain the louver if desired.
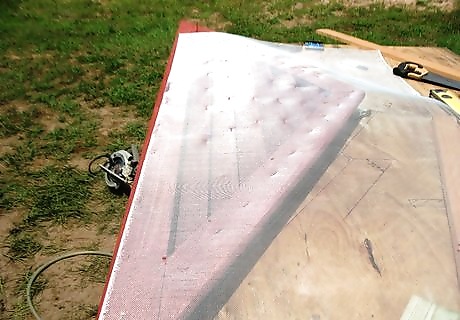
Place the louver on the table with the back up, and stretch the aluminum insect screen on it. Staple it in place with ⁄4 inch (0.6 cm) galvanized staples. Make sure to staple through the screen into the louver vanes to help prevent them from bowing or loosening.
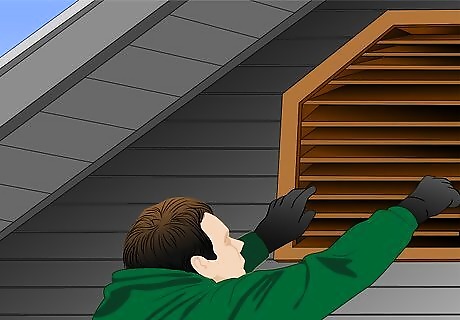
Cut the hole in the gable siding and install your new louver.


Comments
0 comment