views
Using a VPN
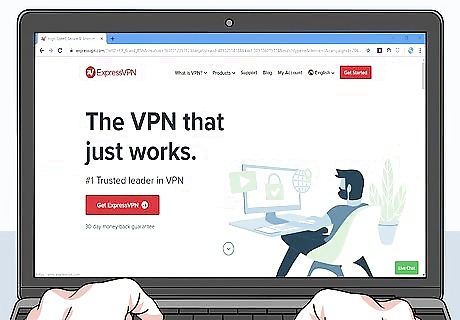
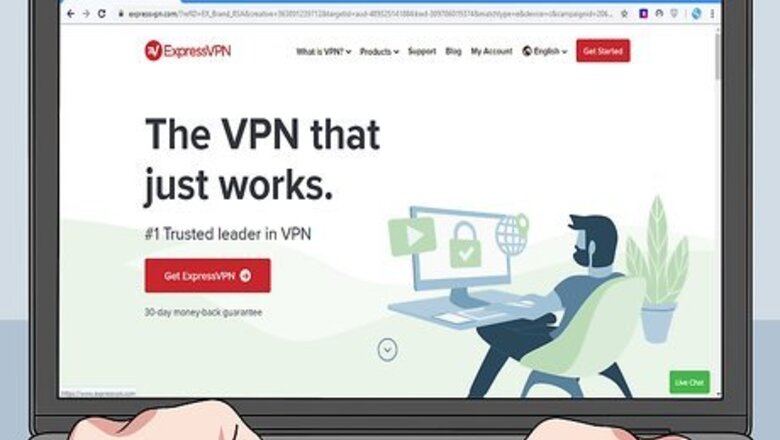
Select a VPN. Like proxies, there are countless Virtual Private Network (VPN) services available. Popular ones include NordVPN and ExpressVPN, but you're free to choose the one that fits your needs (and price range if you plan on purchasing a membership). If the firewall or Internet filter that you're attempting to bypass is on a library, work, or school computer, you most likely won't be able to use a VPN since doing so will require changing your computer's settings. Unlike proxies, VPNs will hide any online browsing while they are active. Most VPNs are free to test, but eventually cost a small monthly fee (or a discounted annual one).
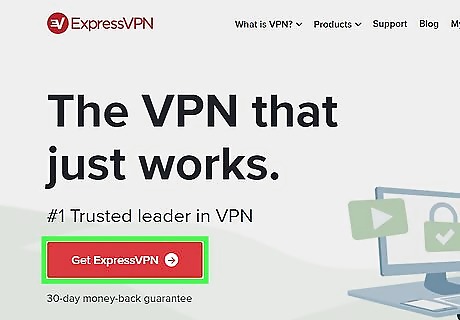
Subscribe to your VPN. Most VPNs will require you to create an account in order to sign up, at which point you'll be given a server address, password, username, and/or other information needed in order to connect. If your VPN uses a different type of network than is the default, you'll see information about it as well.
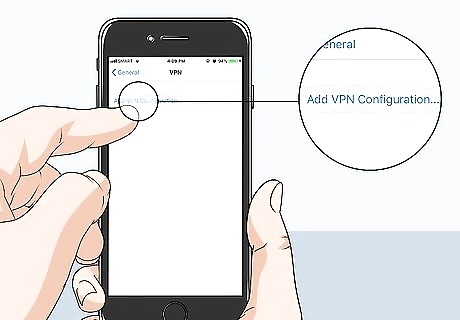
Open your computer's or phone's VPN Settings page. The steps for doing so vary depending on your operating system and whether you're using a computer or a mobile item: Windows - Open Start Windows Start, click Settings Windows Settings, click Network & Internet, click the VPN tab, and click Add a VPN connection at the top of the page. Mac - Open the Apple menu Mac Apple, click System Preferences..., click Network, click + in the lower-left corner, click the "Interface" drop-down box, and click VPN. iPhone - Open iPhone Settings App Icon Settings, scroll down and tap General, scroll down and tap VPN, and tap Add VPN Configuration.... Android - Open Settings, tap More below the "Wireless & networks" section, tap VPN, and tap + or ADD VPN.
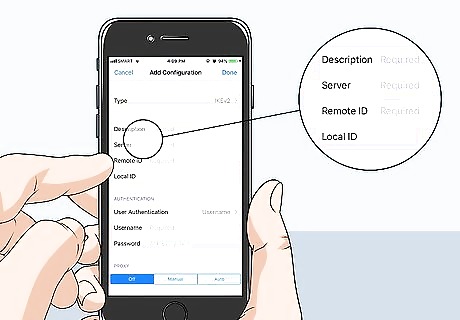
Enter your VPN's details. This section will vary depending on the kind of VPN you're using, what kind of authentication your VPN requires, and more. If you have any questions about which information to use, check your selected VPN's "Help" page.
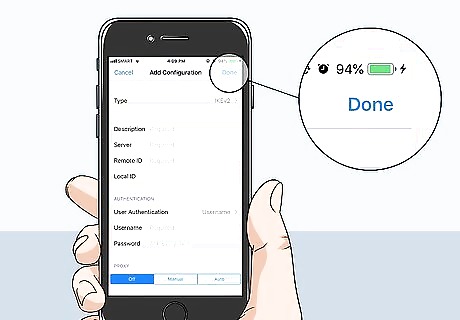
Save your VPN's configuration. Once you've finished entering your VPN's information, do the following: Windows - Click Save at the bottom of the page. Mac - Click Create, finish configuring your VPN as per your VPN's instructions, and click Apply iPhone - Tap Done in the top-right corner of the screen. Android - Tap SAVE.
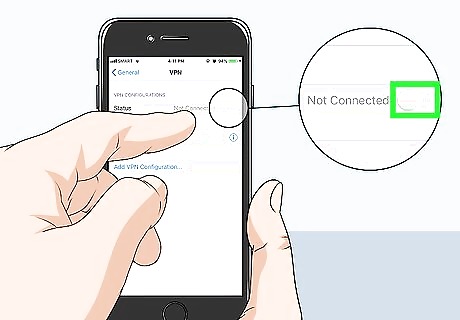
Connect to the VPN. Again, this will vary depending on your platform: Windows - Select the VPN on the "VPN" page, click Connect below it, and enter any requested details. Mac - Select the VPN, then click Connect and enter any requested details. iPhone - Tap the white switch to the right of the VPN's name, then enter any requested information if prompted. Android - Select your VPN's name on the VPN page, tap CONNECT, and enter any requested details.
Browse unrestricted. Once you're connected to the VPN, you should be able to use any online service without being restricted.
Using UltraSurf

Understand how to use UltraSurf. UltraSurf is a program that requires no installation, meaning you may be able to use it on heavily restricted computers. When you open UltraSurf, it connects to the closest available proxy using your computer's default browser and then it opens an incognito (or private) window in that browser. You can then use the browser to visit blocked or restricted sites. Unfortunately, UltraSurf is only available on Windows computers.
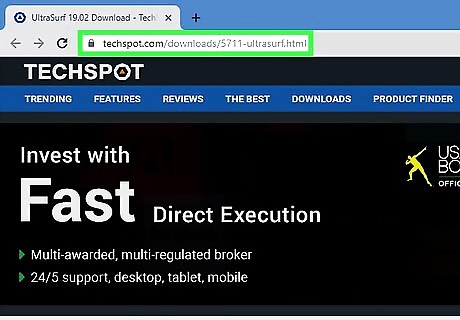
Open the UltraSurf website. Go to https://www.techspot.com/downloads/5711-ultrasurf.html in your computer's web browser. If you can't download this program while on a restricted computer, you can download it at home and put it on a flash drive. You'll then be able to run the program from the flash drive.
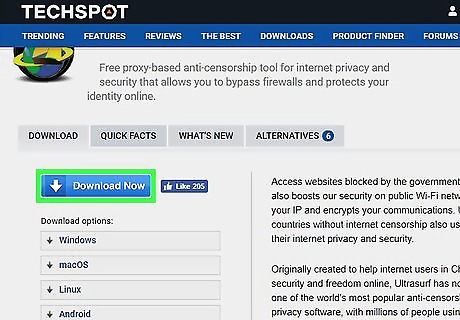
Click Download Now. It's a blue button in the upper-left corner of the page. Doing so prompts UltraSurf to begin downloading onto your computer. UltraSurf will download in a ZIP folder.
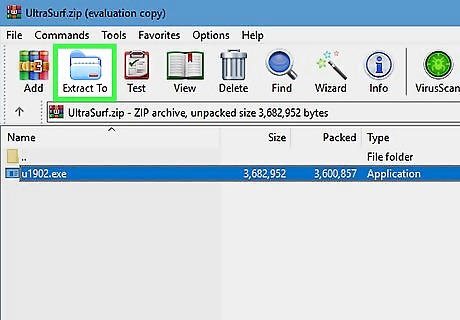
Extract the UltraSurf ZIP folder. To do so: Double-click the ZIP folder. Click the Extract tab. Click Extract all Click Extract
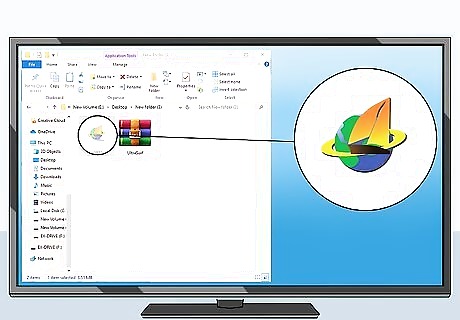
Open UltraSurf. Double-click the u1704 icon in the extracted folder. UltraSurf will begin running immediately. If you downloaded UltraSurf onto a flash drive, first plug the flash drive into the restricted computer and open it.

Wait for your default web browser to open. UltraSurf will take a few seconds to find and connect to an optimal proxy server that isn't blocked on your network.

Browse unrestricted. Once the browser window opens, you can use it to search for restricted content or view blocked sites.
Using a Web-Based Proxy
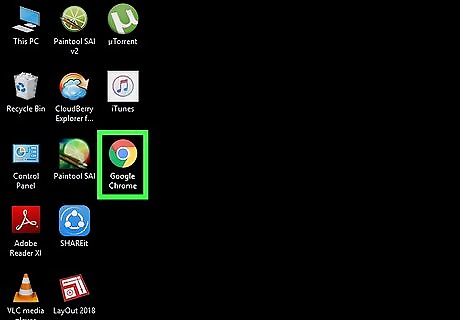
Open a web browser. Click or double-click the app icon for whatever your library computer's default Internet browser is.
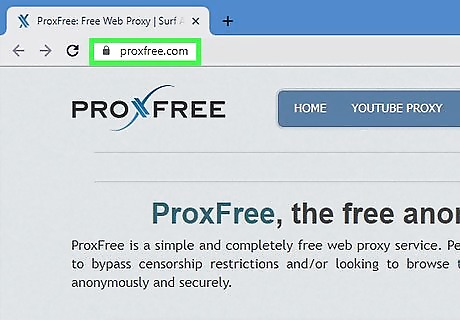
Go to a proxy site. There are countless free proxy sites available for you, but some popular ones include the following: ProxFree - https://www.proxfree.com/ HideMe - https://hide.me/en/proxy/ CroxyProxy - https://www.croxyproxy.com/ In the event that your network has blocked access to all of the above proxies, type online proxy free into a search engine and then click through relevant results until you find an unblocked proxy.
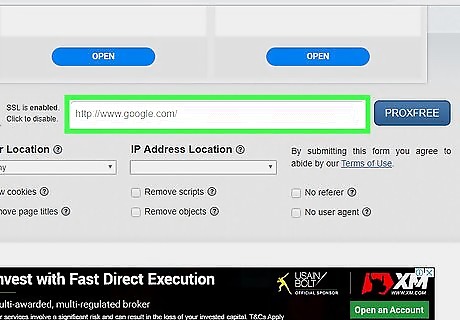
Find and click the search bar. You'll usually find the "URL" or "Website" text box in the middle of the page.
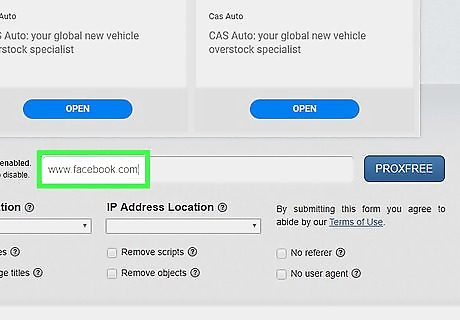
Enter a web address. Type the web address of a blocked site (e.g., "www.facebook.com") into the text box. Most proxies don't support keyword searching in the search bar, though you can go to a standard search engine (e.g., Google) inside of the proxy and then search for keywords from there.
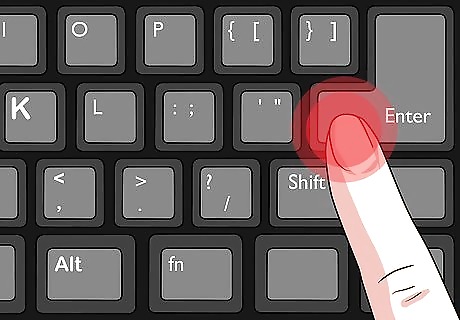
Press ↵ Enter. Doing so will prompt the proxy to begin loading your website. Since proxies don't use direct paths from your computer to a server, this may take a few seconds longer than usual.
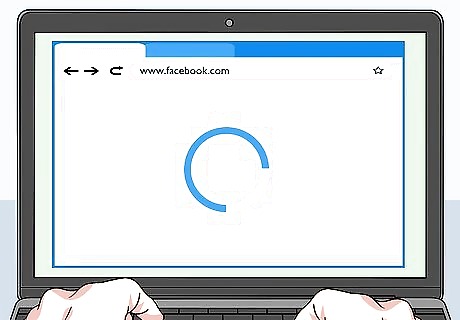
Browse unrestricted. Using the proxy's tab, you should be able to access any previously blocked websites. Keep in mind that you'll need to stay within the proxy's tab to do this; opening a new tab or browser window and attempting to access blocked content from there will result in failure.
Using a Smartphone as a Hotspot
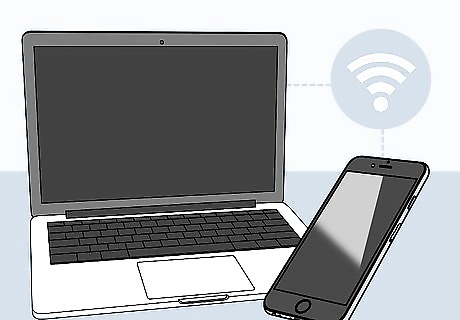
Make sure that your carrier allows tethering. "Tethering" refers to the ability to use your smartphone's cellular data as a Wi-Fi connection on a computer. Not all carriers allow this feature, though many carriers will unlock tethering on your smartphone upon request (and, in some cases, a small fee). The easiest way to ensure that your smartphone allows tethering is by calling your carrier and asking.
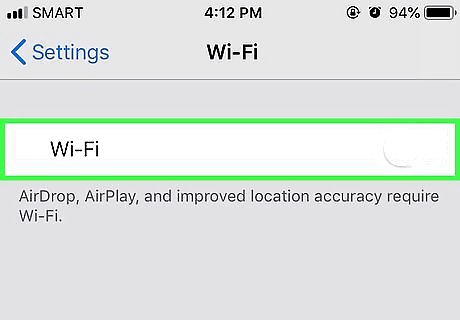
Turn off your smartphone's Wi-Fi. To do so: iPhone - Open iPhone Settings App Icon Settings, tap Wi-Fi, and tap the green "Wi-Fi" switch iPhone Switch On Icon. Android - Swipe down from the top of the screen, long-press the Wi-Fi Android 7 Wifi icon, and uncheck or toggle off the "Wi-Fi" entry.
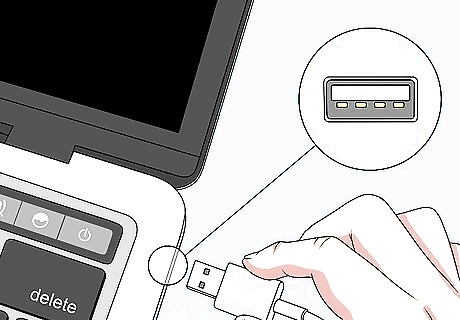
Plug your smartphone's charger into the computer. The rectangular USB 3.0 side of your smartphone's charger should plug into one of the USB ports on your computer. If you're using a Mac computer that has Thunderbolt 3 (USB-C) connectors, you'll need a USB 3.0 to USB-C adapter in order to connect your charger cable to your Mac.
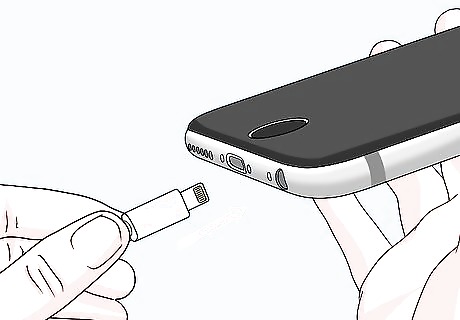
Attach your smartphone to the charger cable. Plug the other end of the charger cable into the bottom of your iPhone or Android.
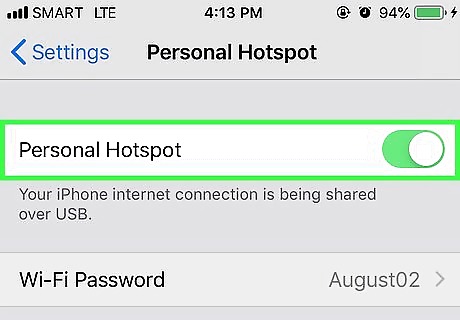
Enable hotspot tethering for your smartphone. This will vary depending on whether you're using an iPhone or an Android: iPhone - Open iPhone Settings App Icon Settings, tap Personal Hotspot, and tap the white "Personal Hotspot" switch iPhone Switch Off Icon. Android - Swipe down from the top of the screen, tap the Settings Android 7 Settings icon, tap More below the "Wireless & networks" heading, tap Tethering & portable hotspot, and check or toggle on the "USB tethering" option.
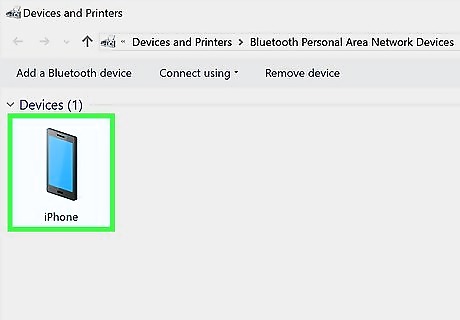
Select your smartphone as the Internet connection. On most computers, your smartphone's connection will immediately be prioritized due to its Ethernet standing; if not, click the "Wi-Fi" Windows Wifi (Windows) or Mac Wifi (Mac) icon and then select your phone's name. Unlike wireless tethering, you won't have to input your tethering password (listed in the tethering menu) to connect to your phone.
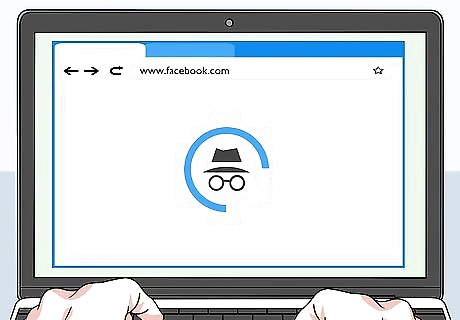
Browse unrestricted. Since you're connected to a cellular network and not the Internet in your current location, you should be able to bypass any restrictions in this way. Keep in mind that tethering consumes a large amount of cellular data, meaning that you may incur charges on your bill if you download files, stream video, or browse for too long.


Comments
0 comment