views
Utilizing the Automatic Cleaner on Your Printer
Check your manual to see if you can activate a clean from the control panel. Get out the manual that came with your printer and find “cleaning” or a similar term in the index. Follow the directions to use the buttons on the printer to start an automatic clean. Each printer is different, so that’s why it’s important to use the directions that came with your make and model. Typically, this is all you need to do to clean the interior of your printer. If you can’t find your manual, you can locate it online by searching the type of printer you have and “manual.” To get to the maintenance control panel via PC, search "maintenance" in the Windows search bar and click on the "Security and Maintenance" page that comes up (from the control panel).
Open your printer software on your computer and find the “Clean” option, if necessary. Some printers don’t have the option to run the cleaning function directly from the printer buttons. If your manual doesn’t indicate that option, you can launch the cleaning application from your computer. To access these options, right click on the printer icon on the bottom of your computer screen. When the menu opens, select whichever of these appears: “Maintenance”, “Utility”, “Toolbox”, or “Properties.” The term will vary depending on what type of printer you have. Next, select the cleaning option.
Print a test page to see if the cleaning worked. Depending on your model, your printer might automatically print a test page after you run the cleaning function. If it doesn’t, check your manual again. It should give you specific instructions on how to print a test page. If the ink still looks smudged or the paper jams, run the cleaning program again.
Keeping the Paper Rollers Clean
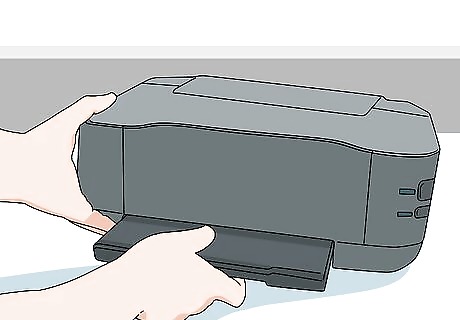
Remove the paper tray to locate the paper rollers on an inkjet printer. Typically, you can find the paper rollers on an inkjet paper by simply lifting the paper tray away from the printer. The paper rollers are made of rubber and are about .5 inches (1.3 cm) wide. You may need to rotate the printer so that you are able to see the bottom, where the rollers are typically located.
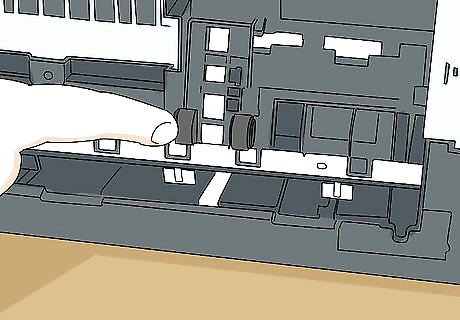
Locate the paper rollers in the access panel on a laser printer. The rollers might be near the paper tray, but they aren’t always. If you don’t see them, open the printer’s access panel, which can be found either on the front or back of your printer, depending on the model. You may need to remove the printer cartridge in order to access the rollers.
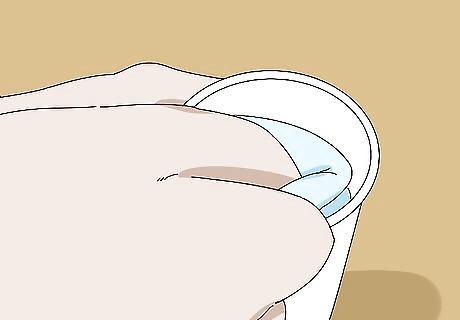
Moisten a clean cloth with a little water. Grab a soft cloth that is clean and lint-free. Dip the cloth in a cup of water just enough so that it is damp, not wet. Distilled or filtered water works best, but any clean water should be fine.
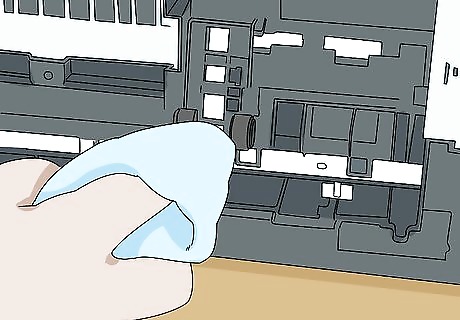
Rotate the rollers while wiping them to clean the entire surface. Gently spin the rollers with the damp cloth. Do a few rotations to make sure that you have cleaned the entire roller of any dust or debris. On laser printers, you might not be able to manually rotate the rollers. Don’t worry, you can easily unsnap the clips holding the rollers in place and remove them. Just put them pack and fasten the clips after you’ve wiped the rollers clean. Wipe the rollers dry with the dry part of the towel.
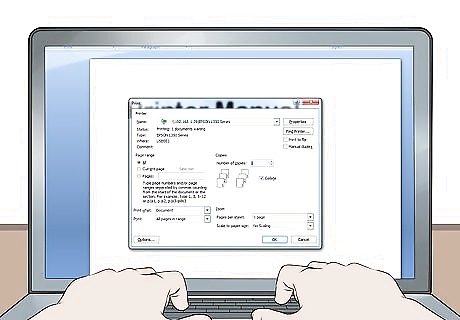
Close the printer and print a test page to see if it works. Your printer might automatically print a test page after you close the access panel or replace the paper tray. If not, check your manual to see how to print a test page. If you still have printing issues, try cleaning the rollers again.
Cleaning the Printer Cartridge
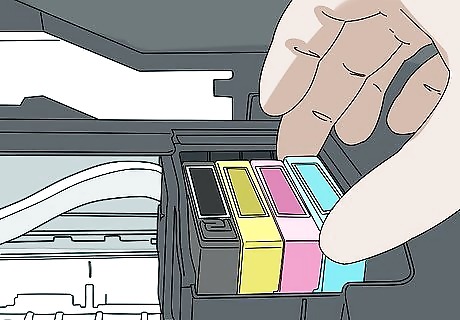
Open your printer and remove the ink cartridge. Locate your access panel, which will be either on the front or back of your printer, depending on the model. Following the directions in your manual, gently pull out the printer cartridge. They should just pop out pretty easily.
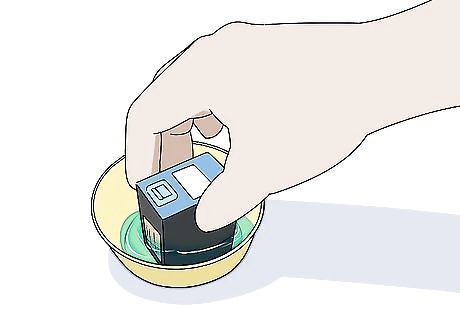
Place the cartridge, nozzles down, into a bowl of warm water. There will be small nozzles on one side of the cartridge. Submerge these nozzles in a bowl of warm water. The water should be just a little warmer than room temperature.
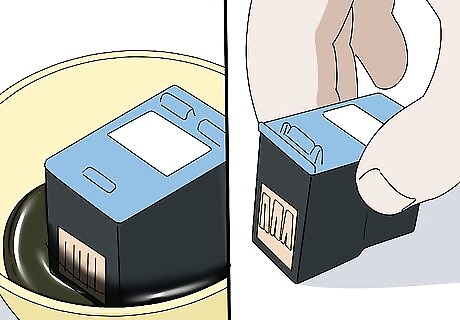
Remove the cartridge when you see ink begin to flow in the water. When the nozzles are clean, ink will be able to flow freely. This shouldn’t take long.
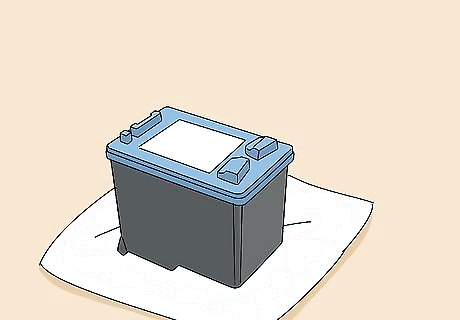
Dry the cartridge with a clean cloth and let it sit for 10 minutes. After you take the cartridge out of the bowl, wipe it dry with a clean cloth. Allow it to air dry for about 10 minutes.
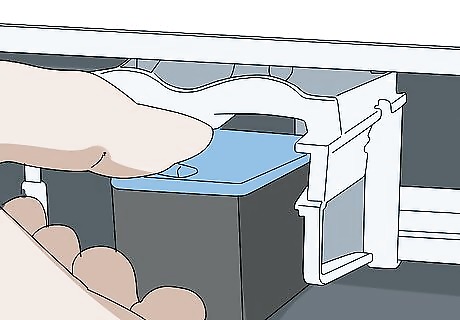
Replace the cartridge and print a test page. Pop the cartridge back into the printer and close the access panel. Your printer will probably print a test page. If your printer doesn’t print a test page, check your manual to see how to run one.




Comments
0 comment