
- On the mobile app, go to "Menu" → "Events" → "+". Add all event details and tap “Create Event”.
- On the desktop website, go to "Events" in the left menu. Click "Create new event". Add event details and click “Create Event”.
- You can change the privacy of your event during the creation process (Public, Private, Friends).
Using Mobile
Open the Facebook app. This looks like a white f with a blue background. If you aren't already logged in, enter your email address or phone number and password to do so now. Facebook is available for iOS in the App Store and for Android in the Google Play Store.

Tap Menu. It's in either the bottom-right corner (iPhone) or the top-right corner (Android). This will open the additional options menu. Some versions of the Facebook app have "☰" instead.

Tap Events. You'll find this calendar-shaped option near the top of the menu. Depending on your version of Facebook, you may have to scroll down or tap See more to find Events.
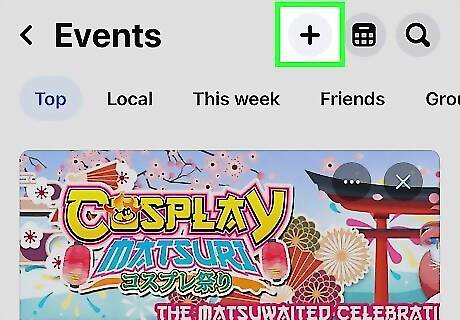
Tap +. You can find this at the top-right corner. This will open an event creation menu.

Enter a name for the event. Tap the Event name text field at the top of the screen, then type in the title that you want to use.
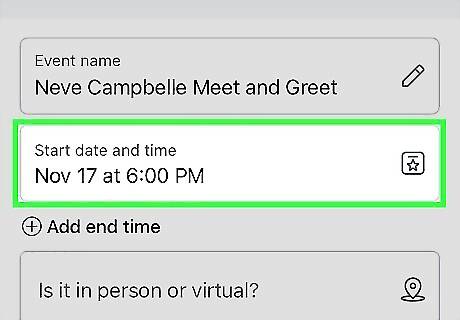
Add a time for the event. Tap the current time, then select a date and time. Tap OK to confirm.
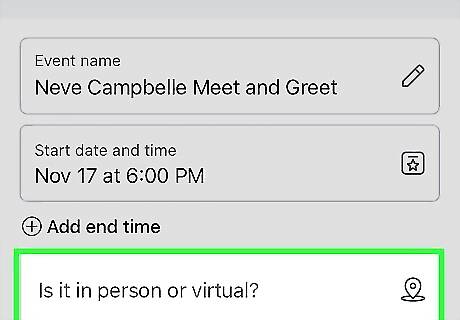
Select an event location. For example, if you’re making an in-person event, choose In Person. You can also choose to make your event virtual if you plan to host on Zoom. If the event is in person, enter a location in the field and tap to select it. If the event is virtual, select Messenger Rooms, Facebook Live, External Link, or Other. Be sure to attach the respective platforms or links so your guests know where to go.
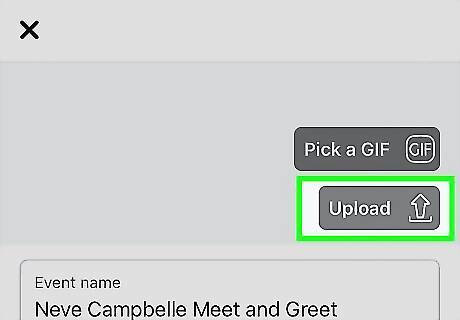
Upload photos for the event. You can use a GIF, a photo from Facebook's gallery, or upload your own photo. Tap Pick a GIF to search Tenor and select a GIF. Tap Gallery to search Facebook's image gallery. Tap an image to select it. Tap Upload to select a photo from your camera roll.

Choose the audience. Tap Who can see it? to make the event Private, Public, or for Friends only. Private: Makes a Facebook-only event that only invited people can access. Public: Makes a public event that anyone can access, including people who don't have Facebook accounts. Friends: Makes an event that only your added friends can see and access.

Add a description. Tap What are the details? to type in any additional information that will help inform people who are coming to your event. This is a good place to add things like house rules, expectations, and an itinerary. Depending on your selections, you may see Additional settings. Tap this to edit the extra settings for your selections.
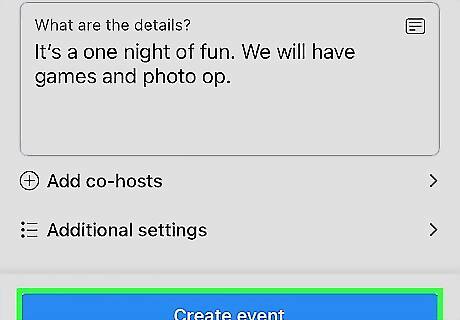
Tap Create Event. This is a blue button at the bottom of the screen. Doing so will publish your event! There are a couple ways to edit your Facebook event if needed. You can even add a host to share the event-management with a friend.
Using Desktop
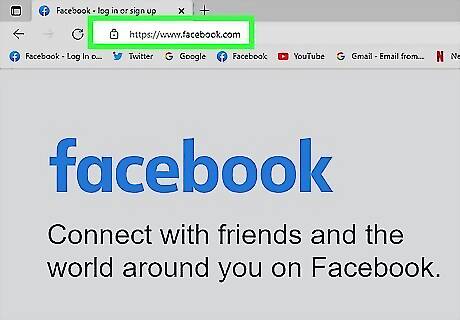
Go to https://www.facebook.com in your web browser. You can use any web browser on Windows, macOS, or Linux to create a Facebook event. This will open your Facebook Feed if you're already logged in. If you aren't logged in, enter your email address (or phone number) and password, then click Log in.

Click Events. It's next to a calendar icon in the left menu of the News Feed page. You may need to click See More to show this option.
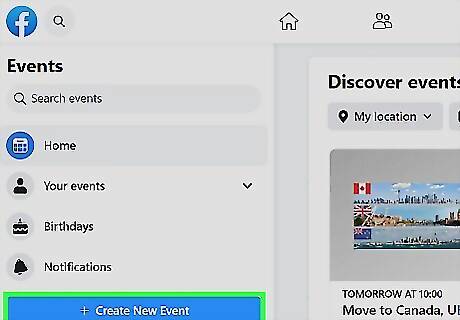
Click + Create new event. A pop-up window will open for the new event.
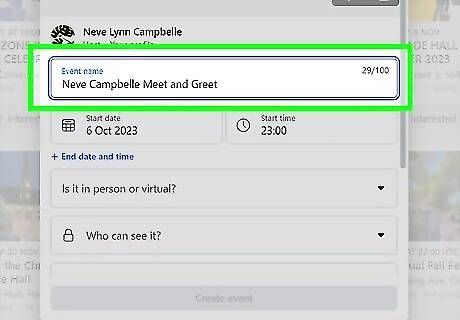
Add a name for the event. In the "Event Name" text field, type in the name that you want to use for your event. The name should be descriptive but concise (e.g., "Dad's 60th Birthday Party").

Select an event location. Click the Is it in person or virtual? field to expand the drop-down menu. If you’re making an in-person event, choose In Person. If your event is online, select Virtual. If the event is in person, enter a location in the field and click to select it. If the event is virtual, select Messenger Rooms, Facebook Live, External Link, or Other. Be sure to attach the respective platforms or links so your guests know where to go.
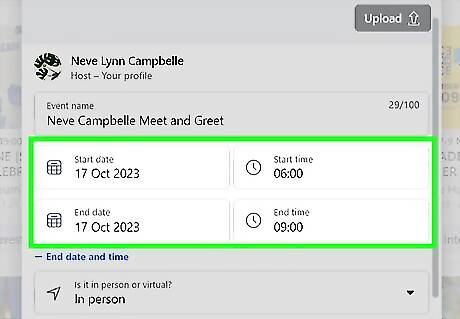
Add a start and end time. You'll do this in the "Start" and "End" sections, respectively.

Type in a description. Enter a description of the event in the "Description" text box. This is a good place to add information about rules, goals, the event's itinerary, and so on. Depending on your selections, you may see Additional settings. Click this to edit the extra settings for your selections.
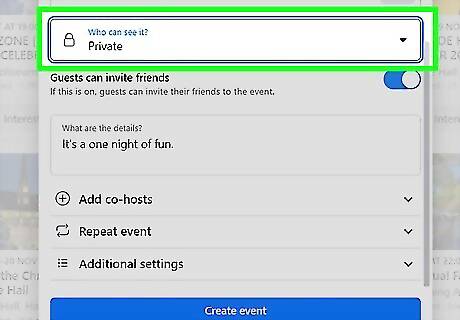
Choose the audience. Click Who can see it? to make the event Private, Public, or for Friends only. Private: Makes a Facebook-only event that only invited people can access. Public: Makes a public event that anyone can access, including people who don't have Facebook accounts. Friends: Makes an event that only your added friends can see and access.

Upload a photo for your event. You can use a GIF or upload a photo from your computer. Click Pick a GIF to search Tenor and select a GIF. Click Upload to search for an image on your device. Select it, and then click Open.

Click Create Event. Doing so will publish your event, after which point you can invite friends by clicking Invite, selecting Choose Friends, and selecting friends. You can always delete the Facebook event if you need to! You can also find events near you if you want to join an existing gathering.


Comments
0 comment