views
Using a Windows PC
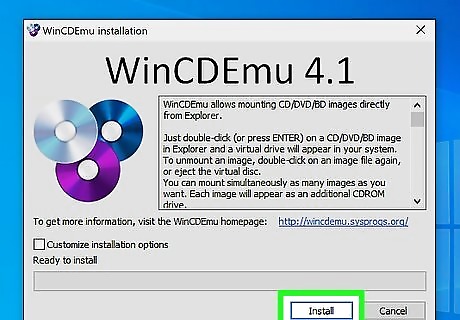
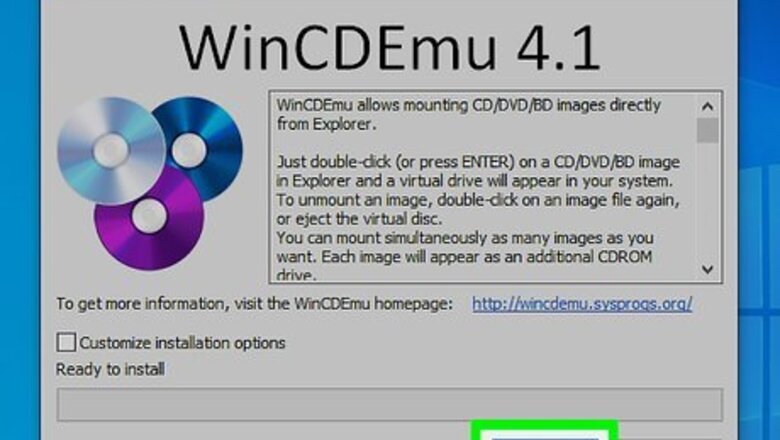
Install WinCDEmu. This is a free, open-source app that makes it easy to create ISOs on Windows. Go to https://wincdemu.sysprogs.org/download in a web browser. Click the green Download button and save the file to your computer. Double-click the downloaded file and click Yes to give it permission to run. Click the Install button. Click OK when the installation is complete.
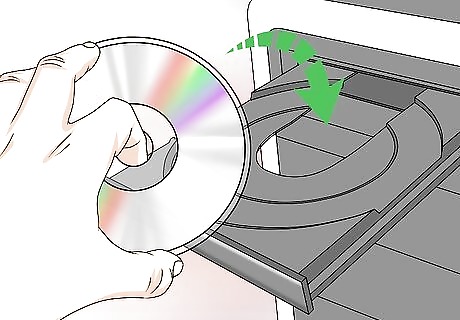
Insert the disc you want to copy (optional). If you want to duplicate a CD or DVD by creating an ISO, insert that disc now.
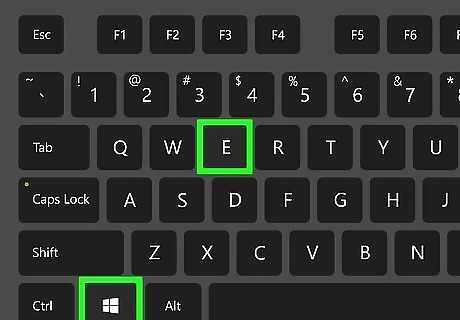
Press ⊞ Win+E. This opens the Windows File Explorer.
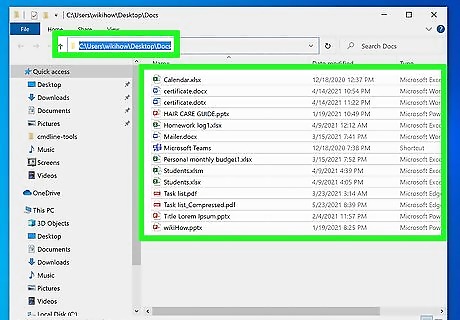
Add the files you want in the ISO to a single folder. Skip this step if you're starting with a CD/DVD or have already added your files to a single folder. Otherwise, here's how to create a new folder: Right-click a blank area of the right panel and select New > Folder. Type a name for the folder and press Enter. Drag all of the files you want to include inside the folder. Alternatively, you can select individual files (hold down the Ctrl key as you click each file name), press Ctrl + C, and then right-click the new folder and select Paste.

Right-click the folder or drive. A context menu will expand.
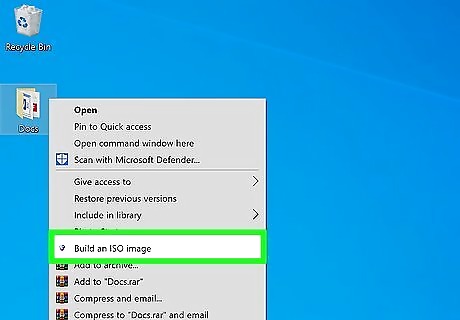
Select Create ISO Image or Build ISO Image. The option you see depends on whether you're copying from an optical drive or using files on your computer.
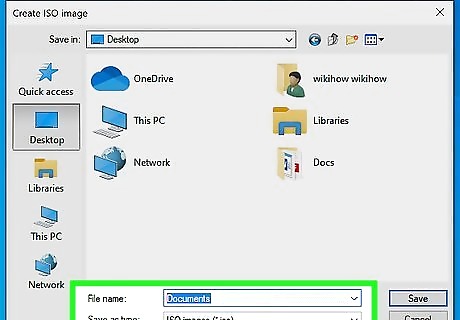
Enter a name for the ISO. The "ISO" file type is already selected from the drop-down menu at the bottom, so you'll just need to enter a name (e.g., MyISO) into the File Name field. If you want to choose a different location to save the ISO to, navigate to that folder now.
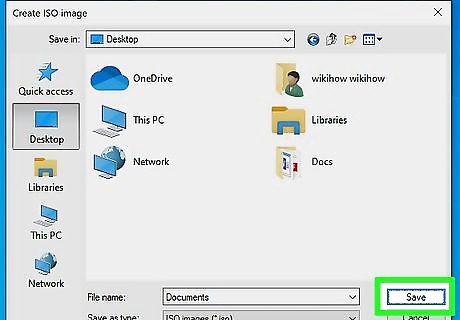
Click Save. WinCDEmu will begin building the ISO from the selected files. A progress bar will keep you updated on how much time remains in the process. When the process is complete, you can click Close on the window, and the ISO will be available at the selected location.
Using a Mac
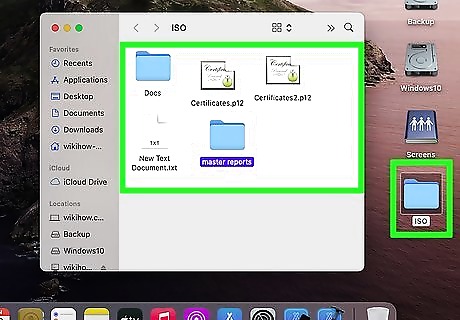
Add the files you want to include in your ISO to a folder. If the files are already in a folder, or if you're creating an ISO from a CD or DVD that's inserted in your optical drive, you can skip this step. Here's how you can create a new folder: Open Finder by clicking the two-toned smiley face icon on the Dock. Click the Desktop folder in the left panel, or choose another location if you want to create your new folder somewhere else. Click the File menu and select New Folder. Type a name for your folder—use something that will reflect the content of the ISO you're creating. Press Return. Drag the files you want to include into the new folder.
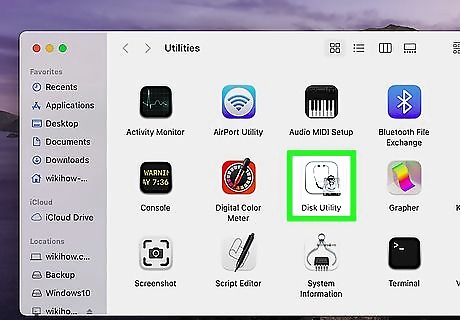
Open Disk Utility. An easy way to do this is to click the magnifying glass at the top-right corner to open Spotlight, type disk utility, and then click Disk Utility in the search results. You can also open Disk Utility in Finder by clicking the Go menu and selecting Utilities > Disk Utility.
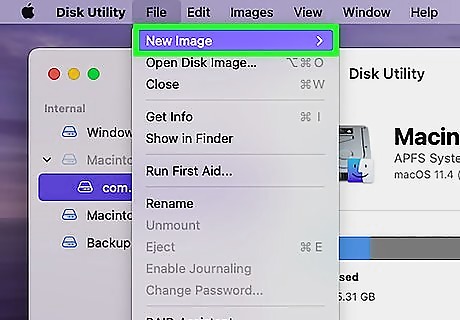
Click the File menu and select New Image. A menu will expand.
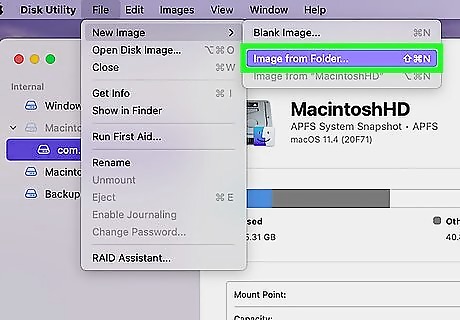
Select Image from Folder or Image from (disc). If you're creating an ISO from a folder, choose the Folder option. If creating one from a CD or DVD in your optical drive, select Image from (disc), where "(disc)" is the name of the disc in your optical drive.
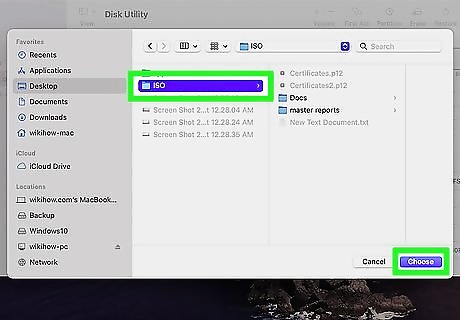
Select the folder with the ISO files and click Open. You can skip this step if you selected an optical drive in the last step.
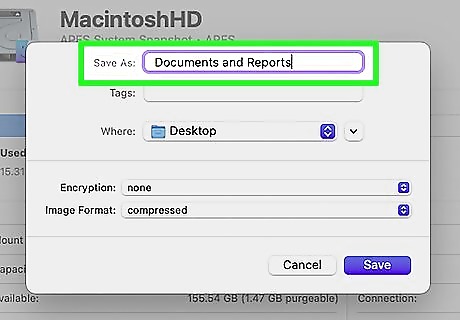
Enter a name for your ISO. Type the name that you want to use into the "Name" field at the top of the window.
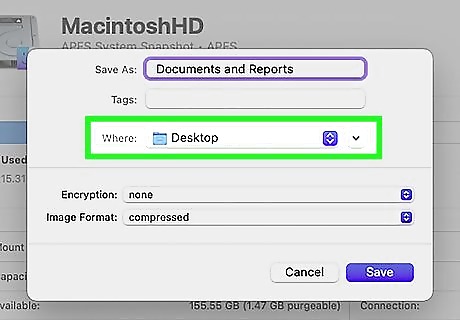
Select Desktop as the "Where" location. Choose this option as it'll make the steps you'll need to do later a bit more straightforward.
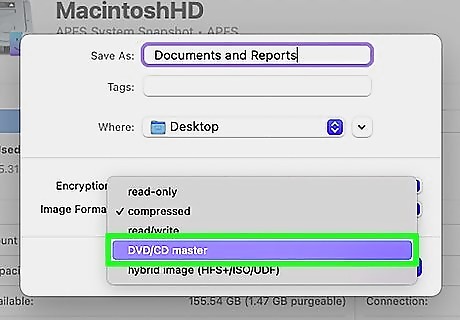
Select DVD/CD master from the "Format" drop-down menu. This option ensures you'll be able to use the ISO with third-party applications on different platforms.
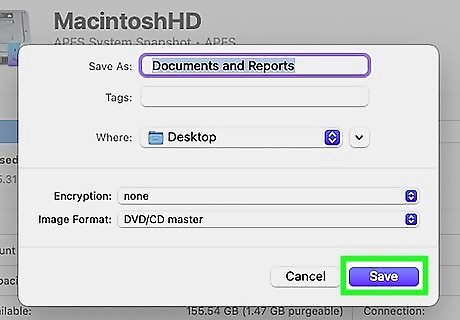
Click the Save button. It's at the bottom of the window. This saves the selected folder or CD/DVD as a disk image. The image will initially be created as a CDR file, which is identical to an ISO image on a Mac, but requires additional conversion to become an ISO that will work on PCs. Continue with this method to convert the file to an ISO.
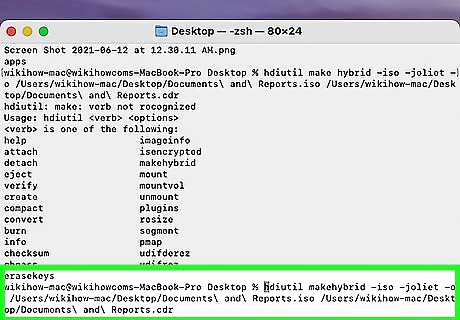
Convert the completed file into an ISO file. While unnecessary if you're going to use this file on your Mac, the created CDR file won't work on a PC. Here's how you can convert it to the proper format: Open a Terminal window. You can do this by opening Finder, selecting the Go menu, choosing Utilities, and then clicking Terminal. Type cd ~/Desktop and press the Return key. Type in hdiutil makehybrid -iso -joliet -o [filename].iso [filenamename].cdr, making sure to replace both [filename] sections with the CDR file's name. Press Return to convert the CDR file to the ISO format. The ISO is now on your Mac's desktop.




Comments
0 comment