

Using PDF Resizer

Open the PDF Resizer site. Go to https://pdfresizer.com/ in your browser.

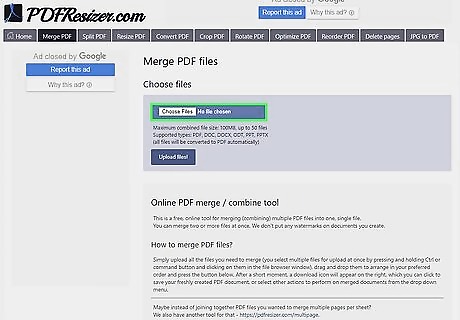
Click the Split PDF tab. It's in the upper-left side of the page. If your PDF is only one page in length, skip ahead to the "Click the Crop PDF tab" step instead.
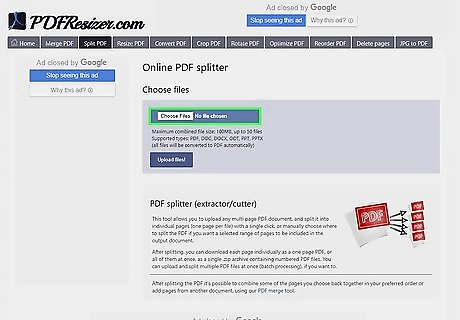
Click Choose Files. This grey button is in the middle of the page. Doing so will open a new window.
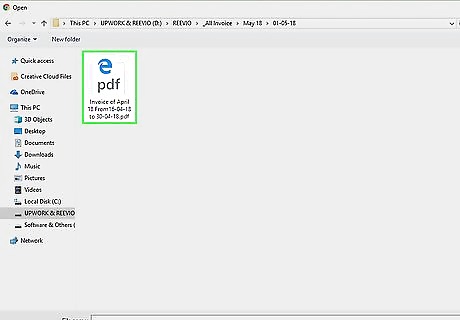
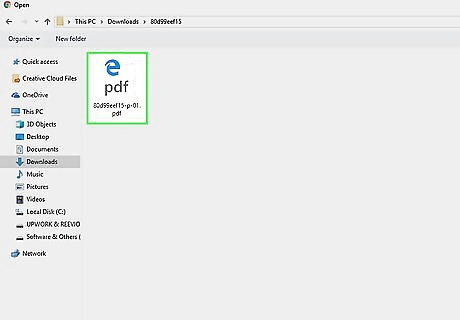
Select your PDF. Click the PDF file that you want to use. You may first have to click its storage folder (e.g., Desktop) on the left side of the window.
Click Open. It's in the bottom-right corner of the window. This will add your PDF file to the PDF Resizer webpage.
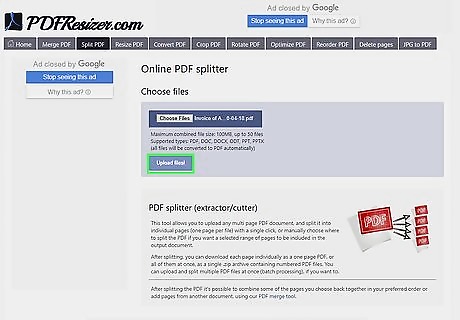
Click Upload files!. This purple button is near the bottom of the page.
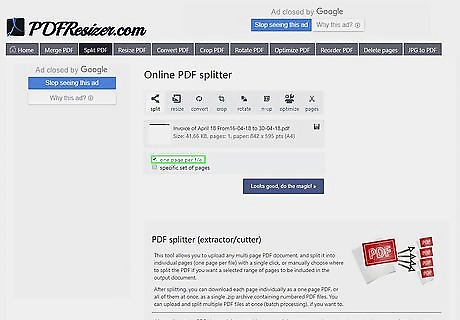
Check the "one page per file" box. It's below the PDF's window.
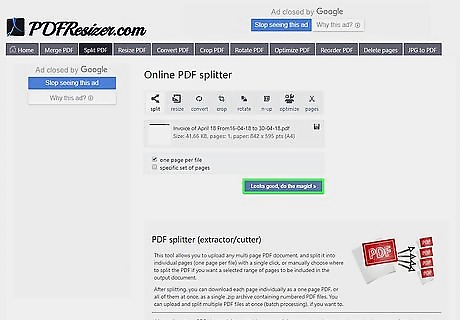
Split the PDF. Click the Looks good, do the magic! button, then wait for your PDF to be split up into individual pages. This process can take several minutes if your Internet connection is weak or your PDF is large.
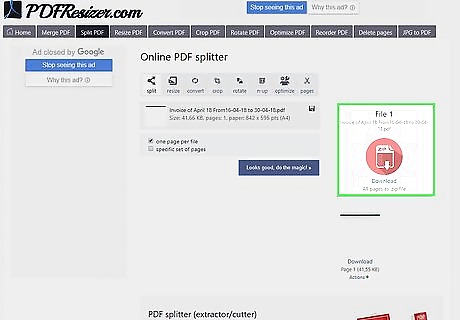
Download the PDF. Click the circular Download button on the right side of the page. The PDF's individual pages will be downloaded.
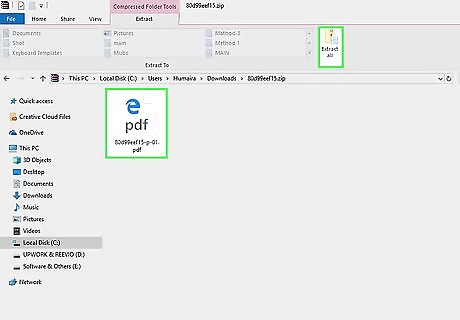
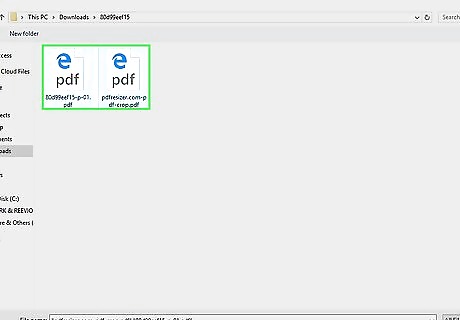
Extract the PDF files. This will ensure that you can crop and merge them. To do so: Windows - Double-click the ZIP folder, click Extract, click Extract all, and click Extract when prompted to unzip the folder. Mac - Double-click the ZIP folder to unzip it.
Re-open the PDF Resizer site. If you closed the PDF Resizer site, re-open it.
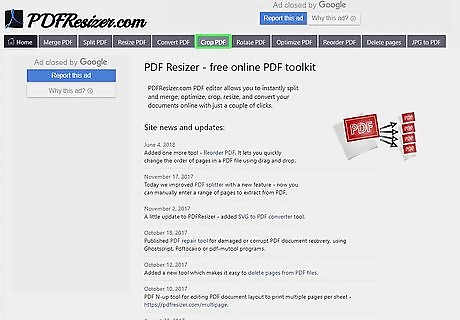
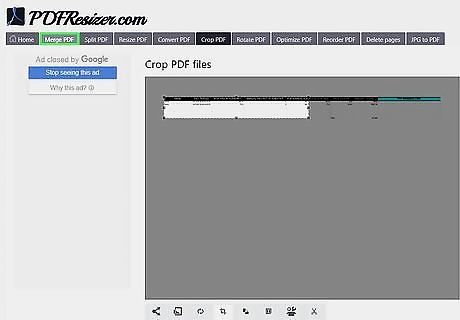
Click the Crop PDF tab. It's at the top of the PDF Resizer site.
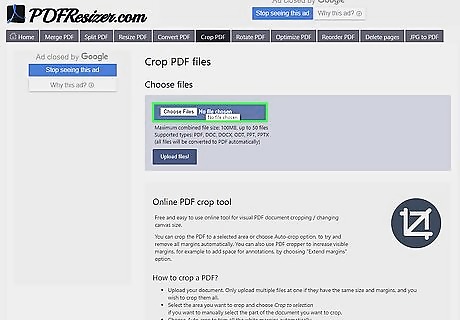
Click Choose Files.
Select a PDF page. Click one of the pages of the PDF that you just split. You can only crop one page at a time. If you upload more than one page, the same crop will be applied to all of them.
Click Open. It's in the bottom-right corner of the window.
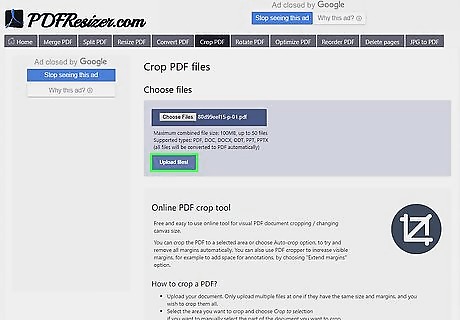
Click Upload files!.

Select a crop area. Click and drag your mouse across the section of the PDF that you want to save.
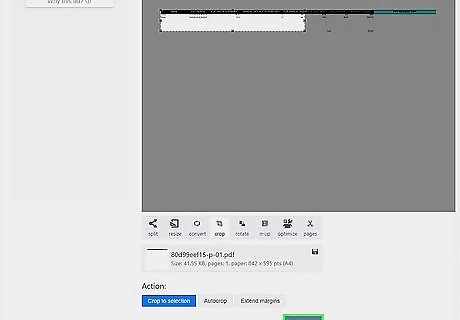
Click Crop it!. It's a purple button near the bottom of the page.
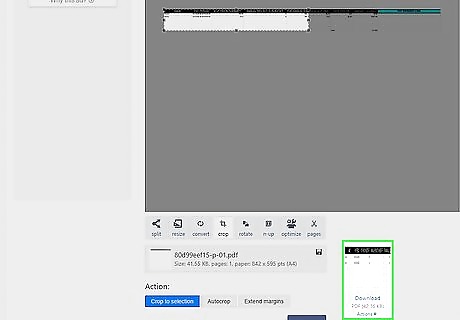
Download the page. Click Download below the cropped PDF on the right side of the page. The file will download onto your computer. At this point, you can upload another PDF page and crop it if you have multiple pages to crop.
Click the Merge PDF tab. It's on the far-left side of the toolbar that's at the top of the page.
Click Choose Files.
Select all of your PDF's pages. Click and drag your mouse across all of the pages that you want to merge, or hold down Ctrl while clicking individual files that you want to upload. You can select up to 100 MB of files or 50 pages, whichever comes first.
Click Open. It's in the bottom-right corner of the window.
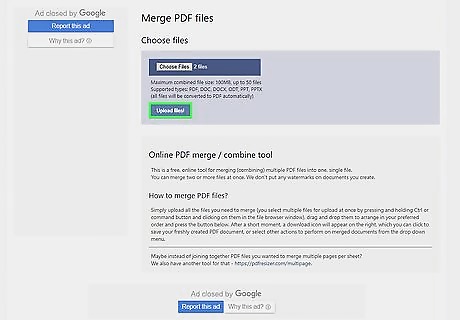
Click Upload files!.
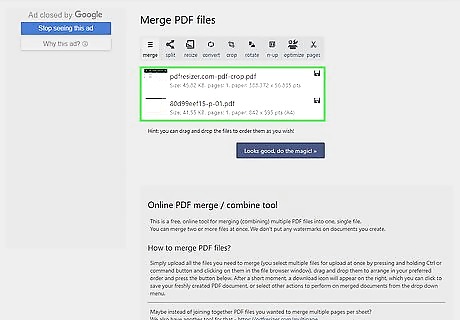
Review your PDF's order. If the PDF's pages look to be in proper order, you can proceed; if not, you can click and drag pages up or down to re-order them.
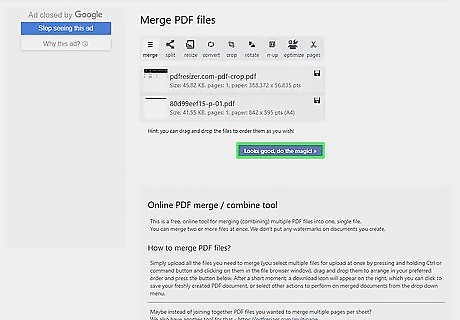
Click Looks good, do the magic!. It's near the bottom of the page. Doing so merges the pages of the PDF together into one PDF.
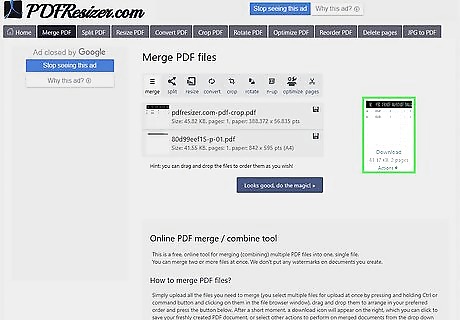
Scroll up and download your PDF. Click Download below the merged PDF that's on the right side of the page. The PDF will download onto your computer.
Using Word on Windows
Open a PDF document. Do so in a PDF reader application, such as Adobe Reader. If you don't already have reader app, Adobe Reader can be downloaded for free from the Adobe Reader site.
Scroll down to the page that you want to crop. If your PDF file is more than one page long and you want to crop a specific page, make sure that the page is open before proceeding.

Open Start Windows Start. Click the Windows logo in the bottom-left corner of the screen.
Type in snipping tool. This will search your computer for the Snipping Tool app.
Click Snipping Tool. It's at the top of the Start window. This will open a small window on top of your PDF file.
Enable the "Rectangular Snip" option. Click Mode at the top of the Snipping Tool window, then click Rectangular Snip in the resulting drop-down menu. Your mouse cursor will turn into a crosshairs icon.
Select a crop area. Click and drag the crosshairs across the section of the PDF that you want to crop. When you release your mouse cursor, the section will be cropped.
Release your mouse button. This will crop the PDF into your selected area.
Click the "Save" button. It's a purple floppy disk icon at the top of the Snipping Tool window. A File Explorer window will open.
Click the "Desktop" folder. This is on the left side of the File Explorer window. Doing so selects the Desktop as the place in which your cropped PDF file will be saved, making it easier to find later.
Click Save. It's in the bottom-right corner of the window. This will save your file on the desktop under the name "Capture". At this point, you can go back and crop any other pages or PDFs that you want to crop.
Open Microsoft Word. Its app icon resembles a white "W" on a dark-blue background.
Click Blank document. This option is in the upper-left side of the window. A blank document will open.
Click the Insert tab, then click Picture. You'll find Insert at the top of the Word window, while Picture is in the "Illustrations" section of the toolbar.
Select the image that you snipped from the PDF. Click the Desktop tab on the left side of the window, then click the "Capture" image and click Insert. If you cropped several images, hold down Ctrl while clicking each image that you want to insert. Make sure to click them in the order in which you want them to appear.
Click File, then click Export. File is a tab in the upper-left side of the window, and Export will be near the bottom of the pop-out menu.
Create a PDF document. Click the Create PDF/XPS Document tab on the left side of the screen, then click Create PDF/XPS in the middle of the page.
Save your file. Click a save location on the left side of the window, type in a file name, and click Publish in the bottom-right side of the window. The Word document with your crops will now be saved as a new PDF document.
Using Preview on Mac
Open a PDF document in the Preview app. Do so by double-clicking the blue Preview icon that looks like overlapping snapshots, clicking File in the menu bar, clicking Open... in the drop-down menu, selecting a file in the dialog box, and clicking Open in the bottom-right corner of the window. Preview is Apple's native image viewer app that's automatically included with most versions of Mac OS.
Click View. It's in the menu bar at the top of the screen. A drop-down menu will appear.
Click Single Page. This option is in the drop-down menu. Doing so displays a full page in the Preview window.
Click Tools. It's also in the menu bar.
Click Rectangular Selection. It's in the drop-down.
Select a crop area. Click and drag the crosshairs across a portion of the PDF you want to keep. For example, if you want to keep the top part of a page but crop out the bottom part, drag the crosshairs from one corner of the top part across and down the page until the portion you want to keep is selected.
Release the mouse button. The selected portion will be surrounded by a flashing rectangle.
Click Tools again. It's in the menu bar.
Click Crop. The portion of the page outside the selected part will be cropped out. Repeat this process for each page you want to crop.
Click File in the menu bar, then click Export as PDF…. A pop-up window will appear.
Click Save. It's in the bottom-right corner of the window. This will save your cropped PDF into its own file.


Comments
0 comment