views
Using a Buttonhole Cutter
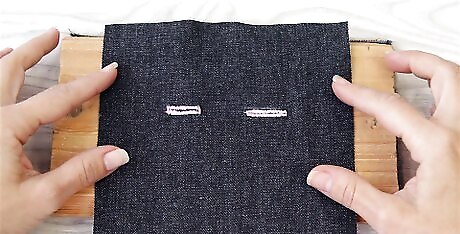
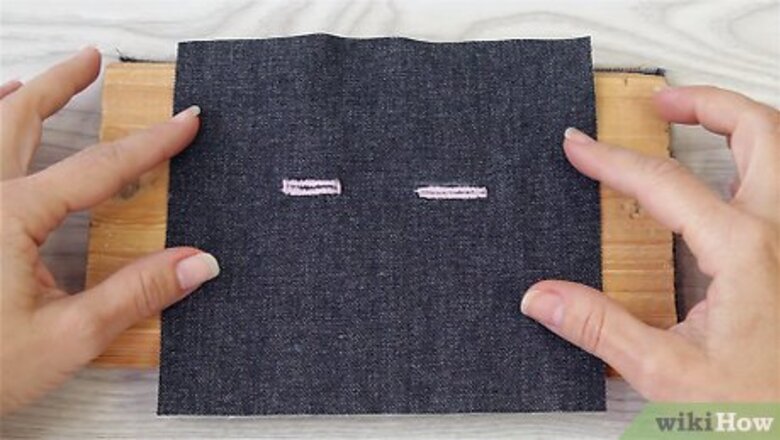
Place the fabric with the buttonhole you want to cut on top of a cutting mat. Position a cutting mat in front of you on a flat work surface, such as a sewing table. Center the piece of fabric with the buttonhole you want to cut over the cutting mat.Warning: Make sure you don’t accidentally put any other parts of the fabric underneath the buttonhole or you might accidentally cut a hole where you didn’t mean to. If you don’t have a cutting mat, you could use a wooden block as an alternative. You just need something that will prevent the buttonhole cutter’s blade from damaging your work surface underneath the fabric.
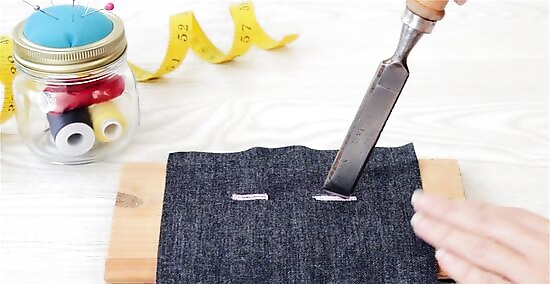
Put the buttonhole cutter’s blade against the fabric at 1 end of the buttonhole. A buttonhole cutter looks like a small chisel. Place the sharp end of the cutter inside the buttonhole’s stitching, right up against 1 end of the stitching. Depending on the size of the buttonhole, the chisel might fill the whole space inside the stitching perfectly. If the hole is small and the chisel blade is too wide, tilt it up a bit to avoid cutting through the stitching at the other end of the buttonhole. You can buy buttonhole cutters online or at a sewing supply shop. They cost about $12 USD and up and are available in different sizes.
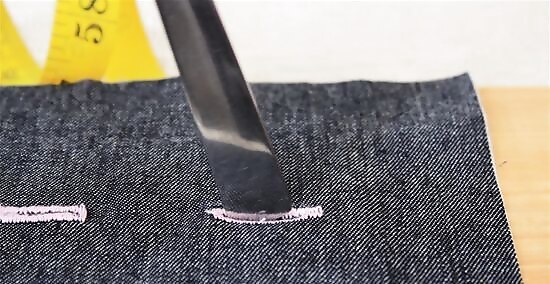
Rock the blade back and forth to cut through the fabric. Press the chisel blade firmly against the fabric inside the buttonhole’s stitching. Rock it back and forth a few times until it cuts through the fabric and opens up the hole. Be careful not to cut through the buttonhole’s stitching.
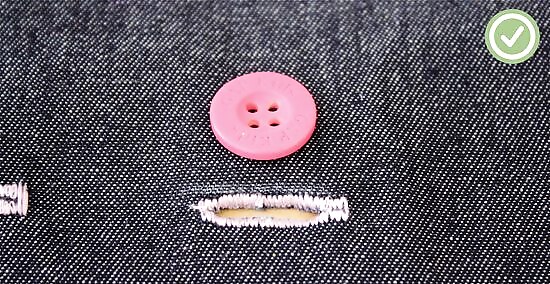
Continue the process to open up the entire hole. Keep rocking the blade back and forth while pressing it against the fabric. Move it down the length of the buttonhole to the other end of the stitching as you go. Stop when you open up the entire buttonhole. This is only necessary if the buttonhole you’re cutting is longer than the width of the buttonhole cutter’s blade. Buttonhole cutters make very clean cuts, so there shouldn’t be any loose or frayed threads inside the buttonhole.
Opening Buttonholes with a Seam Ripper
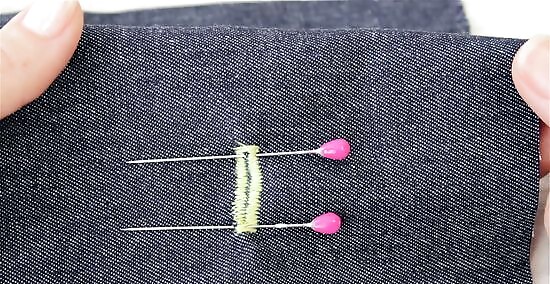
Put sewing pins horizontally across the ends of the buttonhole. Stick a sewing pin through the fabric just before 1 end of the buttonhole’s stitching to create a barrier. Repeat this for the other end of the buttonhole. This will prevent you from accidentally tearing the stitching at the ends of the buttonhole. The fabric between the pins, in the center of the buttonhole’s stitching, is what you will tear open with a seam ripper.
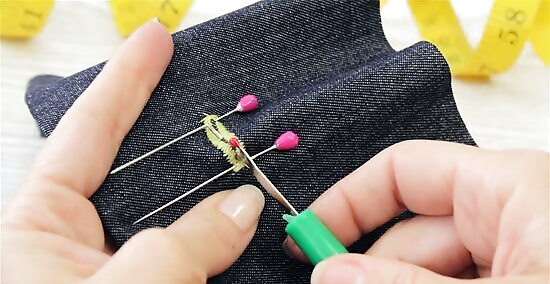
Poke a seam ripper through the fabric at 1 end of the buttonhole. Start at either end of the buttonhole and stick the sharp end of your seam ripper through the fabric in between the stitching. Poke the pointy end up through the center of the buttonhole.Warning: Don't cut from the center towards the stitching. Always cut towards the center. Even though you may have sewing pins at the end as barriers, it's best to take all the precautions just to be safe. Poking the seam ripper through the center of the buttonhole will help avoid tearing it open too much.
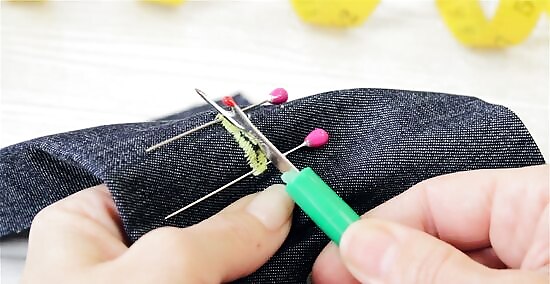
Tear through the fabric until you open up half of the buttonhole. Push the seam ripper towards the center of the buttonhole until you cut all the way to where the tip of the seam ripper was poking through the fabric in the middle. Stop pushing when you don’t feel any resistance anymore. Tearing open just half of the hole to start with is the safest way to open up the hole and not accidentally cut through any of the stitching at the opposite end of the buttonhole.
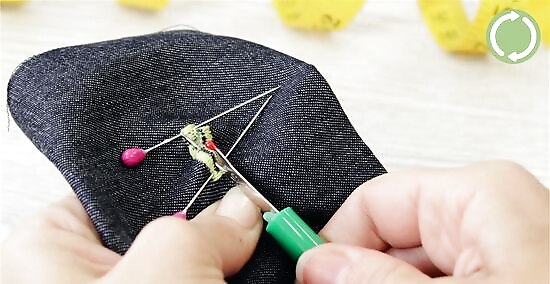
Repeat the process for the other side of the buttonhole. Poke the seam ripper into the fabric at the other end of the button hole. Push it towards the center to finish tearing open the other half of the buttonhole.
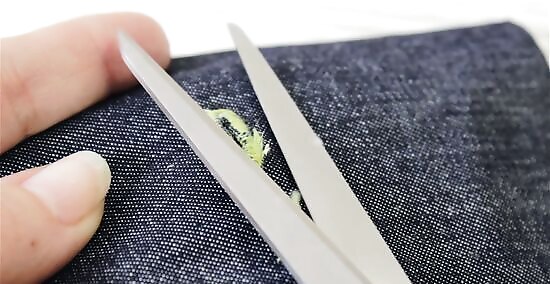
Trim any loose or frayed threads with scissors. Use a pair of small, sharp scissors to cut off any loose threads hanging off the torn fabric. Carefully cut off any frayed edges of the fabric in the center of the buttonhole. If you missed tearing through any of the fabric at either end of the buttonhole, you can also use your scissors to carefully finish opening it up right up to the stitching at both ends.


Comments
0 comment