views
Prepping the Veggies
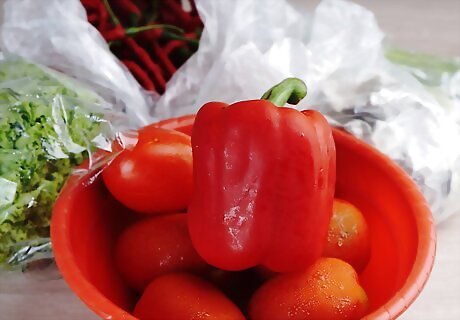
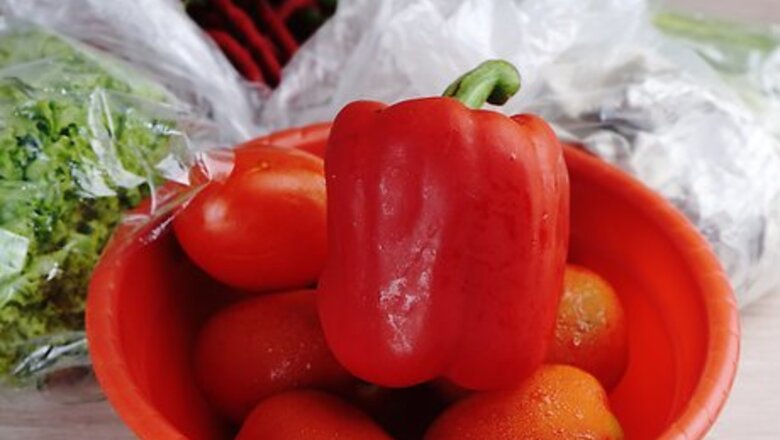
Shop for your veggies the day before or the day of the event. Choose vegetables that look crisp and fresh, and avoid produce that is limp or discolored. The closer you can shop to the actual event, the better your plate is going to look. It helps to have an idea in mind for what veggies you need to buy, but keep in mind that your location and the season might dictate what’s available to you. Be open to trying new things and to modifying your plan if you need to.
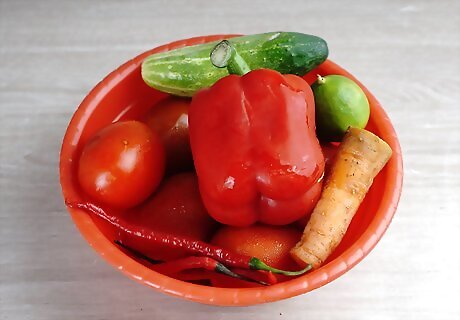
Rinse and dry your veggies before cutting any of them. Run all your veggies underneath cold water and pat them dry with a paper towel to remove any visible dirt. A big part of decorating vegetable salad plates is creating a pristine, colorful arrangement, and specks of dirt would definitely detract from your design. Wait to rinse and prepare your veggies until the day of your event to keep them fresh.
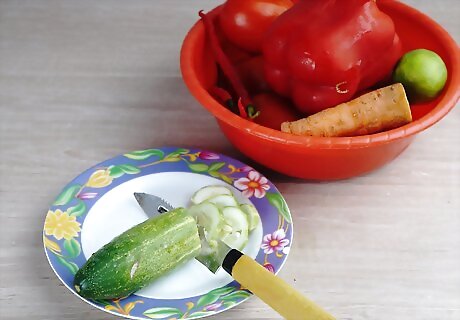
Chop up your veggies into appropriate sizes depending on your design. Before you start cutting, think through your design plan. Cut your vegetables into the sizes and shapes that you’ll need. In general, try to keep your cuts equal so that each piece of the same type of vegetable looks uniform. For example, if you are cutting up cucumber sticks, make them all the same width and length. Or if you’re using broccoli, chop the florets so that they’re about the same size. To keep yourself organized, put your prepared vegetables into separate bowls rather than piling them all together.
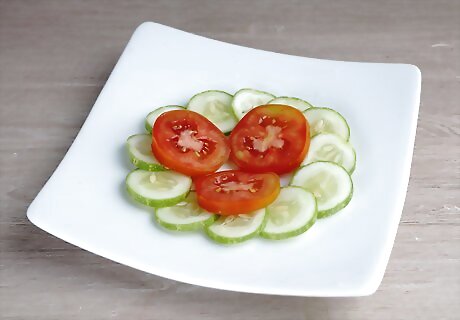
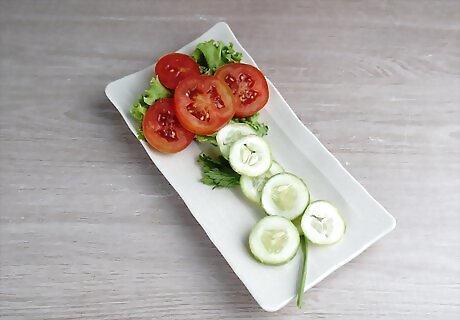
Arrange the veggies in concentric circles by color for an elegant plate. For example, use cucumbers and tomatoes that have been sliced into circles. Alternate laying down tomato-cucumber-tomato in the same circle, or you could create one circle of just tomato, followed by one made just of cucumber, and so on and so forth. You could add in other veggies to make even more intricate designs. For example, you could use asparagus stalks to create a loose circle between the tomatoes and cucumbers.
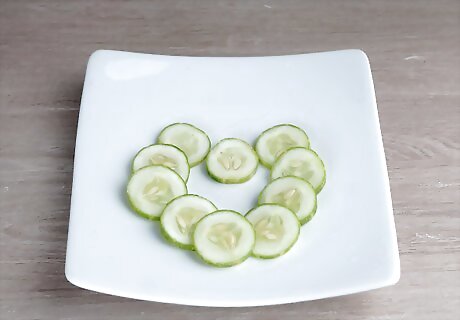
Choose an object and sketch out veggie placement for a fun design. Think about the theme of your party or event—is it someone’s birthday or a dinner for a specific holiday? Choose an object that you’d like to make, like a heart, tree, turkey, etc. Then sketch out the different kinds of veggies you could use to make that shape. For example, if you’re going to make a heart, you could create the outline of the heart with grape tomatoes or even sliced red peppers, and then you could fill it it with rows of different veggies, like carrots, cucumbers, and radishes. For a turkey, you could use a bowl of dip for the “body” and long, layered veggies to create the feathers. A layer of sugar snap peas, then sliced red pepper, then baby carrots would give your turkey a lot of vibrant color and would be very attractive. When planning out your design, think about using as many differently colored veggies as you can, and try to separate the similar-colored ones (like cucumbers and green peppers) to make your design more visually appealing.
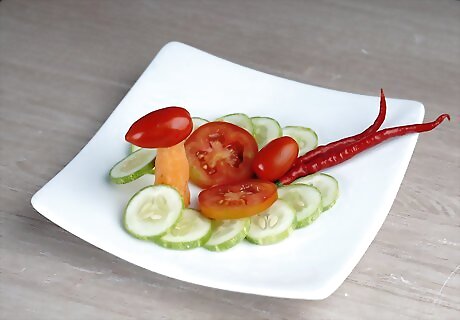
Choose a few garnishes for the plate to highlight special features. For example, if you’re creating a peacock-themed plate, create eyes out of olives. Or you could use slivers of lemon rind to add a burst of color to your design. You can also use cheeses, nuts, seeds, or even fruits like grapes or orange slices, depending on the theme. If you’re making a plate for a kid’s event, be sensitive to potential allergies if you’re going to include nuts of any kind.
Designing an Owl Plate
Choose a large platter so there is space to create the wings and body. A white plate will make the veggies pop and look even more vibrant, so choose a white or lighter-colored plate if you can. A square, circle, or even rectangular plate will work for your owl. Keep in mind that you can always reload the veggies on the plate when they get eaten if you’re using a smaller platter and have spare veggies ready to go in the fridge.
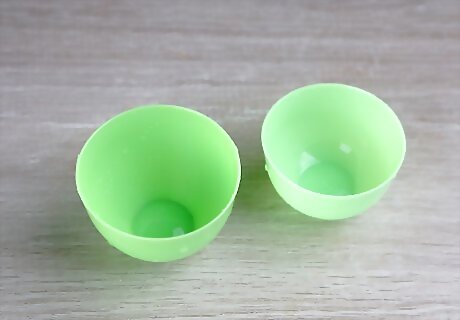
Place 2 small dip bowls where the owl’s eyes will be. Put them about 3/4 of the way up the plate. Place the eyes far enough apart that you will be able to put 2-3 baby carrots between them. Fill the bowls with dip now so that you don’t accidentally spill on your design after you’ve made the owl. You can dip bowls at your local home goods store, or if you’re in a pinch, use spice bowls for the same effect.
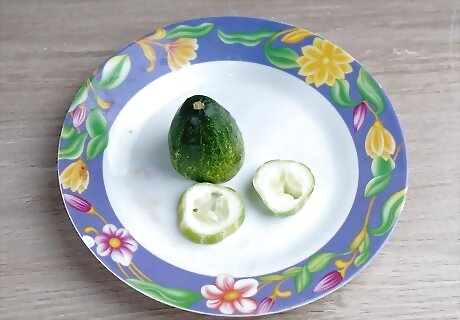
Use sliced cucumber to create the belly of the owl underneath the eyes. You can either cut the cucumber into rounds or into slices, whichever you prefer. Mound the cucumbers in the middle of the plate so that the top of the mound touches the bowls and the bottom of the mound comes close to the edge of the plate. Make this section round to mimic an owl’s belly. Leave room on the sides to create your wings. If you don’t have cucumbers, you could also use broccoli, cauliflower, or any other veggie you desire.
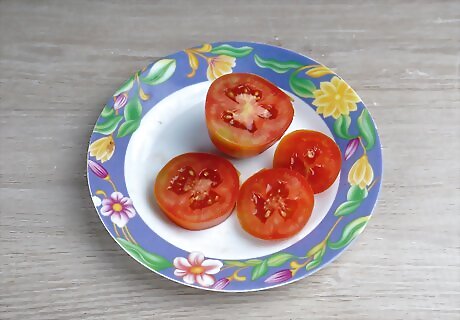
Line the belly with grape tomatoes to create a layer of depth. This just adds an extra element to your design and designates where the belly ends and where the wings will begin. Depending on how big your platter is, make 1 or 2 rows of grape tomatoes. Simply line the entire section of cucumbers with tomatoes, placing them all in the same direction. Set aside 2 tomatoes to use for the owl’s eyes.
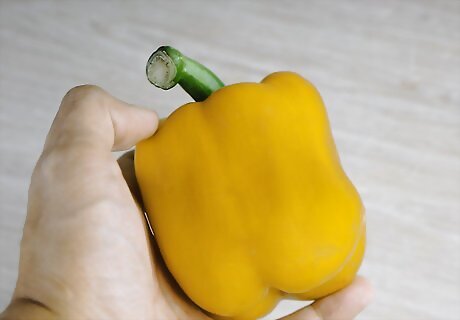
Create the owl’s wings using long slices of yellow bell peppers. To cut the bell pepper, cut it in half lengthwise, remove the stem and seeds, and then cut it into thin strips. Line each side of the owl with your bell pepper, arranging the slices so that the curved edges are pointing in toward the owl’s belly. Start layering them right below the dip bowls so they are nearly even with the grape tomatoes and the cucumbers. Extend the wings out to the edges of the plate for a full-winged effect. If you have other colors of bell peppers, feel free to create multi-colored wings.
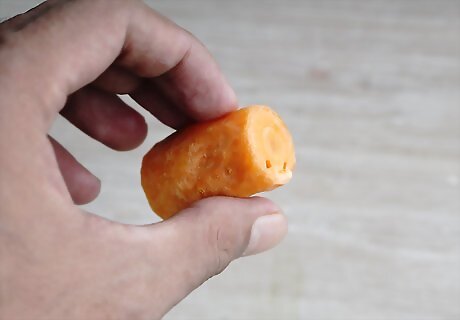
Place baby carrots around the dip bowls to create the face of the owl. Make the tips of the baby carrots touch the dip bowls to keep them organized and to create the appearance of feathers. Place a few carrots between the dip bowls to create the nose. You could also add a few carrots to the bottom of the platter to mimic talons.
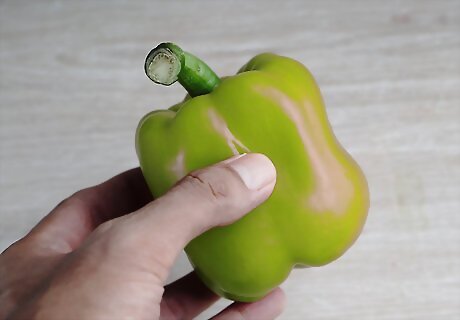
Add green pepper ears and red grape tomato eyes to finish the owl. Use small triangles of green pepper to create 2 ears on top of the owl’s head (just tuck a triangle slightly under the carrots on each side of the head so it’s peeping out), and place a grape tomato into the center of each dip bowl to create the owl’s eyes. If you don’t have green pepper, you could also use spare cucumber to create the ears.
Creating a Festive Tree
Use a rectangular sized platter to create your tree plate. Depending on what kind of event you’re preparing for, you could match the color of your plate to your other decorations. White is always a good color because it makes the veggies more vibrant, but orange for Thanksgiving, red for Valentine’s Day, or green or red for Christmas are also nice options. If you don’t have a rectangular-sized platter, just use whatever you have available. The rectangular shape lets the tree be taller and have more layers, but you can make it work on any kind of plate.
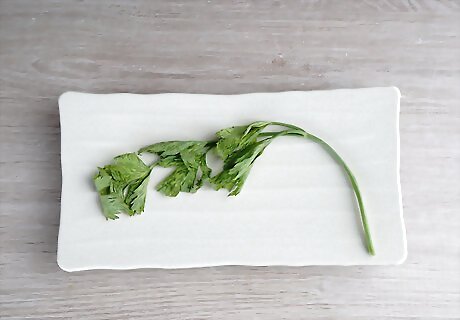
Place several celery stalks at the bottom of the plate to create the trunk. Cut these stalks so that each piece is only 2 to 3 inches (5.1 to 7.6 cm) long. Make sure to place the trunk in the middle of the bottom of the tray so that you’ll have a proportional looking plate when you’re done. You can also use pretzel sticks to make the trunk if you prefer.
Create the first layer of the tree with broccoli or another hardy vegetable. Depending on how large your platter is, make this layer 2 to 3 inches (5.1 to 7.6 cm) deep and let it extend fully from one edge of the plate to the other. Make this first layer a long triangle, and try to keep all the edges as even as you can. For a fun holiday variation, you could make the entire tree out of broccoli and then use other vegetables to create decorations and ornaments all over it.
Alternate rows of veggies, making a tree shape as you proceed. Use grape tomatoes, sliced bell peppers, baby carrots, cauliflower, sugar snap peas, asparagus, cucumbers, olives, and any other veggies that you like to create the rest of your tree. As you form each new row, make them a little shorter than the ones before it to mimic the shape of a tree. Try to keep the edges of each section as even as possible. Grape tomatoes are a fun option that you can use on top of other layers to create a little more depth to your design. Try placing several rows of tomatoes throughout your design.
Use grape tomatoes to create the top point of the tree. Create a row of 3 tomatoes, then 2, and then 1 to form the final point of the tree. If you have more space to fill, you could always make this section larger. If you are celebrating Christmas, you could also make a star out of cucumber or another veggie to create a final ornament for the tree.






Comments
0 comment