views
Dismounting a Volume in Windows
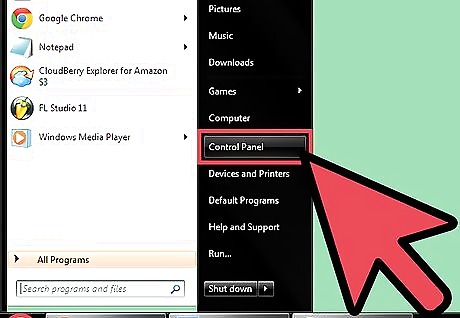
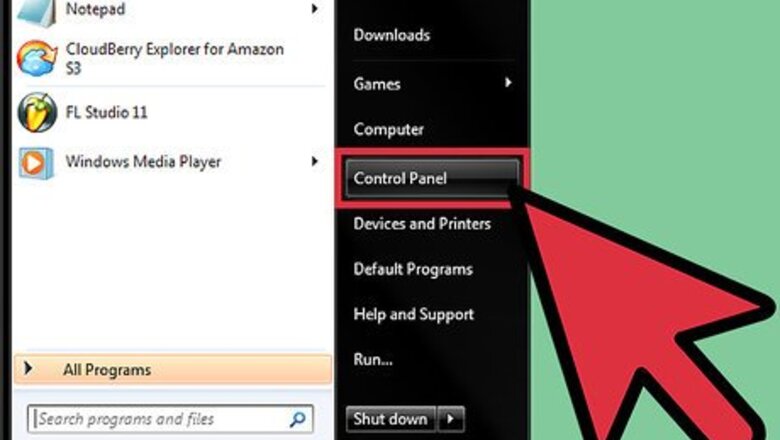
Click on “Start” and select “Control Panel.” The Control Panel window will display on-screen.
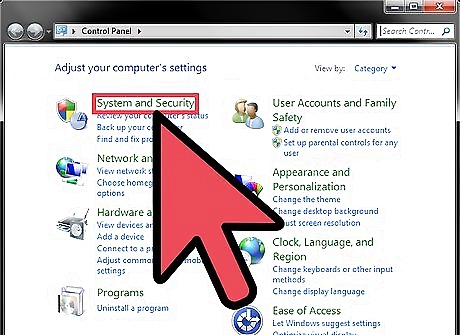
Click on “System and Security,” then on “Administrative Tools.”
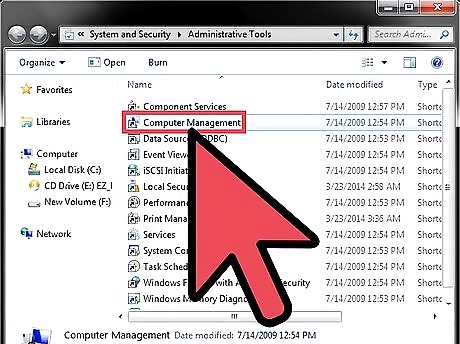
Click on “Computer Management,” then enter the administrator password. Dismounting a volume can only be done by the administrator.
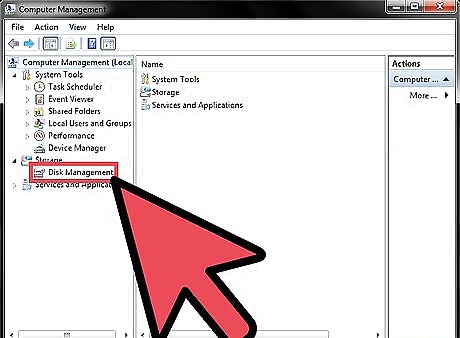
Click on “Disk Management” under “Storage” in the left pane.
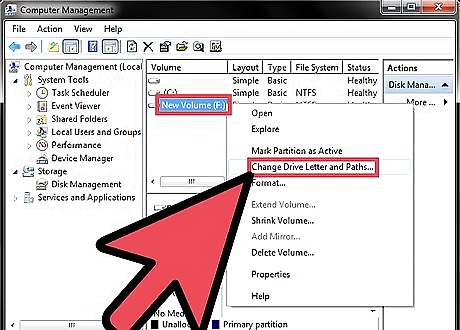
Right-click on the volume you want dismounted and select “Change Drive Letter and Paths.”
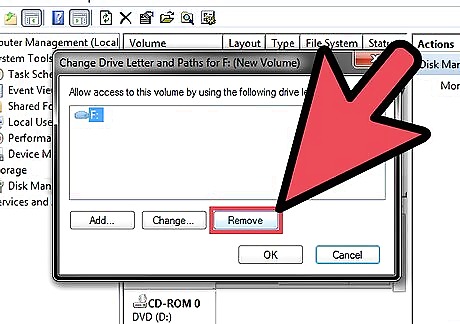
Click on “Remove,” then select “Yes” when asked to confirm that you want to dismount the volume. The volume you selected will now be dismounted.
Dismounting a Volume on Mac OS X
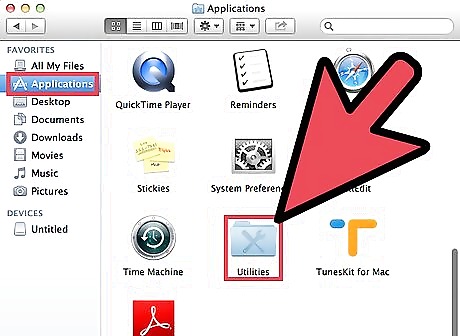
Open the Applications folder and click on “Utilities.”
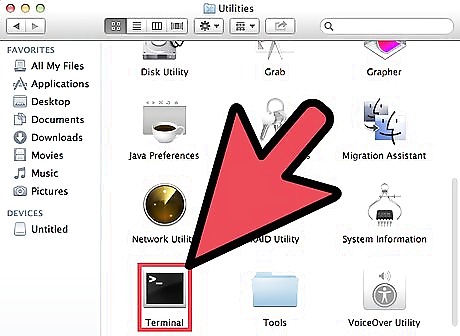
Click on “Terminal.” The Terminal application will launch and display on-screen.
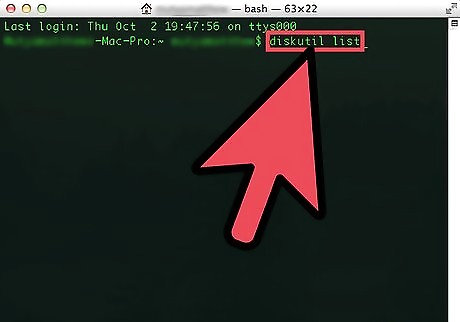
Type “diskutil list” into Terminal and hit “Return.” This command will provide you with a list of all drives connected to your Mac computer so you can grab the “drive identifier” of the volume you want dismounted.
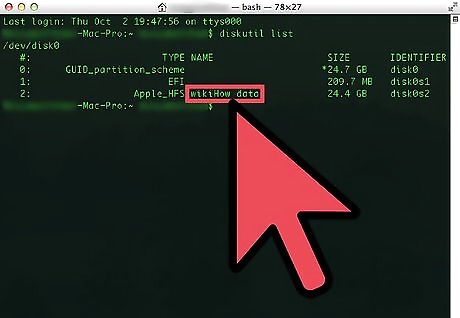
Locate the name of the volume you want dismounted in the list of results. For example, if you want to dismount a flash drive you had named “wikiHow data,” find the volume for “wikiHow data” in the list of results.
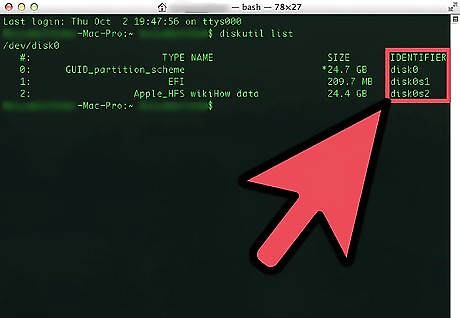
Locate the drive identifier of that particular volume. The drive identifier will be named “disk” followed by a combination of different numbers and characters, and is located at the end of the line for each volume listed. For example, the drive identifier may read as “disk0s2” or “disk1s2.”
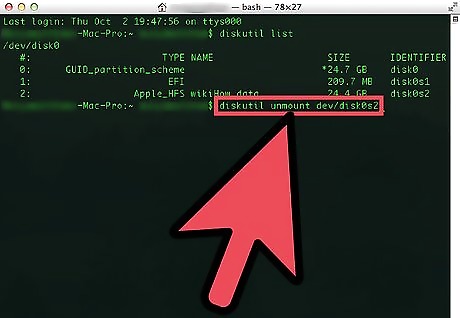
Type the following command into Terminal: “diskutil unmount /dev/disk1s2,” while making sure that the appropriate drive identifier for the volume you want dismounted is used in place of “disk1s2” in this command. The volume will be officially dismounted when the following command is displayed in Terminal: “$ diskutil unmount /dev/disk1s2 Volume wikiHow data on disk1s2 unmounted”


Comments
0 comment