views
Getting Started
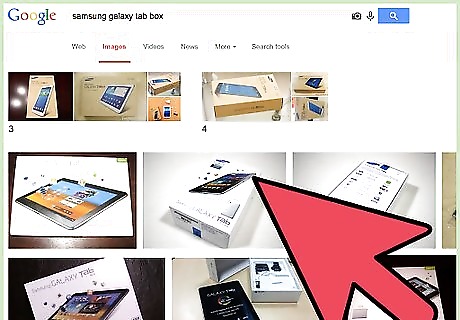
Take the device out of the box. Remove the lid of the box and place the tablet on a flat, clean surface. Peel off any plastic protection that’s wrapped around it before you start using device.
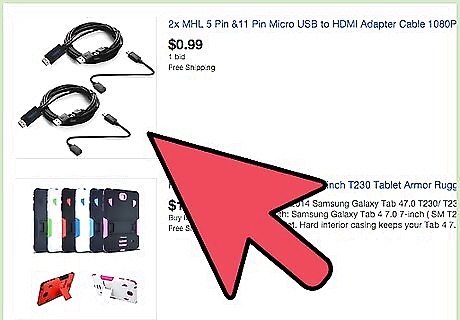
Take out the accessories. The Galaxy Tab normally arrives with a charging adapter, a data cable, and a set of earphones. Remove it from the box and place it to the side.
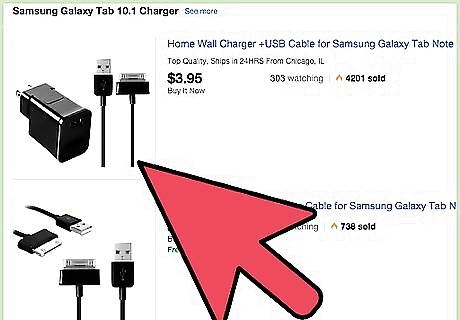
Charge the Tab. Get the data cable and plug the larger end to the port on the charging adapter. Take the smaller tip of the cable and connect it to the port found at the bottom of your tab. Take the charging adapter and connect it to an electric outlet. The Galaxy Tab will normally take around two hours before its battery is fully charged.
Setting Up the Tab
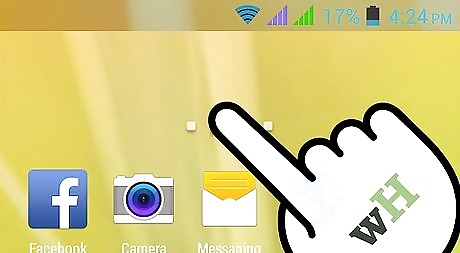
Power on the device. After charging, press the Power button along the sides of the Tab to switch it on. For the the first launch, you’ll be required to do some initial setup before you can start using your tablet.
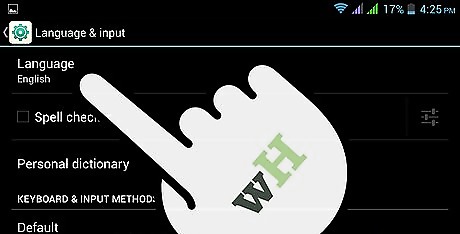
Set the language. On the first screen of the setup, you’ll be required to choose your language. Tap the drop-down list you see on the middle of the screen and select the language that you want to use. After that, press the “Next” button found on the lower right-hand section of the screen to continue to the next step.
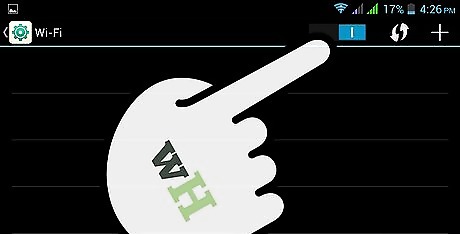
Connect to a Wi-Fi. Next, you’ll be asked to connect your Galaxy Tab to the Internet. Simply choose from any of the available Wi-Fi connections displayed on the screen by tapping your choice and press “Connect.” Once you’ve successfully connected to a Wi-Fi network, tap the “Next” button to proceed to the next screen. If the Wi-Fi router you’re trying to connect to requires a password, a text box will appear on the screen where you can type in the password for that network. Once you’ve entered the right password, hit the “Connect” button on the text box to start connecting to that router or network.
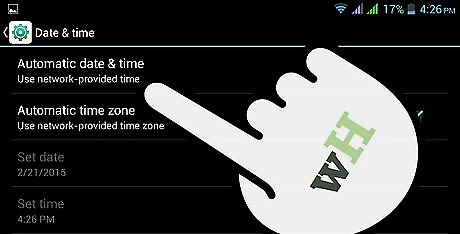
Set the date. The next screen will have you put the correct date. Just tap “Set Date” and “Set Time” from the screen and a dialog box will appear. Tap the Up or Down arrows on the dialog box to set the correct time and date. Tap “Set” from the dialog box to save your date settings and then hit “Next” again to move on.
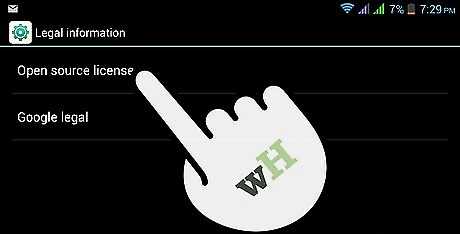
Accept the agreement. Next, Samsung’s End User License Agreement will be displayed. Scroll down the screen to read the text, and once you’re through, select the “Yes” radio button to agree with the terms stated on the agreement. Tap “Next” to continue.
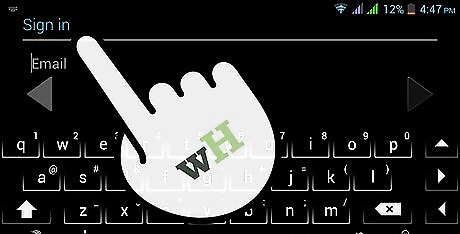
Sign into your Google account. This allows you to sync your Google account or email with your Galaxy Tab. If you have an existing Google or Gmail account, tap “Yes” from the screen and you’ll be directed to a login page. Enter your Gmail account credentials on the text field provided and hit “Sign in” to link your Google account with your Galaxy Tab and proceed to the next step. If you don’t have a Google account yet, tap “No” from the screen and you’ll be redirected to the registration form. Just enter your name and desire account username and password to quickly create a Google account.
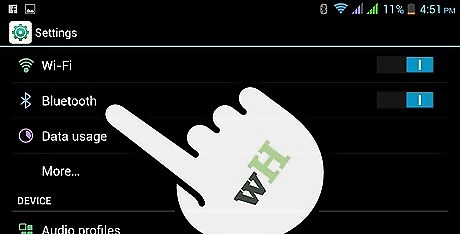
Name your device. The last step would be giving an identity to your device. Type in any name you want for your Galaxy Tab on the allocated text field. This will be used to identify your tablet to other users, such as when connecting it to other Android devices via Bluetooth. Once you’ve entered the name you like for your device, hit “Finish” and you’re done! You can now start using your Samsung Galaxy Tab!





Comments
0 comment