views
Planting Okra
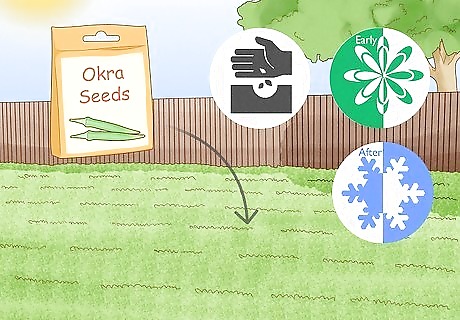
Determine how to start your seeds. If you live in a place with hot summers and mild winters, it's easiest to plant okra in your garden patch, rather than starting it indoors. You'll want to plant the okra seeds in early spring, after the last frost of the year, when the temperature doesn't dip below 55 degrees at night. If that doesn't happen until late spring or early summer where you live, then it's better to start your seeds indoors 2-3 weeks before the last frost. When the seedlings are sturdy and the weather warms up, you'll transplant them to your garden patch. To start seeds inside, plant the seeds in peat seed starter and keep them well-watered. Put them in a warm, sunny room or use grow lamps to keep them warm during the germination period. Keep the temperature between 65 and 70 degrees Fahrenheit. When the weather warms up and you're ready to transplant the seedlings, follow the same steps you'd use to grow okra from seed outdoors.
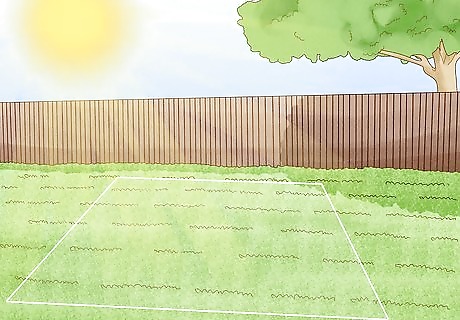
Choose the sunniest spot in your garden. Okra grows best in full, hot sun. If you try to grow it in a shady spot, it won't produce much fruit, if it lives at all. Okra should be planted in a location that gets at least 6 hours of full sun every day. Don't worry that it'll get too hot - okra really gets going at summer's peak, when the sun beats down on the garden at its hottest.
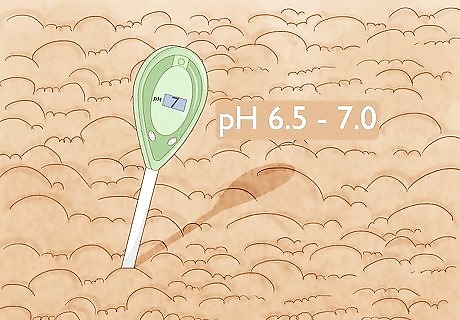
Correct the soil's pH. Okra grows best in a soil with a pH level between 6.5 and 7.0. test your soil's pH level to determine whether it is in the proper pH range. You can work in limestone or bone meal to increase the soil's pH. If you'd prefer not to change the pH level of your soil using any drastic measures, you can simply work in plenty of compost, which will drive the pH towards neutral, or 7.
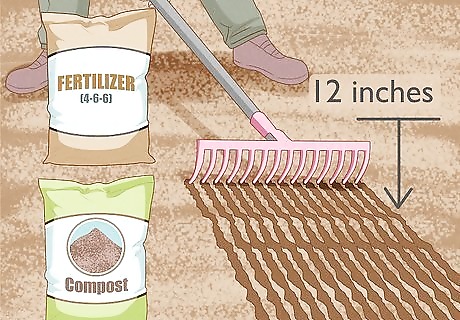
Enrich the soil with nutrients. Okra grows well in very rich soil that's packed with nutrients. You can enrich your soil using compost, bagged organic fertilizer, or 4-6-6 slow release fertilizer. Either way, till the soil to a depth of 12 inches (30.5 cm) and work in 4 inches (10.2 cm) of compost or fertilizer using a garden rake so that it's evenly distributed. Neglecting to add nutrients to the soil may result in okra plants that don't produce a lot of fruit.
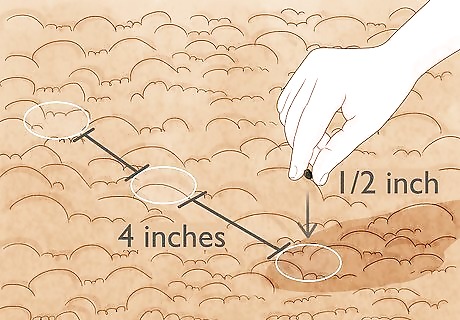
Sow the seeds or plant the seedlings. When the weather is warm, it's time to plant the okra in your garden. Sow your seeds 4 inches (10.2 cm) apart at a depth of ⁄2 inch (1.3 cm). If you started your seeds indoors, handle the seedlings very carefully and plant them 1 foot (0.3 m) apart in rows 3 feet (0.9 m) apart. Dig holes large enough to hold the root balls and gently pat the soil around the base of the plants. Water the garden to help set the soil. If you want to speed the germination of your seeds, you can soak them overnight the night before planting, or freeze them to crack the shells. If you're transplanting seedlings, do not break their tiny taproots. If they get crushed, the seedlings will not grow.
Caring for Okra

Keep the okra well watered. Okra should be given at least an inch per week of water. Water every morning to thoroughly moisten the soil, except after heavy rains. Okra can withstand a bit of drought, but it grows much better when given plenty of water throughout the summer. It's best to water okra in the morning so that the plants have time to dry before nightfall. If the water stands in the garden bed overnight, it could cause the plants to start rotting. When you water okra, try not to get water on the leaves. When the sun starts beating down on the okra plants, the water will act as a magnifying glass and burn the okra leaves.
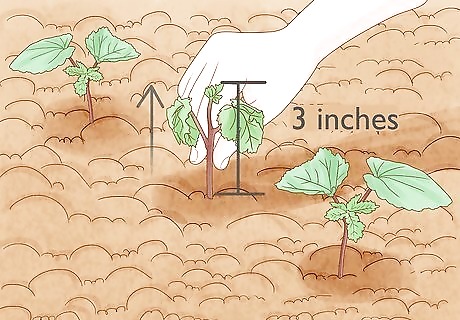
Thin the seedlings. When the seeds you planted have sprouted and grown to 3 inches (7.6 cm) high, thin out the smaller seedlings and leave the strongest ones standing. Thin them so that the remaining seedlings are spaced 1 foot (0.3 m) to 2 foot (0.6 m) apart, in rows 3 feet (0.9 m) apart. If you transplanted seedlings that you started indoors, you can skip this step.
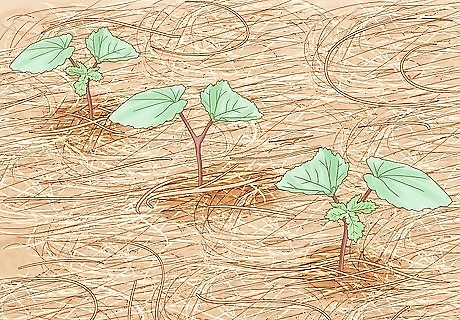
Weed and mulch the okra bed. While the okra is still young, cultivate the bed to eliminate any weeds. Then cover the area around the seedlings with a heavy layer of mulch, such as pine straw. This will prevent additional weeds from sprouting and taking over the bed.
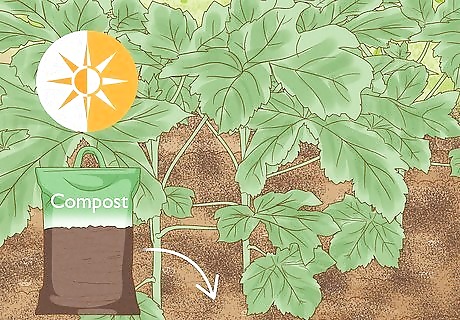
Side dress the plants with compost. Since okra needs plenty of nutrients to grow, it's a good idea to continue adding compost throughout the summer. You should side dress the okra with compost three times: once after thinning the seedlings, once after the first pods begin to grow, and a third time halfway through the growing season. To side dress, simply rake in a few inches of compost around the plants, so that the soil there gets enriched. You can also side dress with more bagged fertilizer or slow release fertilizer. Don't side dress the plants too often; three times is enough. Adding too much compost or fertilizer can hurt the plants more than it helps.
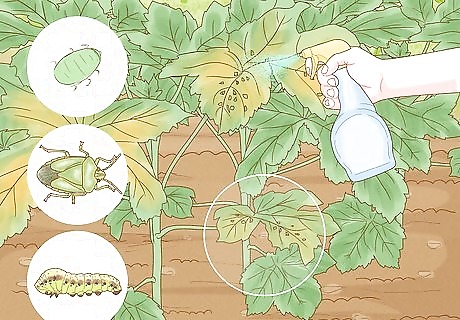
Keep an eye out for pests. Aphids, stinkbugs, and corn earworms all like to feast on okra plants. The plants are hardy, and usually won't fail on account of pests, but it's a good idea to keep their populations low to get the most out of your okra crop. Inspect the stems and leaves regularly for holes, yellow leaves and other signs of pest infestation. You can pick the bugs off by hand or spray the leaves with soapy water to keep the pests away.
Harvesting and Using Okra
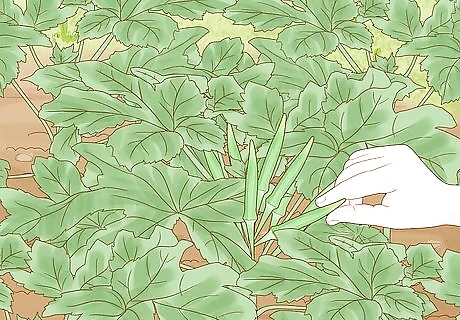
Cut and come back. About 8 weeks after planting the okra, the pods will start to grow. Once you see the first okra pods emerge and mature, you can start regularly harvesting them. Use a scissors or a hand pruner to cut the okra pods just above their caps, where their thick stems meet the branches of the plant. Once you make a cut, another okra pod will emerge from the same spot. Keep harvesting the okra throughout the summer until the growing season slows and the plants stop producing new pods. Harvest the pods when they are 2 to 3 inches (5.1 to 7.6 cm) long. Harvest the okra every other day, and every day in warm climates and during the peak of the season, to encourage fast regrowth. You may even need to harvest twice per day to keep up with growth at the peak of the season. If the pods get too big, they will become woody and tough. You might want to wear gloves and long sleeves when you harvest the okra. The leaves and pods are covered with spines that can irritate the skin.

Eat the okra while it's fresh. Okra's taste and texture are best within a few days of harvest. You're likely to have an abundance of okra you can use to make classic dishes like the following: Fried okra Gumbo Stewed okra
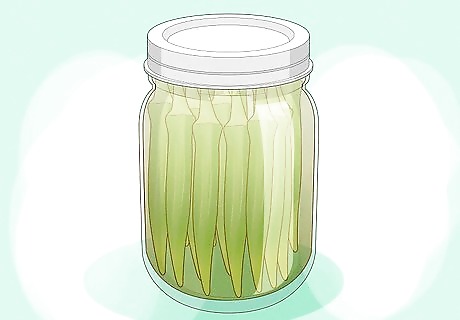
Pickle the Okra. This is a great way to preserve the okra's flavor and texture for months to come. You can pickle okra the same way you pickle cucumbers, using a salty brine. Pickle okra right after you harvest it for best results.
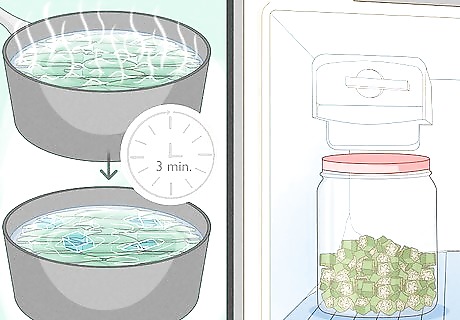
Freeze extra okra. If you simply have too much to eat, or you want to be able to enjoy okra during the winter, freezing it is a good option. To freeze okra, blanch it for 3 minutes, plunge it into an ice bath to stop it from overcooking, then chop it into bite-sized pieces. Place the pieces on a tray and freeze them until firm, then transfer them to a freezer bag for long-term storage.


Comments
0 comment