views
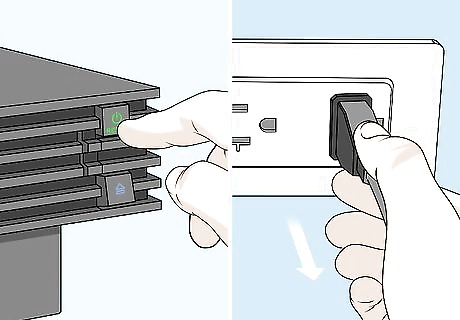
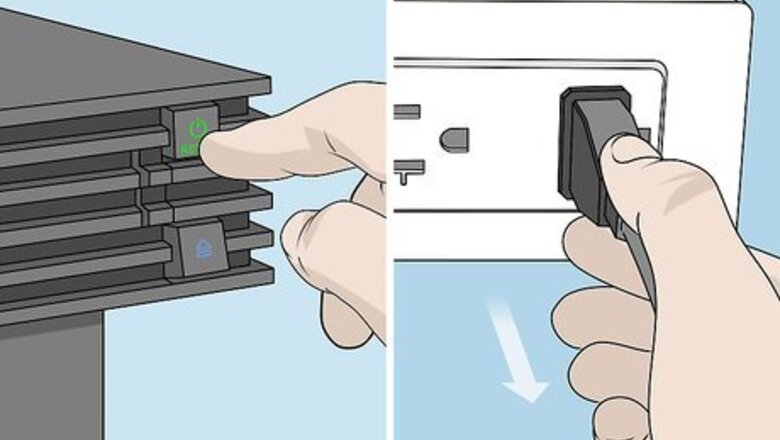
Turn off your PS2 and unplug it.
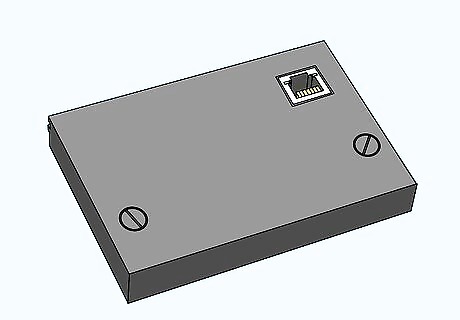
Purchase a PS2 network adapter. These are sold separately from the console. You can find them new and used on sites like Gamestop.com, Amazon.com and eBay.com.
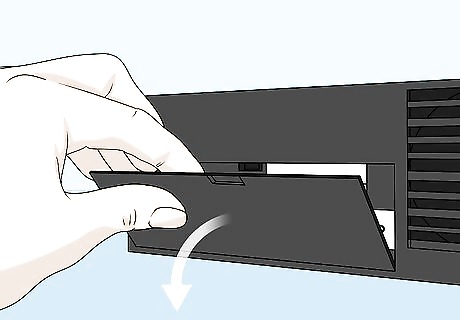
Remove the cover from the expansion bay of the PS2. The expansion bay is located at back and bottom of your PS2. The cover can be removed by simply popping it off, no tools are needed to remove it.
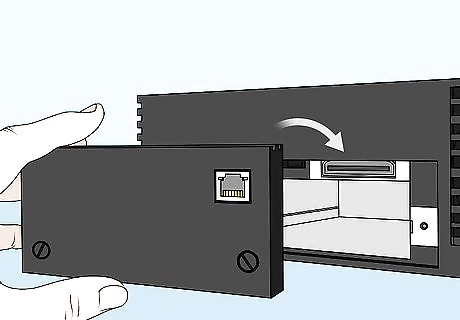
Align the ports of the adapter with the ports of the PS2 and plug it in. The adapter should snap into place with relative ease.
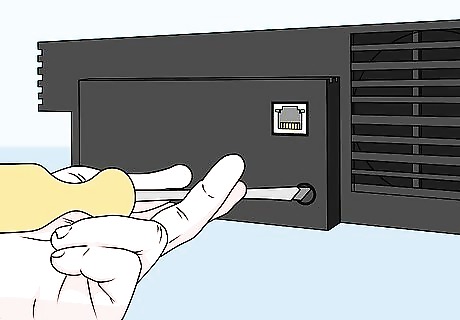
Tighten the screws on either side of the adapter to secure it place. A small Phillips-head screwdriver is ideal for this.
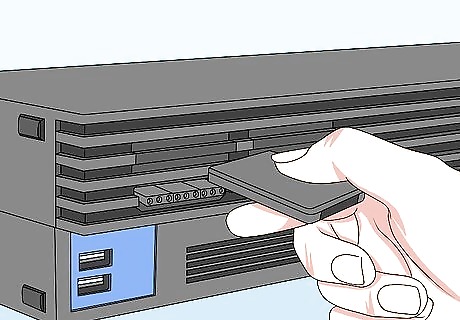
Insert a PS2 memory card into the Player-1 card port on the front of the console. The memory card needs 137 kilobytes of free space to save all of your network settings and registration information.
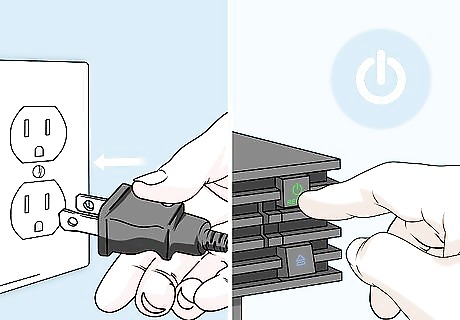
Plug your PS2 back in and turn it on.
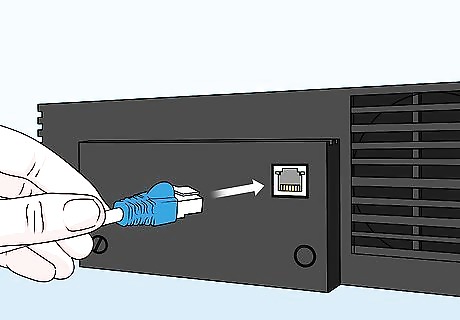
Plug your (Internet-connected) Ethernet cable or phone line cable into the ports on the back of the adapter.
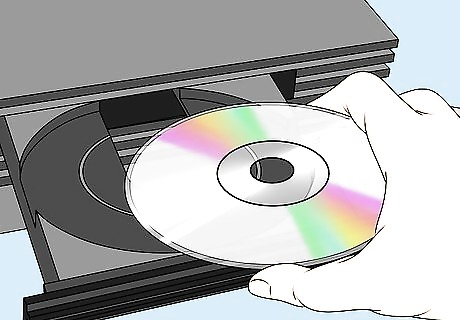
Insert the adapter's startup disc into the PS2. The disc is typically included when you purchase the network adapter, but if you lose or break it, some games (such as SOCOM and NFL 2K3) have stand-alone operations that configure and save your network settings.
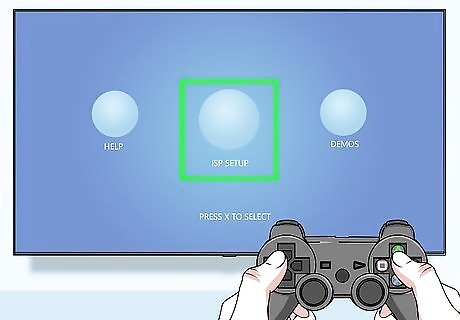
Choose the "ISP Setup" option from the main menu. A text prompt will appear telling you that you need at 137 kilobytes of free space on your memory card. Tap the "X" button to continue. You can confirm how much space your card has by accessing the system's browser and selecting the memory card icon. In this menu, you can choose to delete game save files to make more free space available. To access the browser, make sure no disc is in the console and turn it on. This will bring up the main system menu, including the browser.
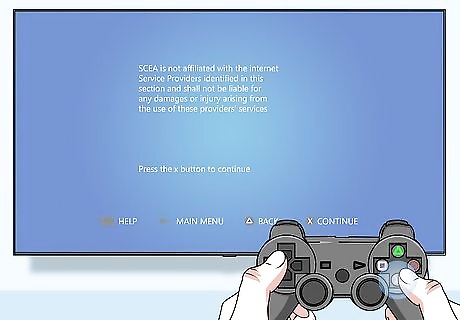
Register with Sony Computer Entertainment America (SCEA). The next screen brings up a prompt, allowing you to register some personal information with SCEA customer support via phone or online (through the system). Unless you have a dial-up connection, it is faster to register online.
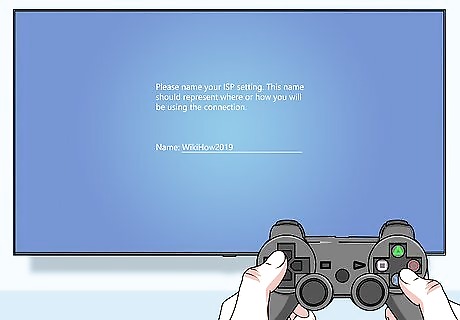
Allow the program to save your configuration files to your memory card.
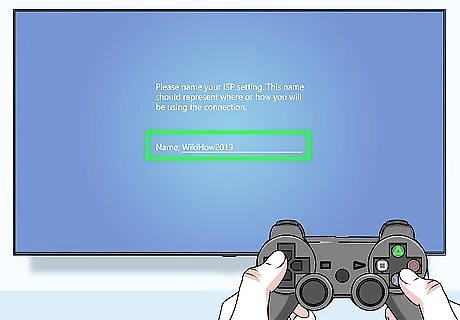
Create a new ISP setting. The next prompt will allow you to create, edit, and delete ISP settings. Choose "New" and give the setting a name. Make it something memorable in case you have to come back and edit it later. If you don't already have an ISP, the program provides links to different ISP services (such as America Online and Earthlink).
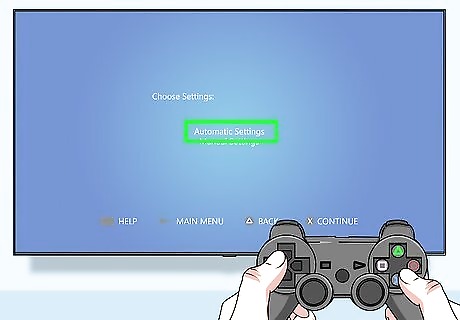
Choose between "Automatic" and "Manual" settings. The "Automatic" setting is for ISPs that automatically assign new internet protocol (IP) addresses for different devices on the network. The "Manual" setting is for people who need to enter specific IP and domain name system (DNS) information. If you need to manually enter your ISP settings and don't know the particular information that needs to be entered, consult your ISP documentation and your primary computer used to access the Internet.
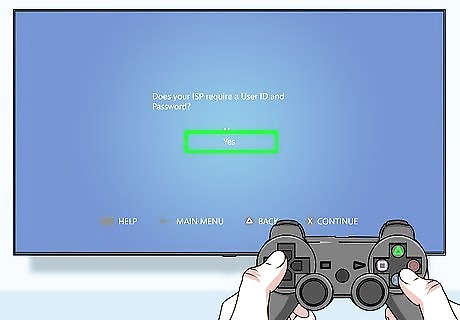
Select whether you have a connection that requires a username and password or not. If your Internet connection is protected, a username and password are required to access it. Enter that information in this portion of the setup to sync it with your PS2 online access.
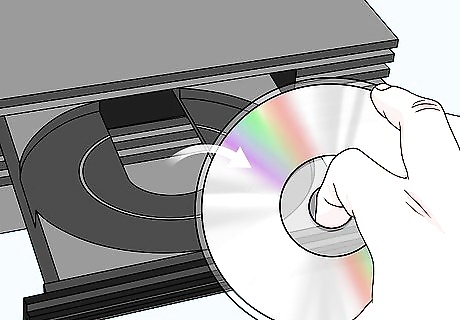
Remove the startup disc and start a game with multiplayer capabilities. Once setup is complete, you can remove the disc and start a game with network functionality. Go to the multiplayer section of the game to test and see if your network settings were configured correctly.


Comments
0 comment