views
Adhesives and Mats
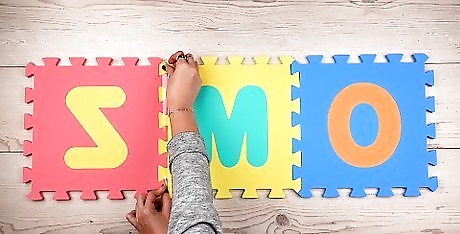
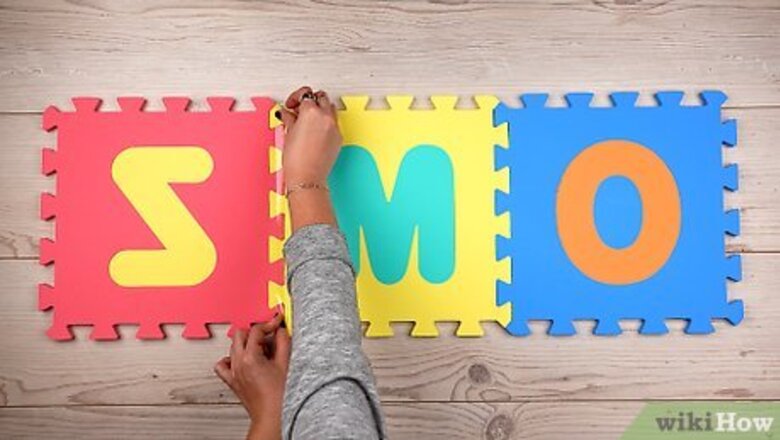
Use double sided tape to stick each tile to the floor. If your puzzle mat shifts around a lot, flip the tiles over and add a piece of double sided tape to each seam. Flip the mat over and stick the other side of the tape to your floor to keep the mat in place. This will only work on hardwood or concrete floors, not carpets.
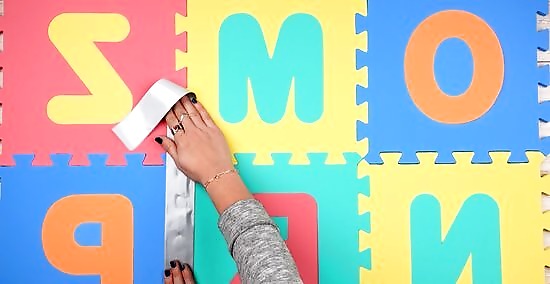
Try duct tape for foam-topped tiles. If your puzzle mats are coming apart, use long strips of duct tape to attach the seams together. You can do this on the top and the bottom of the mat for extra durability. If you don’t want the duct tape to stand out as much, pick a color that matches your mats. Or, use a patterned duct tape to make the seams look bright and fun.
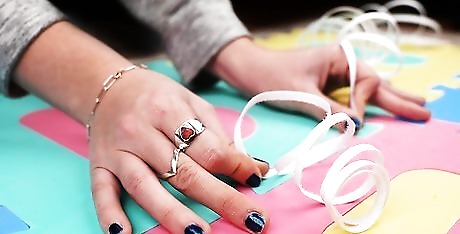
Use Velcro strips for carpet-topped tiles. If your mat has a soft carpeted top, stick one side of a hook and loop strip across the seam of 2 tiles. The hooks will grab onto the carpet top, keeping your mats together. Pick Velcro strips that match the color of your mats for a more blended look.
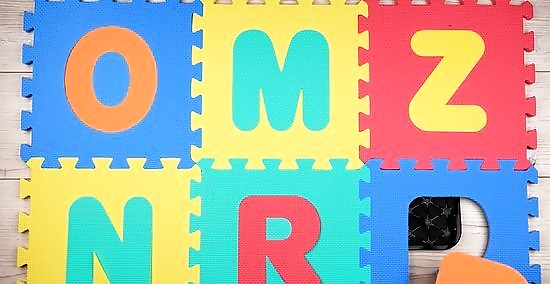
Add a no-slip carpet to keep tiles from sliding around. This will also help keep your puzzle mat together since it won’t be able to shift as much. Cut a no-slip pad to fit the dimensions of your mat, then slide it underneath. You can find no-slip carpet pads at most home goods stores and online. No-slip pads are great for hardwoods, vinyl, and concrete, but you don’t need them on carpet.
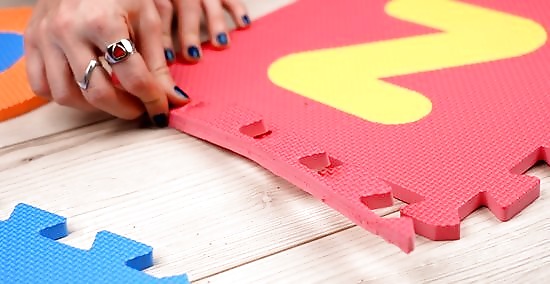
Attach border pieces to keep the tiles locked in place. If your puzzle mat came with border pieces, or small pieces of foam to attach to the edges, lock those into the interlocking tabs around the entire mat. This will help cover up the outside edges of the mat and it will lock the outside tiles into place. Most border strips are the same color as your puzzle mat, so they’ll blend in seamlessly.
Installation Tips

Pick an area that’s completely flat. Basement and concrete floors have a habit of buckling or cracking. Try to pick an area that’s mostly, if not completely, flat. If the floor isn’t flat, your puzzle mat tiles are sure to buckle and separate from each other.
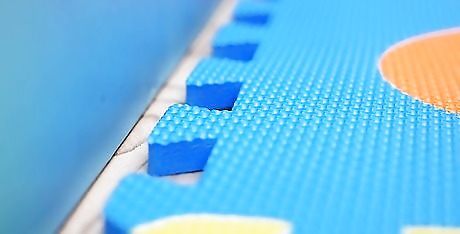
Position the tiles ⁄4 in (0.64 cm) away from the wall. Puzzle mats tend to expand with heat and moisture. To prepare for this, set up your first line of tiles with a little bit of room in between them and the wall. If you live in a very hot or humid environment, leave ⁄2 to 1 in (1.3 to 2.5 cm) of space just in case. You might notice that your puzzle mat shrinks a little bit in cold weather, which is normal!
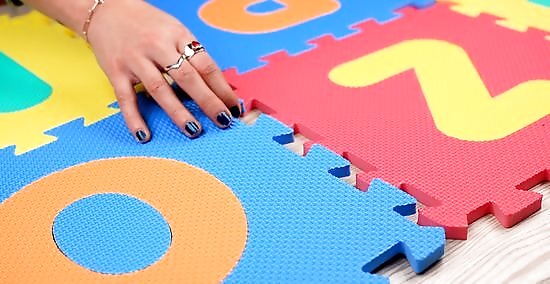
Push the interlocking tabs into place. As you place your puzzle mats, push down hard on the tabs to lock them into place. Make sure the tabs line up perfectly to keep the mats together as much as possible. Quality puzzle mats with good tabs should hold together on their own.
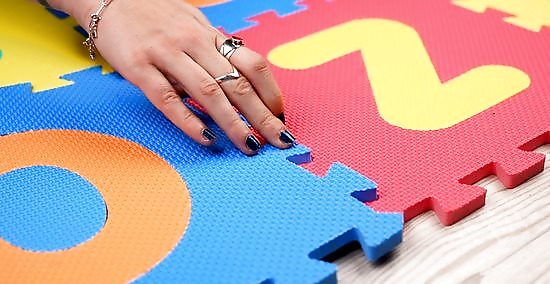
Position every tile facing the same direction. Take a look at the “grain” of your tiles as you spread them out (this could be small dots or lines). Try to make sure that every tile faces the exact same way so they don’t buckle or fold. If the tiles are placed incorrectly, they have a higher chance of coming apart with use.
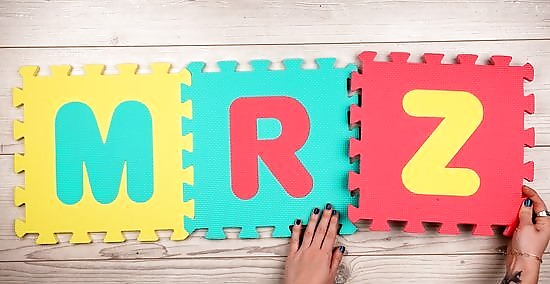
Spread each tile out flat as you install them. When you’re finished with one tile, smooth it out with your hands before you add the next one. The flatter the tiles are, the less they’ll buckle and shift over time! If you find that the tiles are buckling already, they may be too large to fit your space. In that case, you can cut them down to size with a knife or a box cutter.
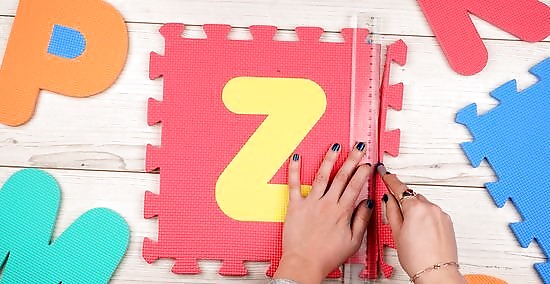
Cut the edge tiles to fit the room. When you reach the other wall, use a sharp knife to cut the row of tiles, leaving ⁄4 in (0.64 cm) of space between the mat and the wall. This will give the tiles room to expand with heat and moisture over time. You can also use a box cutter to cut your tiles if you need to.


Comments
0 comment