views
Making a Basic "Tie" Belt
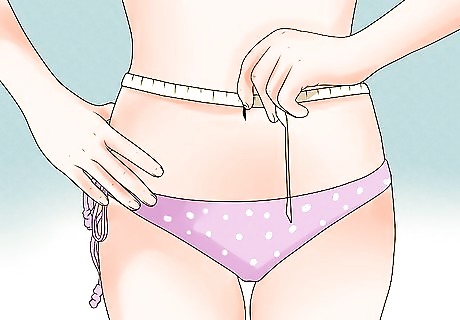
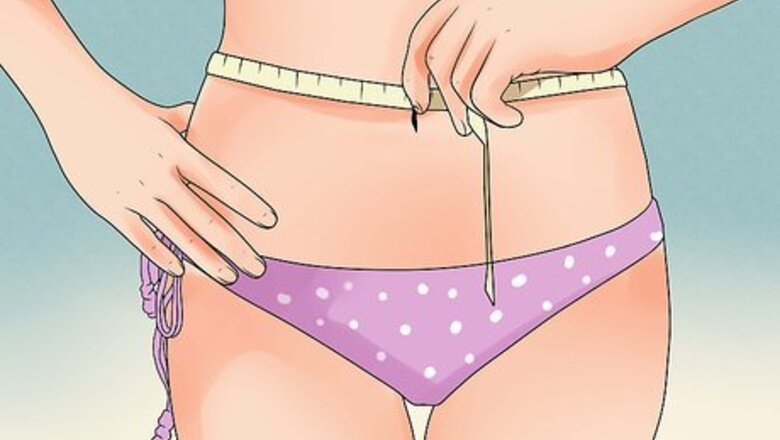
Take your waist measurement. If you don't already know your waist measurement (for instance, from shopping for pants), it's very easy to find. Simply grab a tape measure and loop it around your midsection at your natural waist, which is usually at the top of your hips, just below the level of your belly button. Check the measurement where the tape starts to double up on itself — this is your waist circumference. Some women's belts are meant to be worn around the hips, rather than the waist. In this case, slide the tape measure a few inches down so that it sits naturally around the tops of your hips and measure as normal.
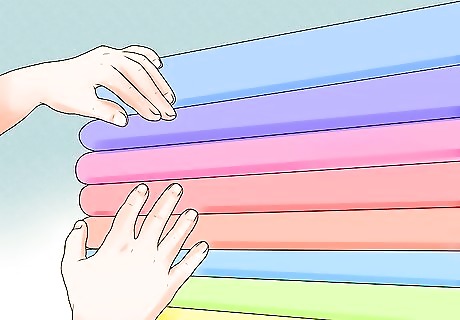
Pick your fabric. Next, find some fabric for your belt. If you don't have any spare fabric handy at home, you can usually find it for fairly cheap at arts and crafts stores (and even online). Nearly any kind of comfortable, durable fabric is suitable for your belt. Regardless of the type of fabric you choose, you'll want a strip that's about seven inches (17.7 centimeters) longer than your waist measurement and five inches (12.7 centimeters) across. Below are just a few examples of fabrics that work well for belts: Cotton (patterned or plain; "web" fabric is especially durable) Polyester Rayon Bamboo fabric Wool (can be expensive)
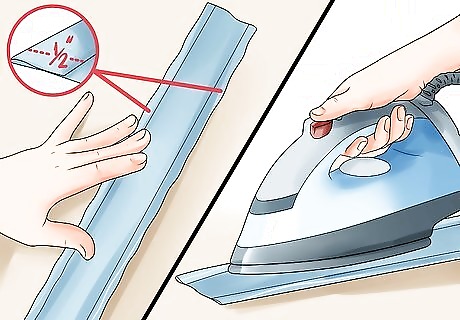
Fold in the edges and iron them down. When you have your fabric ready to go, lay it flat on your workspace lengthwise (so that it runs from left to right) and so that its design is facing down. Fold the left and right edges of the fabric in about 1/2 inch (1.27 centimeters). Use a hot iron to crease them down. Use a needle and thread or a sewing machine to sew these folds down with about a 1/4 inch (0.76 centimeter) seam allowance. This is done so that none of the fabric's edges are exposed in the final product. This is a basic rule of sewing — exposed fabric edges wear much faster than properly-folded seams, so they're to be avoided at all costs.
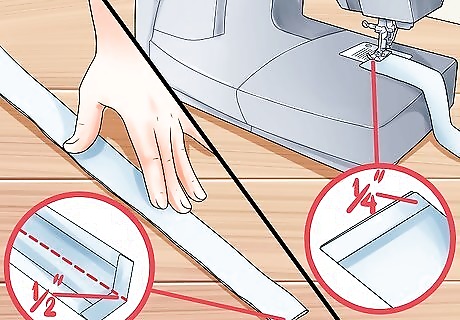
Fold in half lengthwise and sew. Next, fold the top and bottom edges of the fabric in about 1/2 inch and iron them in place just as you did for the left and right edges. Next, fold the entire piece of fabric over itself lengthwise so that it looks like a long, skinny strip (with the fabric's design now facing you). Iron this fold, then sew both the bottom edge and the top (folded) edge with a 1/4 inch seam allowance.
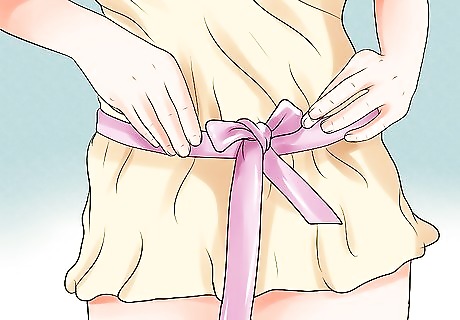
Tie around waist. At this point, your belt is more or less finished. For this simple belt style, all you need to do is fasten it around your waist to wear it. If you like, you can even tie a decorative knot or bow over your waist for added flair! If the open edges at either end of your belt's fabric bother you, you can stitch them down just as you stitched the fabric edges earlier. Note that this style of belt may be too wide for the belt loops at the top of some pants. This can be solved by simply folding the belt in half lengthwise once more and sewing the open edge again. Note, however, that repeated sewing along the same edge can give the belt a somewhat "messy" appearance.
Adding a Buckle
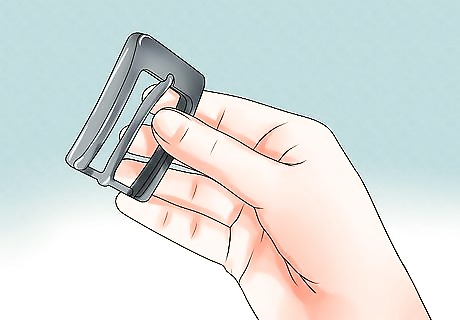
Grab a pre-made buckle. With just a little extra effort, it's easy to give your new fabric belt a buckle so that it can be fastened just like any belt you might buy at the store. To do this, however, you'll need a buckle first. Virtually any type of belt buckle will work with your new belt as long as it's not too large or small to accommodate the fabric of the belt — from old-fashioned frame-and-prong buckles to large, decorative cowboy buckles, there's no right or wrong choice. Belt buckles can be purchased at thrift stores, vintage stores, antique shops, and even large department store chains. In addition, belt buckles can be easily purchased over the internet. DIY craft sites like Etsy even allow you to buy unique handmade pieces.
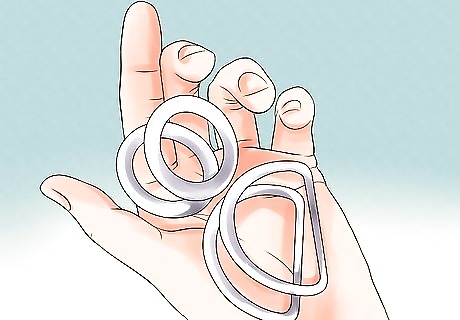
Alternatively, grab two matching O- or D-rings. If you can't find any belt buckles for sale near you or you'd rather save your money, it's also possible to substitute a few ordinary metal rings for the buckle. Ideally, these rings should be made of stainless steel or another rust-resistant material, should be O- or D-shaped, should be about as wide across as the belt is, and should be exactly the same size as each other. Metal D- and O-rings are often available at hardware stores or online for cheap — sometimes as little a dollar or two per ring.
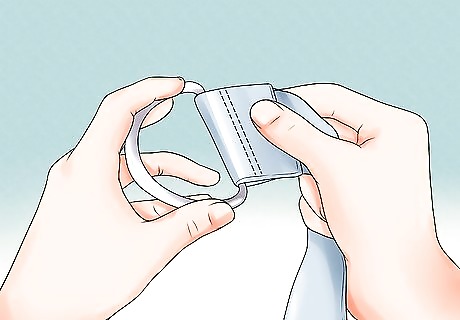
Secure the buckle or rings in a small loop. Regardless of the buckle or fastening mechanism you use, typically, you'll secure it to your belt by looping one end of the belt through it and sewing this end of the belt to itself to secure it. Keep this loop somewhat tight — you want the buckle or fastener to stay more or less in its proper position, but you also want it to have a small amount of "wiggle" room to allow minor adjustment. If you're using D- or O-rings, you should loop your belt through both rings at once before sewing it down.
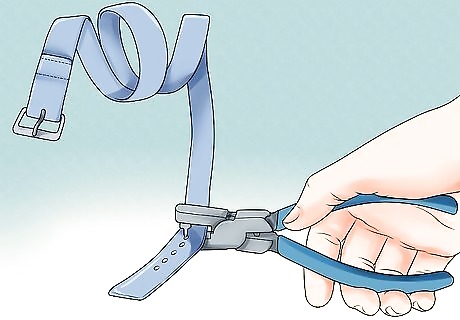
Add holes to the other end if necessary. If you're using a belt buckle that works by threading a prong through holes in the other end of the belt, you'll now need to make these holes. You can put small holes in your belt with a sharp knife, scissors, or even a screwdriver. Make sure your holes are evenly-spaced and aligned in the middle of your belt fabric. Don't leave the edges of your holes frayed — this will make them vulnerable to wear and tear. Instead, use an eyelet or a buttonhole stitch. You can even use eyelet pliers if you don't want to do this process by hand.
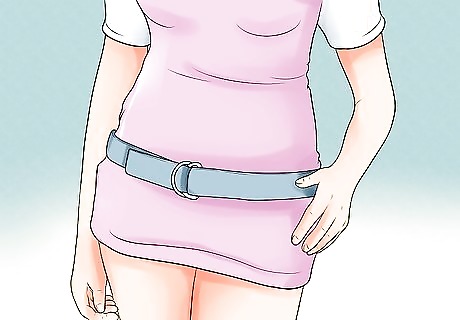
Fasten as you would fasten a normal belt. Once your belt buckle or fastener is attached to your belt, you can use it exactly as you normally would! Since there are a huge variety of buckles and fasteners you can use, the way one belt is fastened may differ from the next, but most should be fairly intuitive. If you're using O- or D-rings for the first time, don't worry — they're easy to fasten your belt with. Simply pass the end of your belt through both loops, then bring it back over the rings and thread it through the first ring once more. Pull the belt tight to fasten. The rings will hold the belt's fabric tight against itself, keeping the belt fastened with friction.
Adding Decorative Features
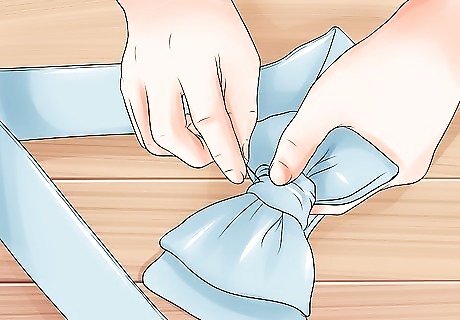
Add a bow. Bows look fantastic on fabric belts made for women (and men who are very confident dressers). Best of all, they can be made from fabric leftover from the belt itself for an easy match! There are nearly endless bow variations — from basic shoelace-style knots to much more intricate designs. You may want to stitch your finished bow directly to your belt, but there are other alternatives: for instance, attaching it over an unattractive buckle to hide it. For several easy bow-tying ideas, see our article on the subject.
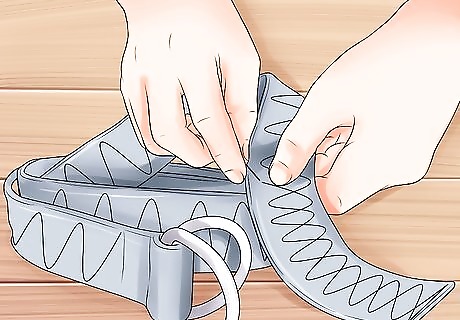
Add decorative stitching. If you're handy with a needle and thread or a sewing machine, you may want to add detail stitching to give your belt some extra personality. This stitching can be as complex as you desire: anything from simple designs like zigzags to intricate designs like flowers are possible, depending on how much time you'd like to spend. Another great idea is cross stitching, a technique which allows you to stitch images with pre-made designs (or your own custom-made ones). See our cross stitching article for more information.
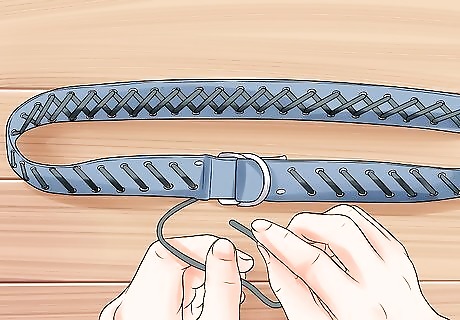
Add corset-style lacing. If you're looking for a challenging project, try adding criss-crossing corset-style lacing to your belt. This can be done in several ways. The easiest it probably to punch repeating holes along the top and bottom edges of the belt and criss-cross a long decorative string or ribbon through them. However, alternatives are possible: if you're confident in your sewing abilities, you can even put a break in the back of the belt and sew in real corset-style fasteners. For help, see our articles on making a corset for basic corset-making guidelines.
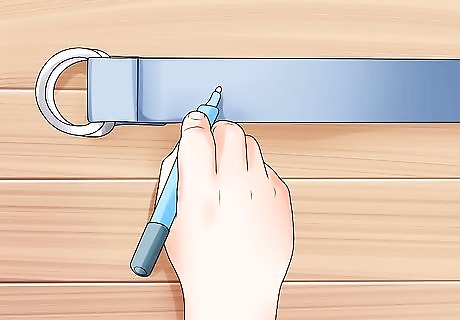
Get creative! Your belt is yours to customize, so don't be afraid to go wild with it. There's almost no limit to the ways you can make your belt "yours" except your imagination and the tools you have handy! Here are just a few ideas to get you started customizing your belt — there are many, many more: Add designs with markers Stitch or write your favorite quote on it Bleach or tear it for a distressed look Add rhinestones, faux metal spikes, etc. Stitch in decorative lace or fringe





Comments
0 comment