views
Assembling a Saddle-Stitched Notebook
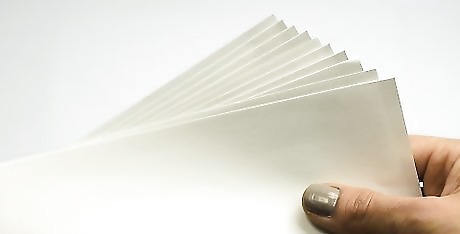
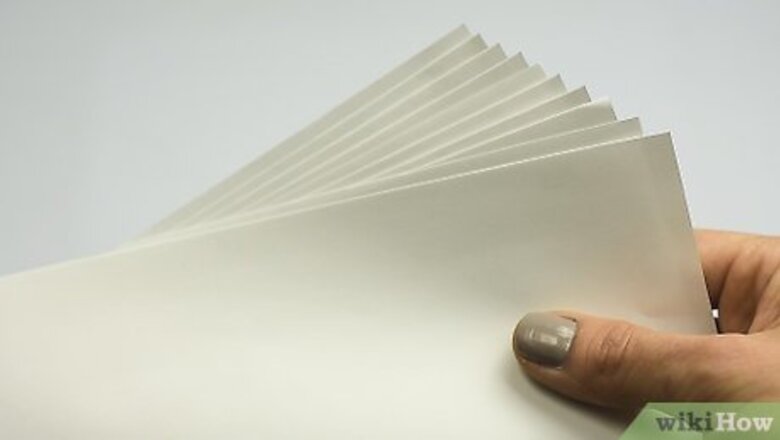
Gather a few sheets of paper and a cardstock cover. Use anywhere from 5 to 15 sheets, depending on how thick your paper is and how many pages you want your notebook to have. Try printer paper, loose leaf, cardstock, scrapbook paper, drawing paper, handmade paper, or a variety of paper types. Use a stiffer piece of cardstock for the cover, in the color of your choice. Saddle-stitched notebooks work best when they’re left thin. Avoid overstuffing your notebook since it won’t lay flat when it’s done. If you’re using lightweight paper like printer paper, feel free to use up to 15 sheets. For thicker papers, use only 5 or 6 sheets for your notebook. To determine how many pages your notebook will have, multiply the number of sheets you’re using by 2. Each piece of paper will be folded in half, so if you start with 8 sheets of paper you’ll have a 16-page notebook.
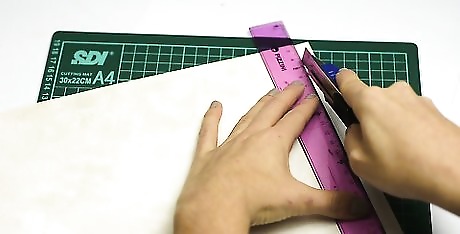
Cut the pages and cover down to the same size. If you want to use differently-sized sheets of paper or cardstock for the cover, trim the larger sheets down to the same size as the smaller ones using a paper cutter. If you want a rustic-looking notebook, some slight variations in size can look nice in the finished product. The soft edges of handmade paper can look especially pretty amongst other types of cut paper. If you want a neat and orderly notebook of all the same paper type, stick with a standard paper size so you don’t have to do any cutting.
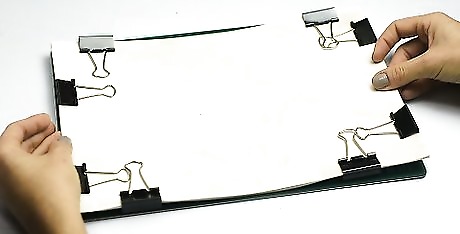
Stack the sheets and cover together and secure them with binder clips. Place the sheets of paper in a stack on a cutting mat, then lay the cover on top. Arrange the stack so that the long sides run parallel to your body. Adjust the pages until the top, bottom, and sides are perfectly lined up beneath the cover. Place 2 binder clips on either side to hold the stack in alignment. Think of the stack of pages as if it’s a book with a spine is running down the middle. The back cover should be to your left and the front cover should be to your right.
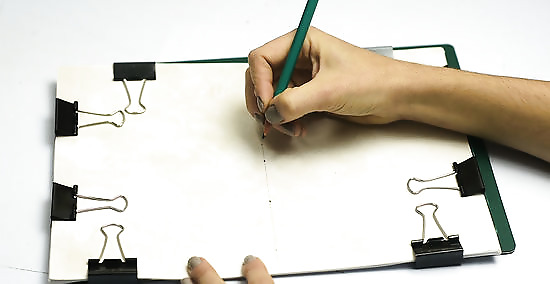
Draw 5 evenly-spaced dots along the center line. Use a ruler to measure the width of the stack of paper. Divide this number by 2 to determine the halfway point. Use a pencil to draw a faint vertical line that extends from the top to the bottom of the stack at this halfway point. This will be the spine of the notebook. Then mark 5 evenly-spaced dots with your pencil along the center line. The upper and lower dots should be about 1 in (2.5 cm) away from the top and bottom edges of the paper. Place the third dot in the center of the page, and place the other 2 dots between the outside and center dots on the top and bottom.
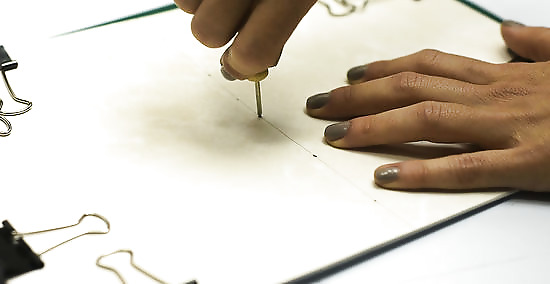
Use an awl to punch holes in each of the marked spots along the center line. Press the awl firmly down into the cover and through the stack of pages at each of the hole markings. Pick up the stack of pages to make sure the awl has passed through the innermost page. If it hasn’t, lay down the stack of pages and press the awl into the same spot, applying a little more pressure to puncture all of the pages. Make sure you run the holes straight down through all of the pages. Don’t hold the awl at an angle or wiggle it around; keep it perpendicular to the surface of the pages.
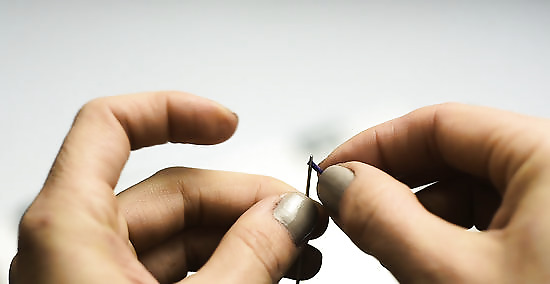
Thread a needle with a single strand of waxed thread. Start with pre-waxed thread or use linen thread and wax it using a piece of beeswax. This will help the thread slide more easily between the pages. Thread this onto a hand-sewing needle. Don’t double-up the thread; you just need a single layer of thread to stitch the binding. There’s no need to tie a knot at the end of the thread. You’ll be tying knots later on.
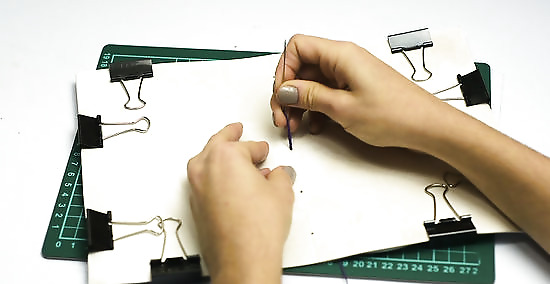
Bring the needle up through the middle hole to begin the saddle stitch. Start with 5 holes punched along the center line and the cover facing you. Bring the needle up in the middle through the third hole. Leave the end of the thread as a 3 in (7.6 cm) tail in the inside of the notebook. Don’t pull the thread all the way through the hole. There’s no knot to keep it in place, so you need to leave a long enough tail on the inside of the notebook.
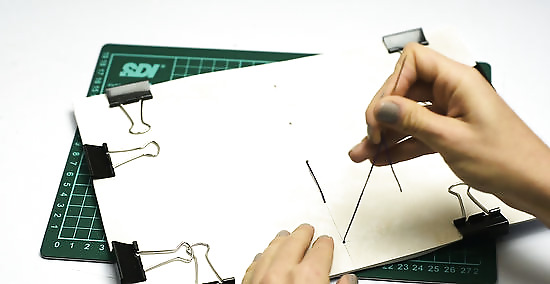
Pass the needle up and down through the bottom 2 holes. Hold the tail down with your finger so the thread doesn’t come loose. Then guide the needle down through the fourth hole and up through the fifth hole, working your stitches towards the bottom of the notebook.
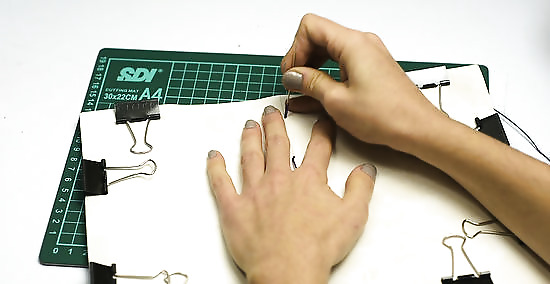
Switch directions and stitch up the spine, passing through all 5 holes. Instead of wrapping the thread over the bottom edge of the book, switch directions with your stitches. After coming up through the fifth hole, insert the needle back down through the fourth hole. Then bring it up through the third hole. Continue working your way towards the top of the book. Pass the needle down through the second hole, and up through the first hole.
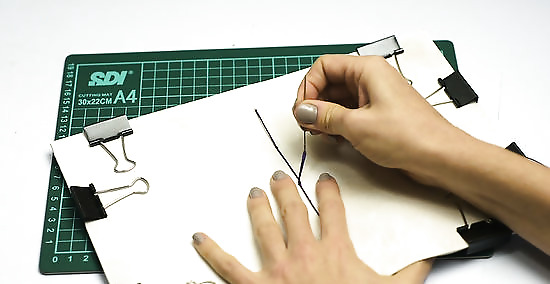
Stitch down along the spine until you return to the middle hole. Come back to the middle by stitching down through the second hole and back up through the third hole. On both sides of the notebook, you should have thread passing between each hole. Don’t stitch over the edges of the notebook when switching directions.
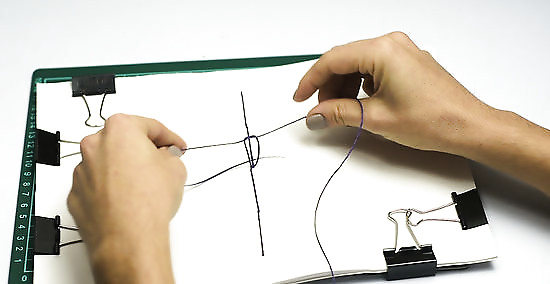
Knot both ends of the thread to finish off the binding. When you get to the middle again, create a simple knot by looping the working thread around an existing stitch and pulling it through the loop. Guide the needle back to the inside of the notebook by passing it through the third hole. Then tie off both ends of the thread in a double-knot. Trim the ends short and your binding is now complete. When you bring the working thread to the inside of the notebook, tug on it to bring the first knot you created to the inside.
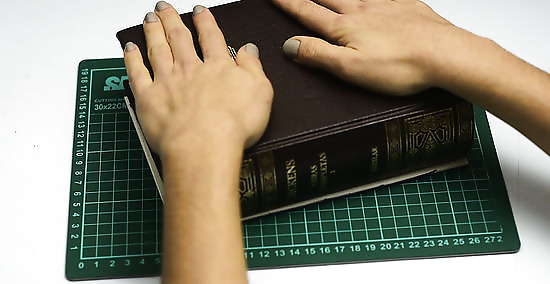
Fold the pages together and place a weight on the binding. Once the stitching is complete, you can remove the binder clips. To get the pages of your new saddle-stitched notebook to lay nicely together, fold the pages together to close the notebook. Use your hands to press the pages firmly along the spine. Then place a heavy book or another weight on top of the notebook overnight. This will encourage the pages to stay closed. You can also try folding the cover to the outside to ease up the stiff new binding.
Making a Simple Hole-Punched Notebook
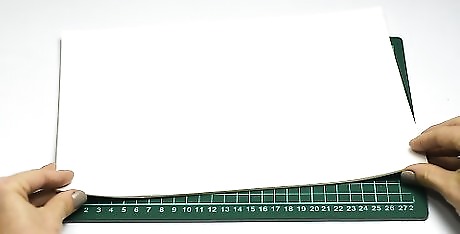
Stack up a few sheets of the same type of paper for your pages. Choose one type of paper in a standard size. It could be blank or lined, plain white or colored, depending on your preferences. Stack these sheets together, making sure that they are all perfectly lined up and the edges are even. Try printer paper for a quick and simple notebook. Use sheets of colorful construction paper, measuring the same dimensions, if you want a more durable scrapbook-style notebook. You could use drawing paper for a sketchbook.
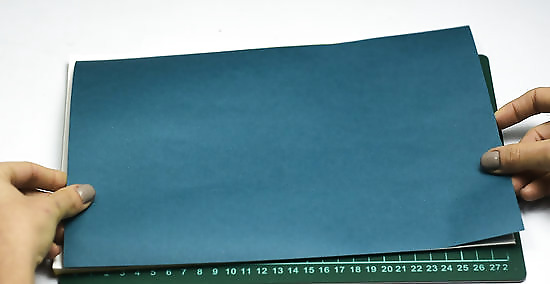
Lay 1 cover sheet on top of your pages, and 1 cover sheet below. The paper you use for your front and back covers should be roughly the same size as your pages, but it can be slightly larger if you prefer. Place the front cover sheet on top of the stack, and slide the back cover sheet underneath. Try stiff pieces of cardstock for a sturdier cover or colorful construction paper for a softer cover. You could also try cardboard if you want the look and feel of a hardcover notebook.
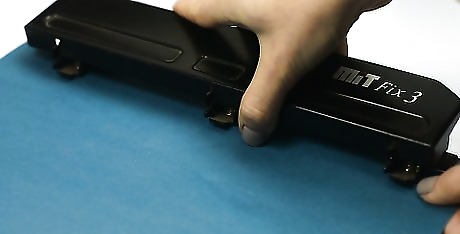
Use a 3-hole punch to create 3 holes along the spine. If you’re using letter-sized paper or something similar, the long edge on the left will serve as the spine. Line up the stack of paper and cover sheets so that the left edges are perfectly aligned. Insert the whole stack into a 3-hole punch and press it down to create the holes. If you’re using a handheld hole punch, feel free to create as many holes along the spine as you’d like. You may want to use a pencil and ruler to mark out the placement of the holes beforehand so they’re evenly spaced. Push the stack in as far as it will go into the 3-hole punch so that the edges of the paper press up evenly against it.
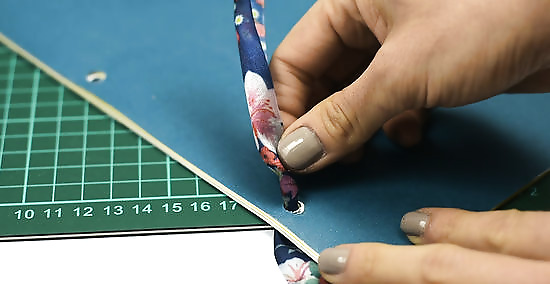
Knot a ribbon through each set of holes to bind your notebook. This can be as functional or as decorative as you’d like! You could cut short pieces of ribbon and loop each one through each set of holes along the notebook spine, securing them with a simple knot or bow. Or you could use 1 long strand of ribbon to tie off all 3 sets of holes. As an alternate method of securing your hole-punched notebook, slide a keyring or small binder ring through each set of holes.
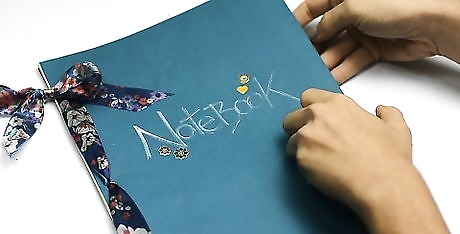
Add embellishments to decorate the cover of your notebook. Feel free to add stickers, photos, gems, or anything else you can think of to decorate your notebook’s cover. Place a smaller piece of paper in the center and use this as a label or title card for your notebook. If you prefer, leave the front cover blank and use it as a canvas for doodles.


Comments
0 comment