
Making the Light
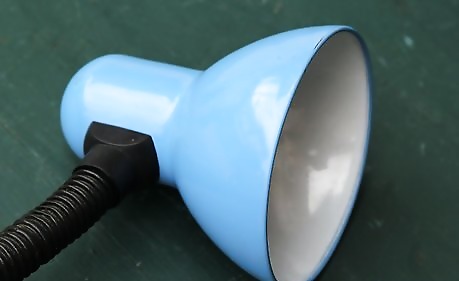
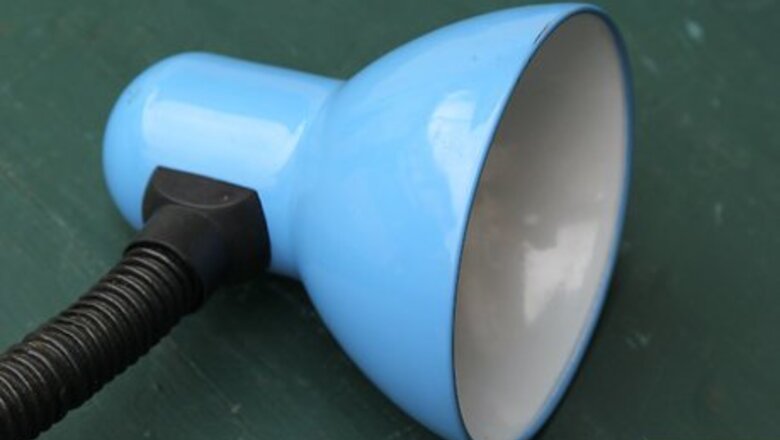
Unscrew the clamp from the clamp light. This will help it to fit inside the 1 inch/2.5cm PVC T-piece.
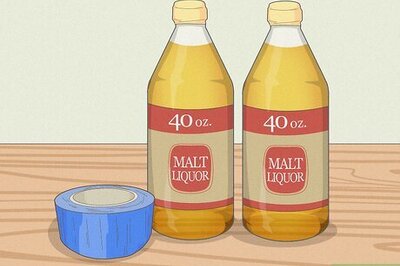
Use the Dremel tool to sand the inside of the 1 inch/2.5cm PVC T-piece. You are going to be putting the 'base' of the clamp light inside of it. If you take off too much, use some electrical tape to improve the fit.
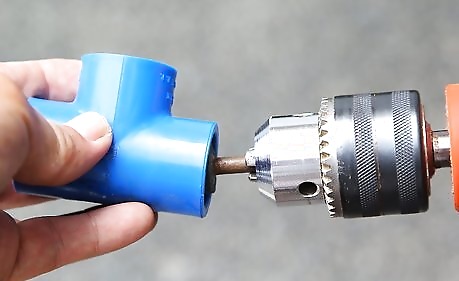
Insert the bushing into the side of the T-piece that you just put on the clamp light.
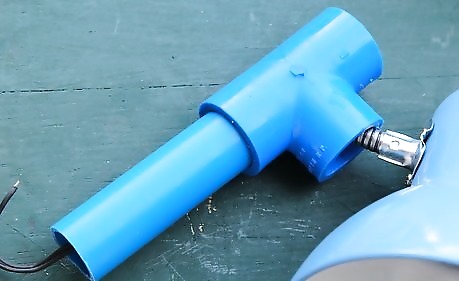
Push the 3 inch/7.5cm piece into the bushing. Put on a 3/4 inch/2cm T-piece onto the bushing.
Put the light aside for now.
Making the Light Stand
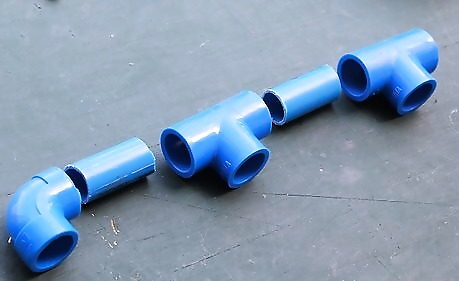
Make the base. Using two of the two inch/2.5cm pieces, 2 T-pieces, and a 90 degree elbow, put them together, like so: 90 degree elbow, 2 inch/2.5cm piece, T-piece, 2 inch/5cm piece, T-piece.Make a Three Legged PVC Light Stand Step 6Bullet1.jpg
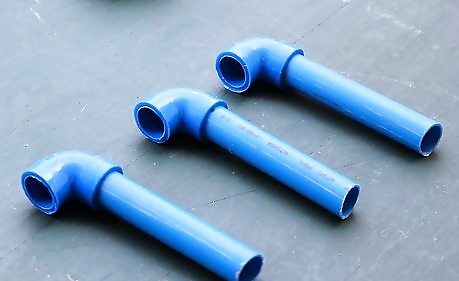
Attach three of the 5 inch/12.5cm pieces to the 45 degree elbows.
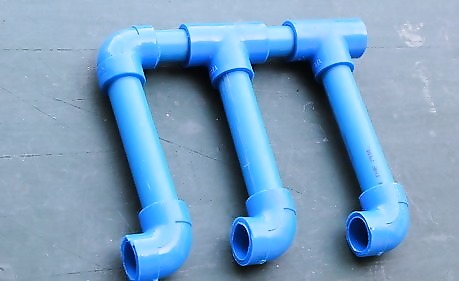
Attach those pieces to the base that you have already created. You are making the set of legs.

Attach the leftover 5 inch/12.5cm piece to the base of the stand. That is where you will find the elbow. Take the 9 3/4 inch/24.5cm piece and attach it to the next leg. Attach the 15 3/4 inch/40cm piece to the top one.Make a Three Legged PVC Light Stand Step 9Bullet2.jpg Spread out the legs so that it is standing.Make a Three Legged PVC Light Stand Step 9Bullet3.jpg Insert the 5 foot/1.5 meter piece to the base.Make a Three Legged PVC Light Stand Step 9Bullet4.jpg
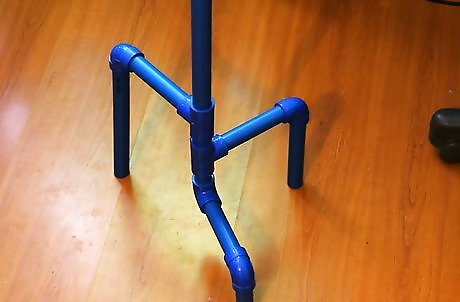
Your finished tripod.
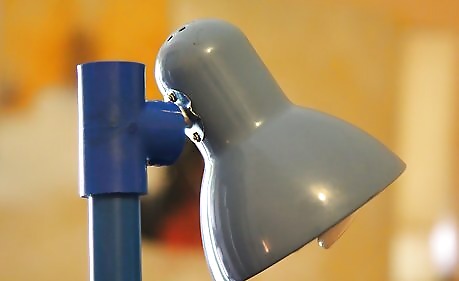
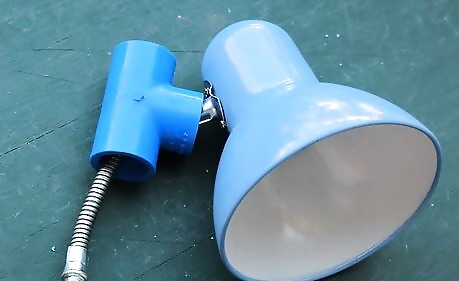
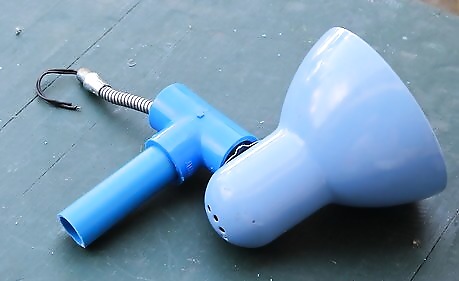
Attach the altered clamp light to the top of your light stand. It's now ready to use.


Comments
0 comment