views
Getting Started
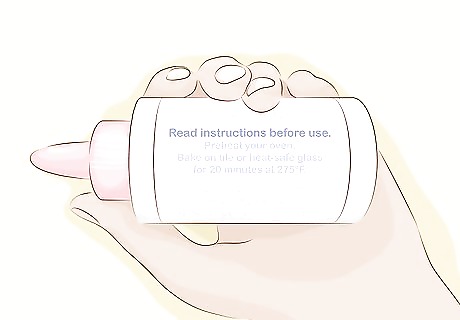
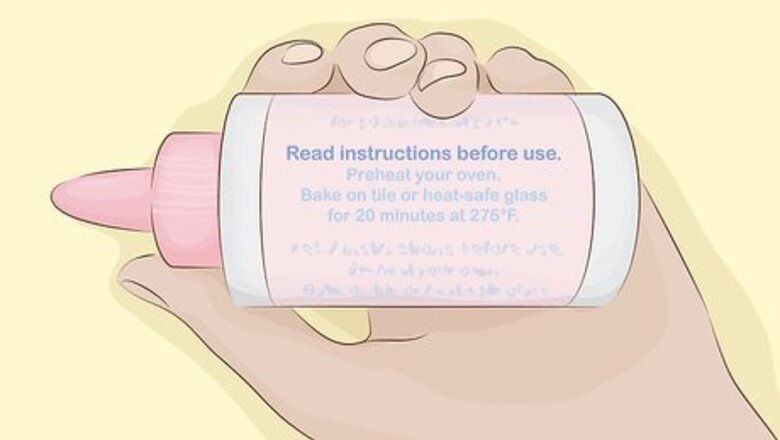
Preheat your oven to the temperature specified on the bottle. You want to get your template into the oven as soon as possible. If you have to wait for your oven to pre-heat after you finish your design, the clay may spread too much. You can use a regular oven or even a toaster oven. Do not use a microwave. Each brand is different, so read the temperature specified on the bottle.

Create your template. You do not absolutely have to create a template, but it will make it easier to create your design. You can print a message or simple outline from the computer, tear a page out of a coloring book, or draw your own design on a sheet of paper. If you don't want to use a template, you can work on top of a smooth tile instead.
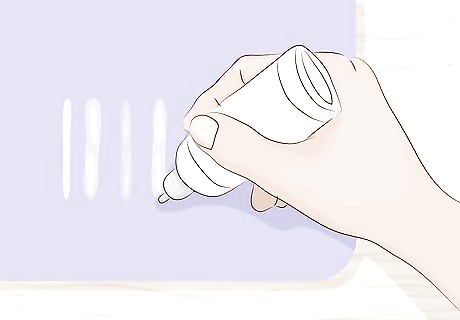
Test the liquid polymer clay by drawing a thin line with it. The clay should hold its shape for several minutes without spreading too much. If the liquid clay spreads too much, it is too thin. You can still work with this, but you will have to color inside your design. Each brand will have a slightly different consistency. Polymer clay tends to become thicker as it gets older.
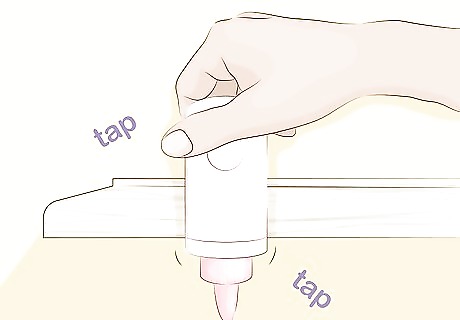
Squeeze the air out of the bottle. Hold the bottle upside down, and tap it against your work surface. Gently squeeze it. This helps get rid of any air bubbles that might mess up your work. If you are applying the liquid clay with a brush, you can skip this step.
Tinting the Clay (Optional)
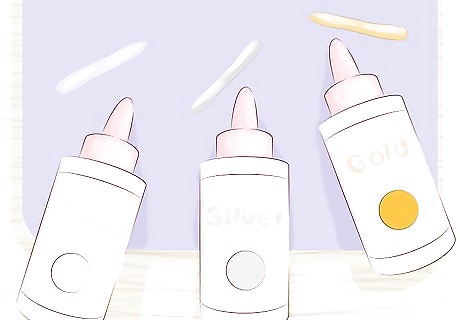
Consider tinting the liquid polymer clay. Liquid polymer clay comes in limited colors: clear, gold, and silver. That's not a lot, and it may not work for every design out there. You can always paint it afterwards, or you can tint it first. Keep in mind that most brands will appear opaque at first, and will eventually turn clear after you finish baking them.
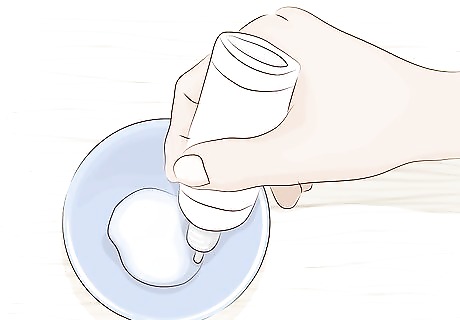
Pour some liquid polymer clay into a little dish. If you plan on using more than one color, pour more clay into separate dishes. How much liquid clay you pour out depends on the size of your design.
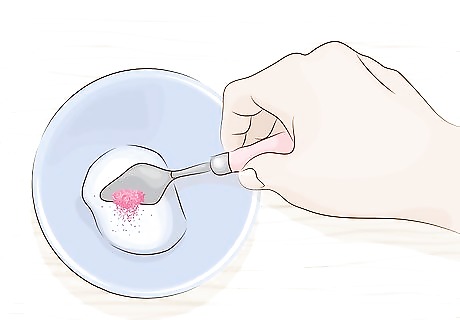
Pour in your desired pigment. You will need about 10% pigment to 90% polymer clay. You can use things like: alcohol ink, embossing powder, mica powder, oil paint, or powdered chalk. If you use too much pigment, your piece may turn opaque or too hard.
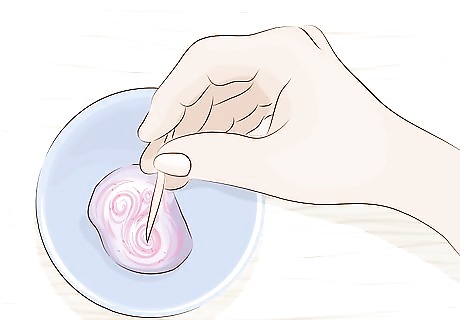
Stir the pigment in with a toothpick. Keep stirring until no streaks or swirls remain. If you used chalk or other powders, you may have to break small clumps up by "stabbing" them with the toothpick. Can't find a toothpick? A skewer or another thin stick will also work. Even an unfolded paper clip will do.
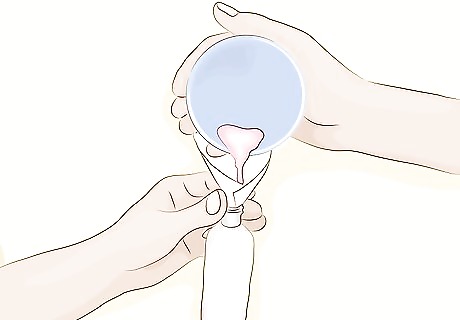
Transfer the pigment into a small squeeze bottle, if desired. The best types of bottles to work with are the tiny bottles that glitter glue and puff paint come in. Make sure that they are clean first, however. You can apply the liquid clay with a paintbrush, but a squeeze bottle will give your more control. Use a small funnel to help pour the clay into the bottle. If you don't have a funnel small enough, roll some wax paper into a cone, and stick it into the neck of the bottle. Use that as a funnel instead.
Creating Your Design

Place a sheet of heat-safe glass over your template. The key to making liquid clay work as window clings is to cure it on top of a smooth surface. Your sheet of glass needs to be perfectly smooth, without scratches, texture, bumps, or dents. If you are not using a template, you can work on top of a smooth, glazed tile. Make sure that the tile is perfectly smooth and does not have a warped or bumpy texture.
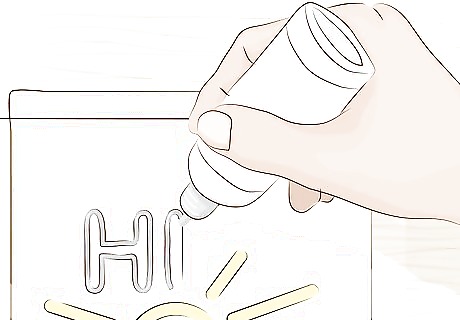
Start with the outline. Place the nozzle of the bottle close to the glass, and start drawing. If you are using a paintbrush, use a thin brush to apply the liquid clay. You want a nice, thick layer. If your liquid clay is thin, you might want to draw just inside the outlines so that it doesn't spread too much.

Fill the outlines in. If you are applying it straight from the bottle, use the tip of the applicator to blend in the seams. If you are using a paintbrush, use the tip of the brush to blend everything together.
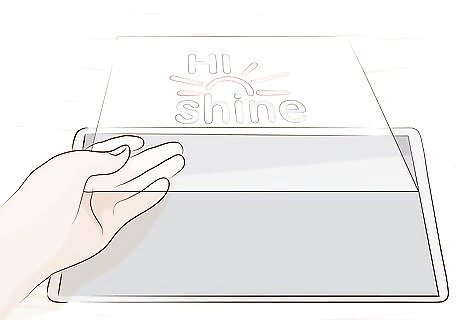
Transfer the glass to a baking sheet. Carefully lift the glass or tile you are working on and place it onto a baking sheet.
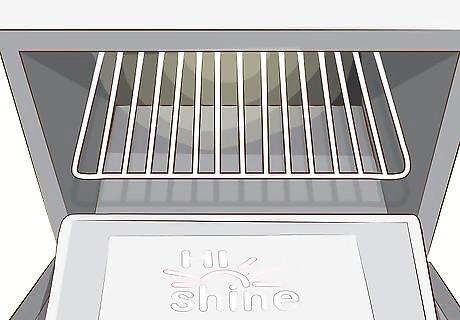
Bake the design in the preheated oven. Again, each brand will have a slightly different baking time. Read the label on your bottle of liquid polymer clay. If you don't bake the polymer clay at the right temperature and for the right amount of time, it may be too soft, too sticky, or too brittle.
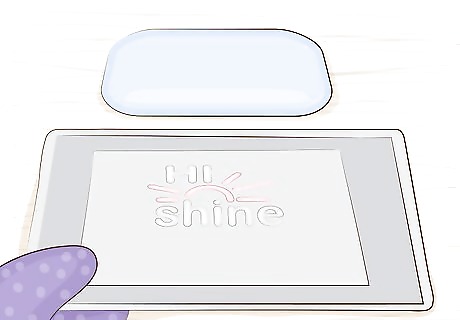
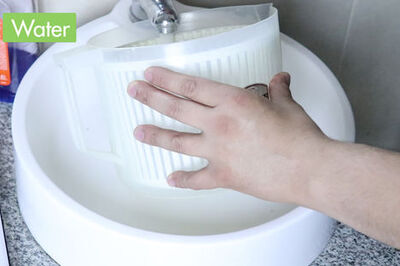
Let the design cool completely. Once the time is up, use a pair of oven mitts to take the baking sheet out of the oven. Set the baking sheet down onto a heat-safe surface, and let everything cool down completely. Do not get impatient and try to run the glass under cold water; it will shatter.
Finishing the Window Cling
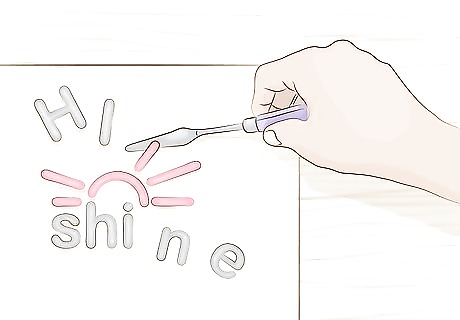
Peel the template off. You can do it with your fingers or with a metal palette knife. Be careful not to rip or tear the window cling. If you are using a palette knife, slide it carefully under the window cling to pry it off.
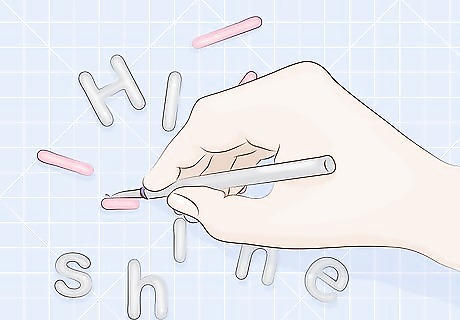
Clean it up. Because the window cling is handmade, it will have some imperfections, such as bumps or strands. If these bother you, cut them off with a small pair of scissors or a craft blade. Cut on top of a cutting mat, not the glass, or you will risk scratching the glass up.
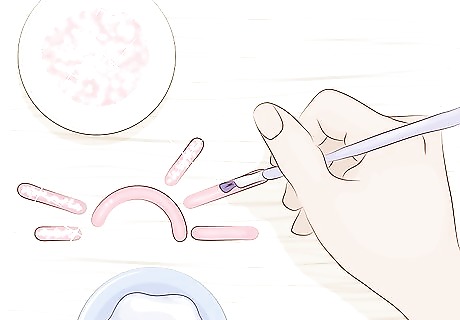
Consider painting the window cling. You can paint it using acrylic paint if you want a solid color. You can also cover it with glue, then shake some extra-fine glitter onto it. Be careful not to get any glitter on the back, however! Lastly, if you want a translucent window cling, you can color it using permanent markers. Let the paint, glue, or marker dry.

Use the window cling. Press the window cling against your window or mirror. It should stick, as long as the entire back surface is touching the glass. You can peel it off and reuse it as often as you'd like.







Comments
0 comment