
Creating the Pattern
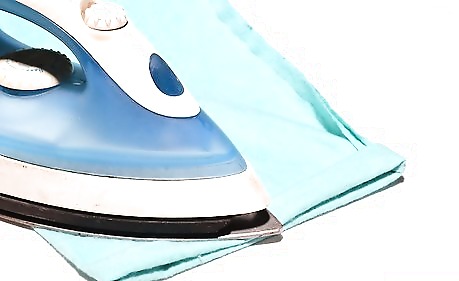
Fold a sheet of fabric in half, right sides facing in. Your fabric should be twice the length you want your pajama pants to be. If your fabric is not long enough, then fold the left and right sides towards the middle instead. If you have not already, it would be a good idea to wash, dry, and iron the fabric. This will remove any shrinking and coatings. Cotton or flannel work the best. If you live in a colder climate, fleece would also be a good option. Avoid stiff, coarse, or non-breathable material.
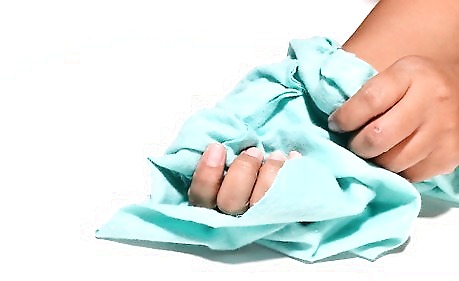
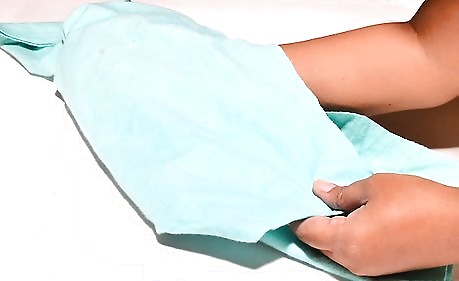
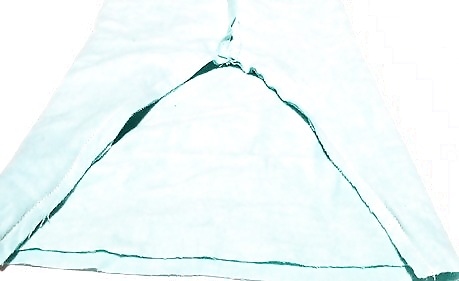
Find a pair of pajama pants that fit you and fold them in half. Fold the pants so that the side seams match up, and the crotch is visible. Make sure that the back of the pants is on the outside. Most pants are larger in the back than in the front; if you fold them with the front on the outside, they may be too small. Pull the crotch part out so that it makes a triangle. If you do not have any existing pajama pants, you can use sweatpants or any other loose-fitting pants with an elastic or drawstring waistband.
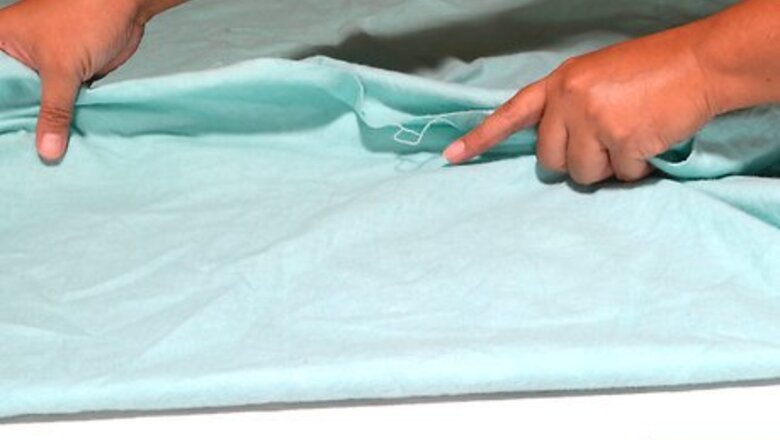
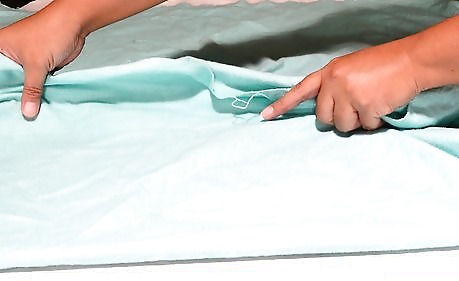
Place the pants on top of the fabric, with the side seams along the fold. This way, you won't have to sew the pants along the outside edges. Make sure that the waistband is 2 inches (5.1 cm) from the top edge of the fabric, and the cuffs are 1 inch (2.5 cm) from the bottom edge. If you plan to make more pajama pants for yourself, lay the pants down on a piece of tracing paper instead. This will give you a reusable pattern.
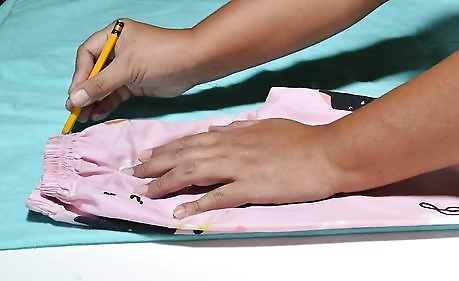
Trace around the pants leaving room for the seams. Use a ⁄2 inch (1.3 cm) seam allowance for the inseam and the crotch, and a 1 inch (2.5 cm) seam allowance for the bottom edge of the cuff. Use a 2 inches (5.1 cm) seam allowance for the waistband. Use chalk for dark fabrics and a pen for light. When you reach the top, be sure to stretch the waistband out so that it aligns with the legs, otherwise your pants will be too narrow. Make any adjustments to your pattern as you trace it. This includes making the legs shorter, longer, narrower, or wider.
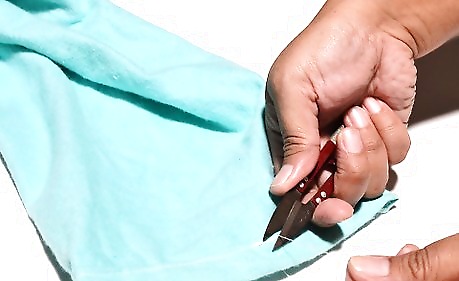
Cut the fabric out, then repeat the process for the other leg. Cut the first leg out, making sure that you cut through both layers of fabric. Use it as a template to trace and cut the second leg. You do not need to add seam allowances to the second leg, because the template already includes them. You will end up with 2 pieces of fabric, 1 for each leg.
Sewing the Pajama Pants
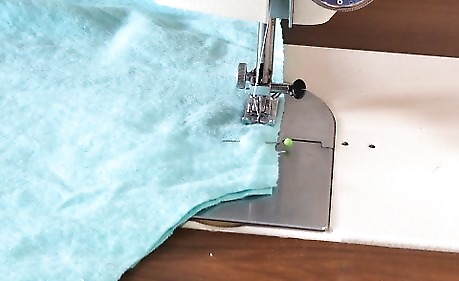
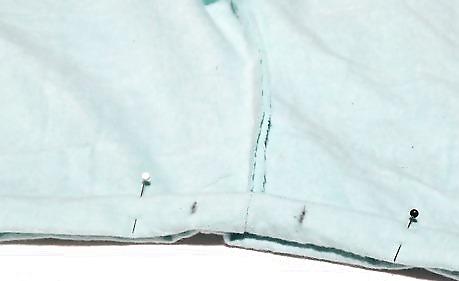
Sew the inseams using a ⁄2 inch (1.3 cm) seam allowance. Make sure that the wrong sides of the fabric are facing out, then sew along the inseam, from crotch to cuff. Do 1 leg first, then the other. Use a straight stitch, a matching thread color, and a ⁄2 inch (1.3 cm)seam allowance. Backstitch when you start and finish sewing. This will make your stitches stronger. If you need to, pin the fabric together with sewing pins, but be sure to remove them when you are done.
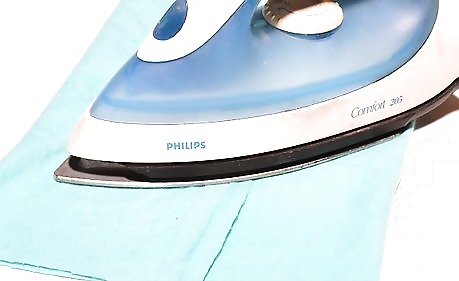
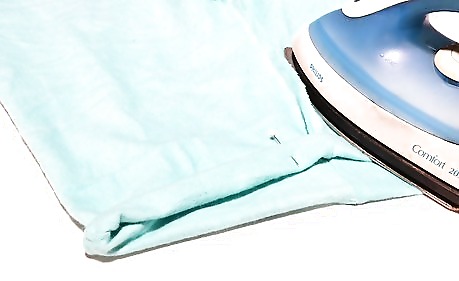
Press and finish the seams, if desired. Use a hot iron to press the seams open so that they lay flat. If the fabric is cotton, finish the raw edges on each seam with a serger or a zigzag stitch. You don't have to finish the seams on flannel fabric, since it does not fray. You can trim the seams down, however.
Turn 1 of the legs right-side-out. Slide your arm into 1 of the pant legs. Grab the cuff, and pull it through the pant leg and out of the crotch. Leave the other pant leg inside-out.
Slide the right-side-out pant leg into the inside-out pant leg. Slide your arm into the cuff of the inside-out pant leg. Grab the cuff of the right-side-out pant leg, and pull it through the pant leg to end up with a single piece. Make sure that the cuffs and seams match up. Insert a sewing pin through the seams so that they stay centered and don't move around.
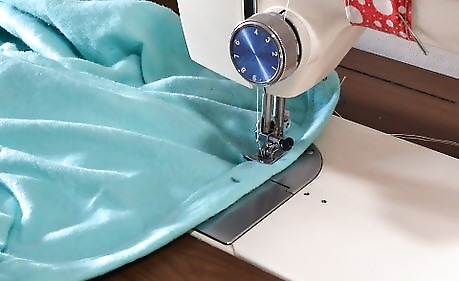
Sew along the crotch using a ⁄2 inch (1.3 cm) seam allowance. Begin sewing at 1 end of the waistband, and finish sewing at the other end. Once again, use a straight stitch, a matching thread color, and a ⁄2 inch (1.3 cm) seam allowance. Be sure to backstitch when you start and finish sewing. If you inserted the pin earlier, remember to pull it out. For added strength, sew across the entire crotch again using the same stitch, thread, and seam allowance. Finish the seams with a serger or a zigzag stitch, if desired. Do not press them open.
Turn the pant legs inside-out. Stick your arm into the pant leg, grab the inside cuff, and pull it out. Make sure that the wrong side of the fabric is facing out. If the right side is facing out, turn the pants inside-out.
Creating an Elastic Waistband
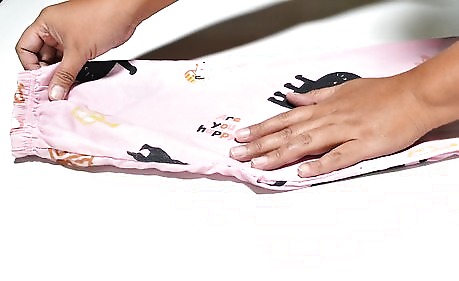
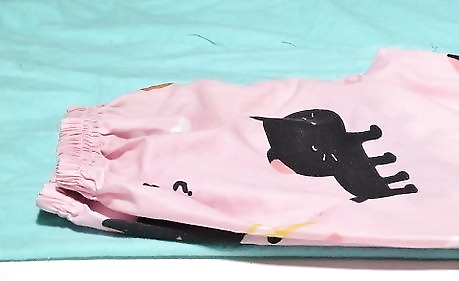
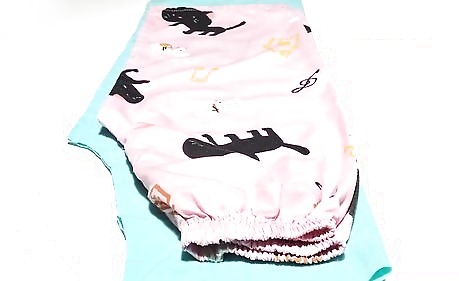
Fold and press the waistband twice. Fold the waistband down by ⁄4 inch (0.64 cm) towards the wrong side of the fabric. Press it with a hot iron, then fold it by 1 ⁄4 inches (3.2 cm). Press it flat with an iron again. Use a temperature setting on your iron suitable for the type of fabric you are working with.
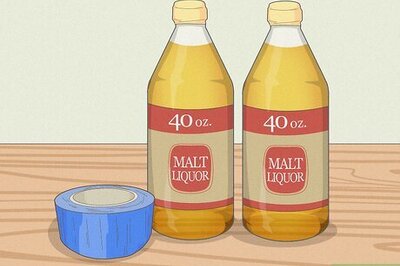
Create buttonholes if you wish to add a drawstring. Unfold the waistband. Find the crotch seam in the front of the pants. Use your sewing machine to create a buttonhole 1 inch (2.5 cm) to either side of the crotch seam. The buttonhole needs to be the same width as the twill tape that you'll be using for the drawstring. A drawstring is not absolutely necessary. You can use it in addition to an elastic waistband to make the pants tighter. If you don't know how to make buttonholes, you can insert grommets instead. Make sure that you are only inserting them through the front of the waistband.
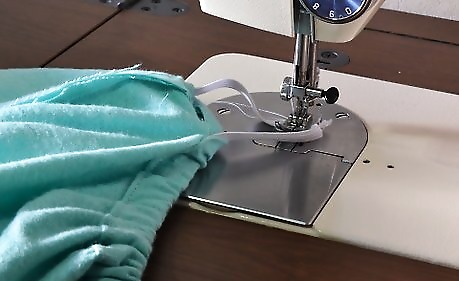
Sew the waistband, leaving a 2 in (5.1 cm) gap for the elastic. Use a straight stitch and a matching thread color. Sew as close as possible to the inside, folded edge of the waistband. Leave a 2 inches (5.1 cm) gap between your first and last stitches so that you can insert the elastic. If you unfolded the waistband earlier to create buttonholes for the drawstring, be sure to fold it back up.
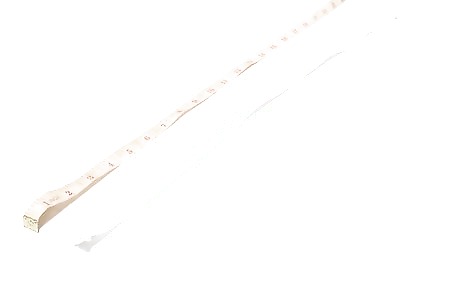
Cut a piece of wide elastic 1 inch (2.5 cm) longer than your waist. Measure around your waist with a cloth measuring tape. Add 1 inch (2.5 cm), then cut a piece of ⁄4 inch (1.9 cm) wide elastic. Use a light color for light fabrics, and a dark color for dark.
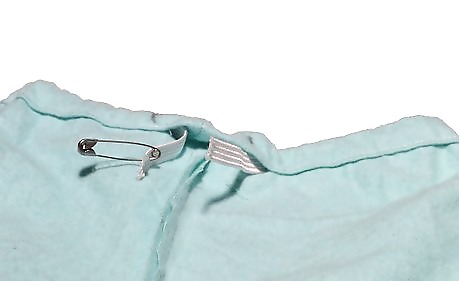
Use a safety pin to insert the elastic. Clip a safety pin to the end of the elastic. Push the safety pin through the gap in the waistband. Use the safety pin to guide the elastic around the waistband until it comes out of the gap again.
Overlap the ends of the elastic, then sew them together. Overlap the ends of the elastic by 1 inch (2.5 cm). Sew across them a few times using a zigzag stitch. Gently tug on the elastic to ensure that the stitching is strong and won't come apart. Make sure that you are sewing vertically across the elastic, from top edge to bottom edge.
Sew the gap in the waistband shut. Tuck the elastic into the gap. Pull on the waistband so that it lays flat, then sew it shut. Use a straight stitch and a matching thread color, just as before. Backstitch when you start and finish sewing.
Insert a drawstring through the buttonholes, if you made them. Find a twill tape that goes well with the color of your pajama pants. Clip a small safety pin to the end, then insert it through the left buttonhole. Guide the safety pin around the waistband and out the right buttonhole. Adjust the ends so that they are even, then remove the safety pin. Knot the ends of the twill tape, if desired. This will keep them from fraying. Instead of knotting, you can fold over the ends of the twill tape twice, then sew them down. This will give you a nicer finish.
Finishing the Cuffs
Fold and press the cuffs. Fold the bottom edge of each cuff up by ⁄4 inch (0.64 cm). Press them flat with an iron, then fold them up by ⁄2 inch (1.3 cm) and press them again.

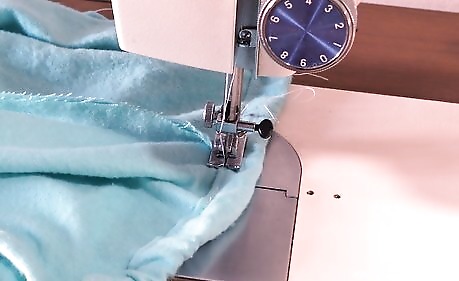
Sew the cuffs. Use a straight stitch and a matching thread color. Sew as close as possible to the inside folded edge of each hem. Backstitch when you start and finish sewing. It would be best to start and finish sewing along the inseam. This will make the backstitching less-visible.
Trim off any loose or hanging threads. Go over the seams of your pajama pants. Trim off any loose or hanging threads as close to the stitching as possible.
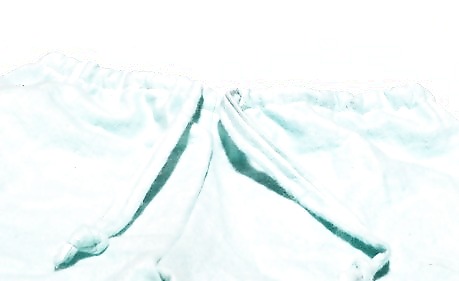
Turn the pants right-side-out. They are now ready to wear! Be aware that because these pajama pants are homemade, they are more delicate than store-bought ones. Wear them with care, and wash them using a delicate cycle on your washing machine.


Comments
0 comment