
views
X
Expert Source
Patrick CoyePainting Specialist
Expert Interview. 22 July 2020.
Cover the faces and frame with a coat of basic white primer, then brush on your color of choice once it’s had a couple hours to dry. Finally, go over the dresser with a coat of varnish to protect the new paint from chips, scratches, and moisture damage.
Sanding and Priming the Dresser

Lay down a dropcloth. Sanding, priming, and painting can be messy work, so be sure to stretch out a large dropcloth or plastic tarp over your work area. The extra layer will act as a barrier to protect your floor against spills and splatters. Paint fumes can quickly become overpowering. For this reason, it’s recommended that you do your painting in a garage or workshop that will provide some ventilation, or in an outdoor space like a patio or driveway. Use strips of tape or heavy objects like paint buckets to hold down the corners of the dropcloth and keep it from blowing around in a stiff breeze.
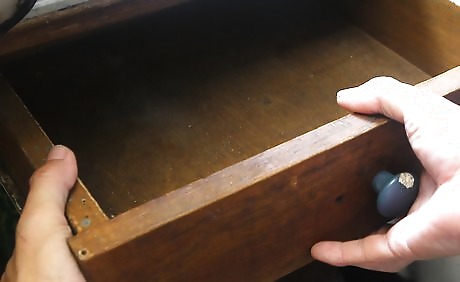
Remove the drawers from the dresser. Pull out each drawer, lifting them at the opening to help them clear the edge of the roller track. Set these aside on your dropcloth—you’ll be painting them separately from the rest of the frame. Clear everything out of the drawers once they’re free to avoid ruining any cherished belongings.
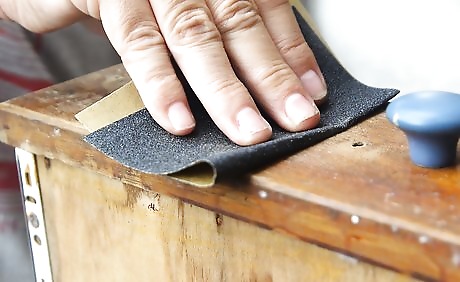
Sand the dresser with a medium-grit sandpaper. Use a square of 80-100 grit sandpaper to gently scuff the entire outer surface. This will remove the existing finish so that the dresser will have an easier time accepting fresh paint. Sand with smooth, circular rubbing motions to avoid leaving noticeable streaks in the grain. Make sure you give the edges, corners, and any recessed or molded bits some attention, as well. Bearing down too hard with the sandpaper may damage the wood underneath.
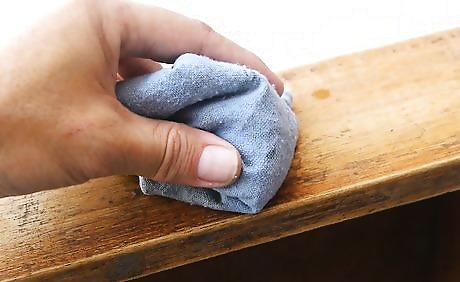
Wipe down the dresser with a damp cloth. Run the cloth lightly over the sanded surface to collect loose dust and debris. Once the dresser is clean, let it sit for 20-30 minutes to give it time to dry before you move on to priming. Any wood dust you miss may show up in the finished paint job.
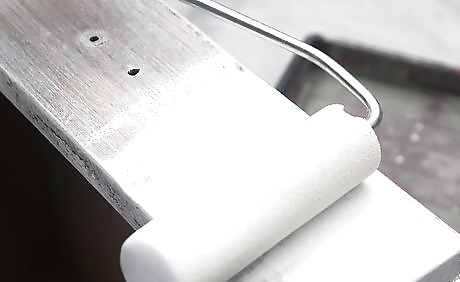
Brush on a coat of basic white primer. Apply the primer in one thin, even coat using a brush or foam roller. Aim for total coverage—every part of the dresser you intend to paint should be underlaid by a neutral base coat. This will allow the new color to come through clearer and bolder. A spray-on primer will also do the trick if you’d prefer not to go to the trouble of detailing by hand. There are both oil and water-based primers, just as there are oil and water-based paints. Be sure to choose a primer with the same basic formula as the paint you'll be using.
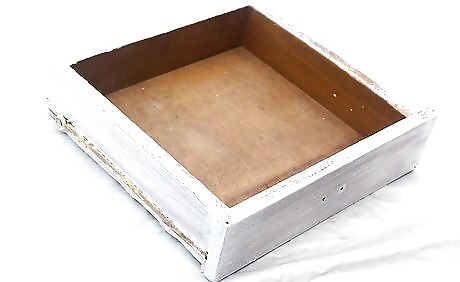
Allow the primer to dry for 4-6 hours. The base coat needs to set completely before you can paint over it. To speed the process along, make sure the dresser receives plenty of airflow. Opening a couple doors or windows or setting up a portable fan in front of the piece can help with this. Come back periodically and give the primer a tough-test to see how it’s coming along. If it feels sticky, it still needs more time. Painting over wet primer can smudge the base coat, leaving behind white swirls in your new color.
Applying Fresh Paint
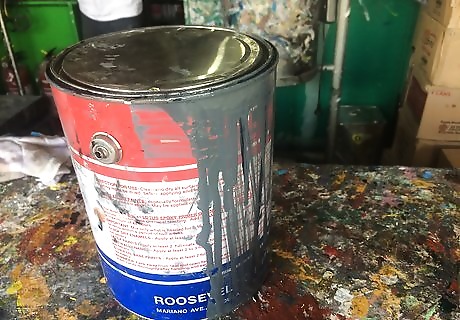
Use a latex paint formulated for indoor use. Latex paint is one of the best choices for furniture, due to its resilient finish. It has a sleek, chalky look that sits well on top of primer and provides excellent coverage. You’ll get equally attractive results using either an oil or water-based paint. A single gallon of paint should be more than enough to redo even the largest dresser or chest of drawers. It’s important to keep your layers consistent—don’t use an oil-based paint over a water-based paint or primer, or vice versa.
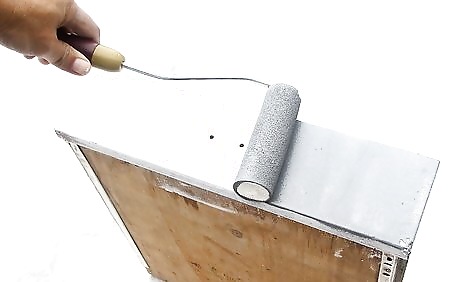
Roll or brush the first coat of paint onto the dresser. Paint with long, linear strokes from one side of the piece to the other. Complete the faces, frame, and drawers individually. That way, you’ll be able to give each your full attention and avoid oversights and inconsistencies. Be sure to stir the paint thoroughly with a stir stick or wooden dowel or to ensure that it’s properly mixed. If you’re using a roller, fill a disposable paint tray with just enough paint to cover one side of the dresser at a time. This will keep the rest of the paint from drying out while you work.
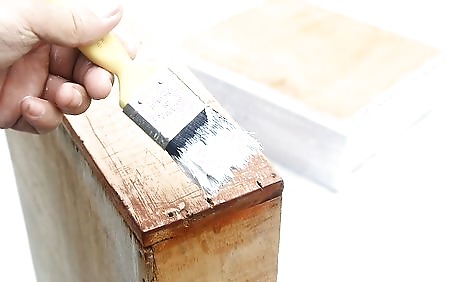
Paint the drawers separately. Once you've added a new layer of color to the frame, move onto the individual drawers. Since dresser drawers have so many edges, angles, and curves, it's important to paint every part of them that will be visible when they're open. This includes the sidewalls and backside of the face. A handheld brush will give you the most control over where to place a fresh coat of paint. Consider painting the entire drawer inside and out to make it look like a more natural fit for the updated dresser.
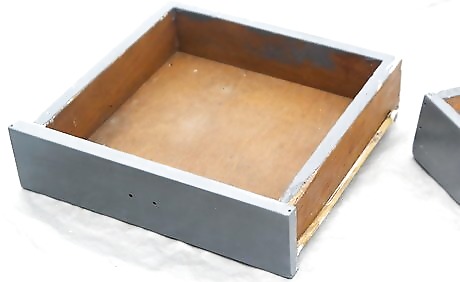
Give the first coat 2-4 hours to dry. After you’ve covered the entire dresser, you’ll need to give the paint time to begin hardening before you can follow up with a second coat. Leave the piece uncovered and avoid handling it while it’s wet. Exact drying times will vary depending on the type of paint you’re working with, so always refer to the manufacturer’s instructions. Keep the doors and windows to your work area shut if it’s raining or especially humid outside. Excess moisture can make drying take longer and even impact the look of the finish. For the sake of convenience, it may be easiest to finish up the first coat in the morning and start the second coat in the later afternoon or evening. That way, it will be able to dry overnight.
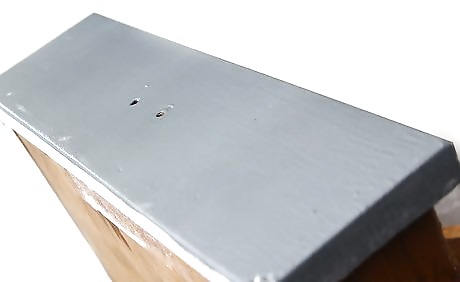
Layer on additional coats of paint. Allow the first coat to dry completely, then repeat the painting process with a second coat. For a more assertive color, you can even add a third or fourth coat. Keep in mind that each subsequent coat will require 2-4 hours of drying time. Go back over every area you painted the first time around, rather than just hitting the broad strokes.
Finishing the Newly-Painted Dresser
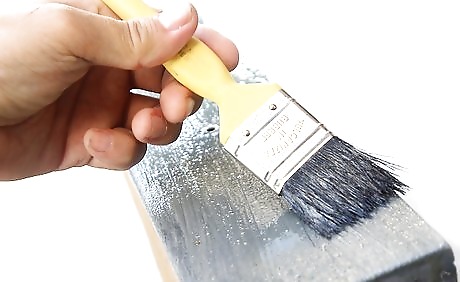
Add a coat of protective varnish (optional). After the topcoat has had time to dry, roll or brush on a final clear coat of varnish to seal the new paint. Spread the varnish in a thin, even layer over every surface of the dresser that you painted. Like the other coats, it will need 2-4 hours to dry. One of the advantages of latex paint is that it’s smooth enough to offer an eye-catching finish. If you’d prefer something with a little more gloss, however, a clear coat may be just what you need. A layer of varnish will also provide protection from minor dings, scratches, and exposure to moisture.
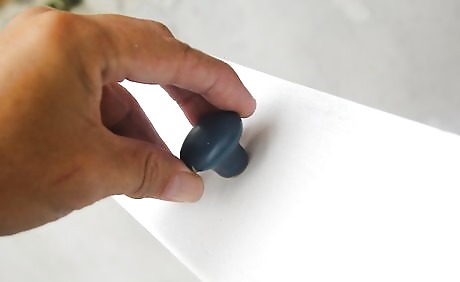
Change out the drawer pulls and other hardware if desired. Now is a good time to replace your dresser’s accessories, since you already have it taken apart. Unscrew the old pieces and dispose of them or store them in labelled bags to reuse later. Attach the updated hardware using all new screws and faceplates for a stronger hold. Shop around for attractive knobs, handles, and hinges at your local improvement center, or have a set custom made to suit your unique design sensibilities. It may be necessary to patch old holes or drill new ones to accommodate different styles of accessories.
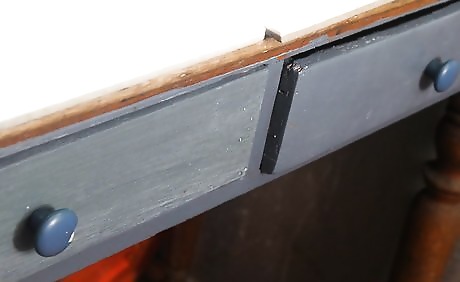
Reassemble the dresser. Slide the drawers back into the dresser and stand back to admire your handiwork. You can put your revamped dresser right back where it was, or find a new place to situate it to change up the layout of your home. Check the hardware connections and roller alignment on the underside of the drawers to make sure everything is secure before you call it a day.


Comments
0 comment