views
Cleaning and Sanding the Boat
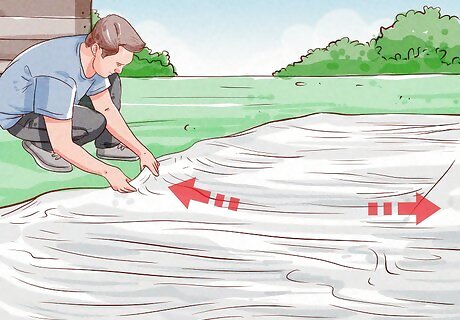
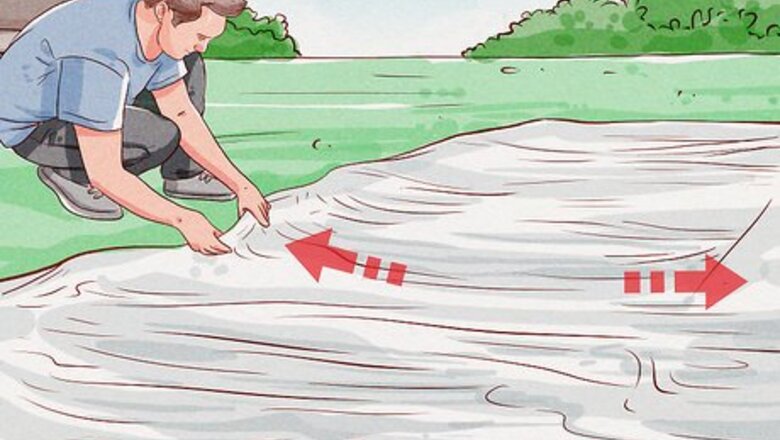
Lay plastic or paper over your workspace to prevent paint stains. Find a spot, ideally outdoors, where you can paint your boat without damaging any other surfaces or items. Spread out a large piece of plastic or several layers of paper to cover your entire work surface. Choose a spot far away from any buildings, cars, or other things that might get damaged if paint accidentally gets on them.

Place the boat off of the ground to easily reach it. You’ll need to be able to paint all around the boat, so it should be set above the ground. You can prop the boat up on something like sawhorses so that you can paint it more easily.
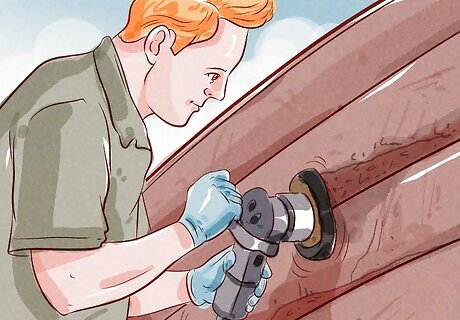
Sand the boat to remove old paint and create a smooth surface. You can use an electric sander or regular pieces of sandpaper, whichever you have access to. Use 40 or 80-grit sandpaper, sanding the inside of the boat before flipping it over and sanding the exterior. Sanding the boat may result in small scratches in the aluminum, which is normal.
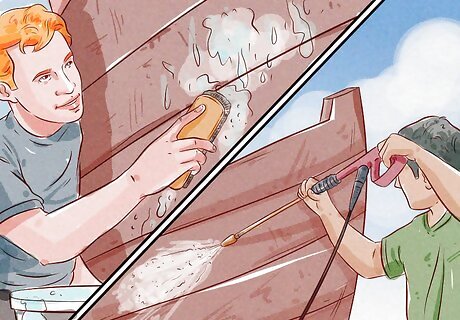
Wash the boat using soap and water. Dip a hard-bristled brush in soapy water and use it to scrub off any sanding debris or leftover dirt. Rinse the entire boat off with a hose, or you can power wash the boat if desired. If the boat is super dirty, dip a towel or sponge in a cleaning solution and scrub it over any tough spots.

Dry the boat thoroughly. The boat will need to be completely dry before it can be primed or painted. Use a towel to dry the boat quickly, or let the boat air dry. If it’s sunny outside, opt for letting the boat air dry. This will ensure that there aren’t any damp spots when you go to paint it.
Applying Primer
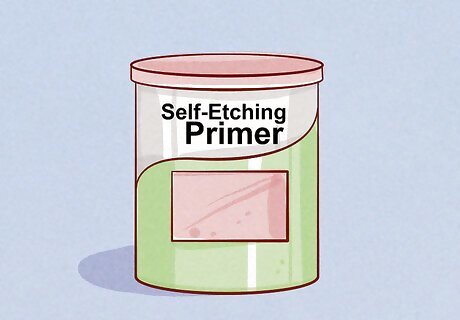
Find a primer that’s suitable for metal surfaces. Priming the boat will help protect the surface while also helping the paint stick to the boat. Look for a self-etching primer that works on aluminum at a home improvement store or online. You can mix a little bit of paint thinner with the primer to help conceal any tiny scratches in the metal, if desired. Oil-based primers are often used when painting aluminum.
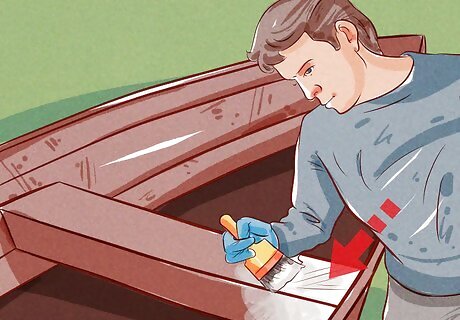
Apply the primer to the interior of the boat in an even layer. You can spray the primer on, or you can use a roller or paint brush. Apply it in an even, thin layer to the inside of the boat, making sure to get all of the cracks and corners. If you’re spraying the primer onto the boat, make sure the area is well-ventilated.
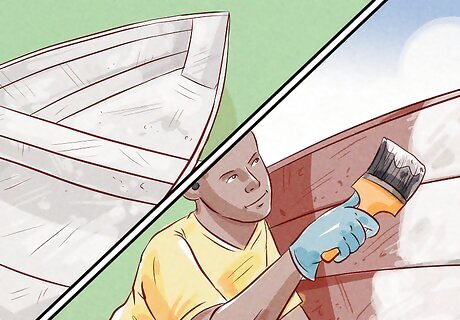
Allow the primer to dry before priming the exterior. How long the primer takes to dry depends on the specific type and the environment in which it’s drying, but wait several hours before flipping the boat over. Prime the outside of the boat just as you did the inside, spreading the primer in an even layer.

Leave the entire boat to dry for 10-12 hours, or overnight. This gives the primer enough time to completely dry before you start adding paint. If you primed the boat outside, you can leave it outside to dry as long as the weather is supposed to remain clear. If it’s supposed to rain, bring the boat into a garage or shed, making sure to still keep it propped up.
Painting the Boat
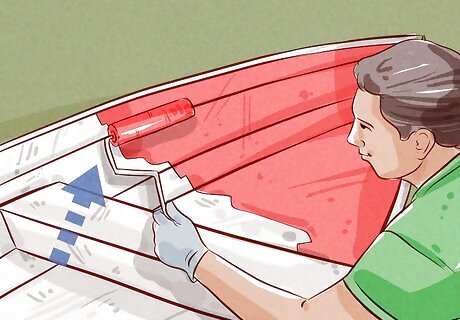
Apply your desired water-resistant paint to the boat’s interior. You can choose any color that you like, just make sure that the paint is made to withstand water. Use a sprayer, paint brush, or roller to apply the paint to the inside of the boat, just as you did with the primer. Make sure you paint all of the seams in the boat well, as these tend to chip the easiest.
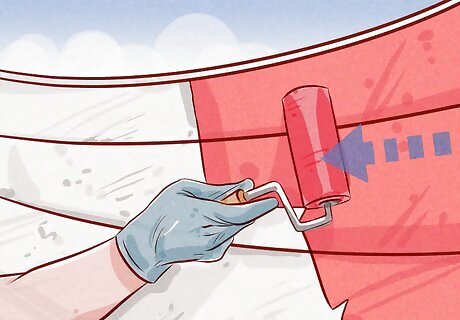
Let the paint dry before painting the exterior of the boat. Check the instructions on the container of paint to see how long it takes the paint to dry, but it's best to leave the boat untouched for at least 10 hours. Once the interior coat is dry, flip the boat over carefully and start painting the outside. Use slow, even strokes when painting and cover the exterior evenly. Let the first coat of paint dry completely before you paint a second coat, if necessary.
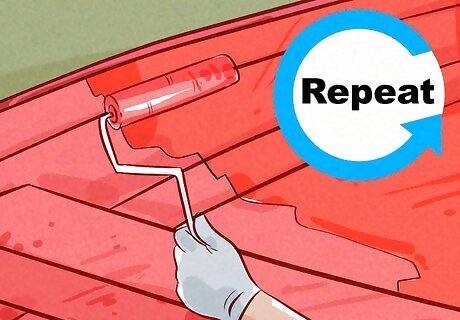
Paint a second coat of the paint, if desired. Once the first coat is dry, you can apply a second coat of paint to the interior and exterior, using the same painting tools. A second coat will help ensure the paint job looks even, and it will provide another layer of protection for your boat.

Leave the boat to dry overnight before adding a clear coat. Set the boat up overnight (inside, if the weather will be poor) so that the paint has time to dry completely. Use a roller or paint brush to spread the clear coat over the interior and exterior of the boat using thin, even strokes. Leave the boat propped up until it dries. You can find a protective clear coat that will help prevent scratches and weather-related damage at a home improvement store or online. Once the clear coat is dry, it should help protect your aluminum boat for up to 10 years.





Comments
0 comment