
You should have at least a basic understanding of electronics and painting to do this. It is not hard at all, but requires patience and common sense.
This guide is for the Gibson X-Plorer wired controller for the Xbox 360. Other models for other platforms should be similar, but this is the most plain Guitar Hero guitar controller and the most suitable for painting.
Disassembling the Guitar
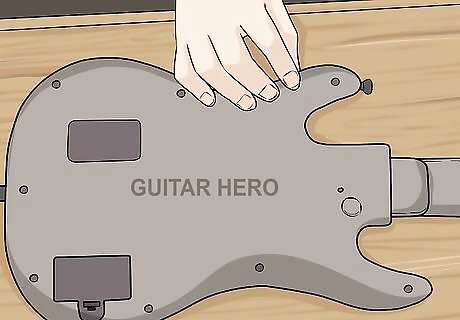
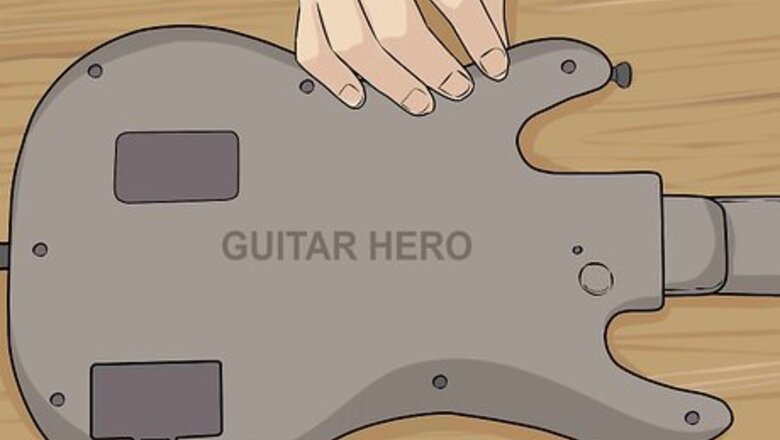
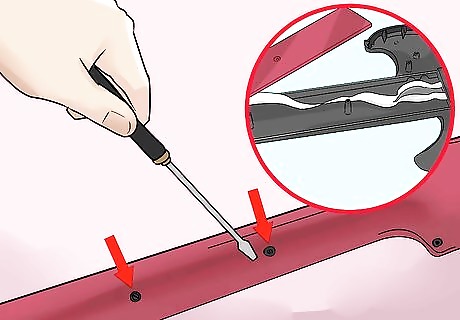
Turn your guitar controller over onto its face.
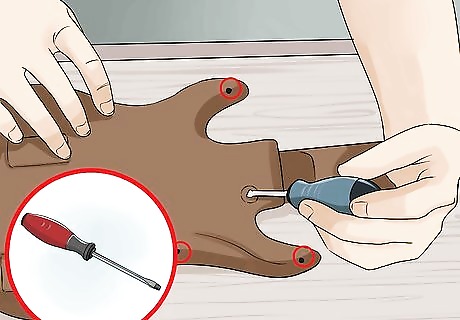
Use the flat-head screwdriver to remove all the screws from the back of the body. Don't worry about the neck and headstock for now. Also don't worry that the screws are star-shaped. The flat-head will work fine as long as it fits. (Of course, if you have an appropriate Torx screwdriver or bit, go ahead and use it.)
Lift the back of the guitar body off and set it aside.
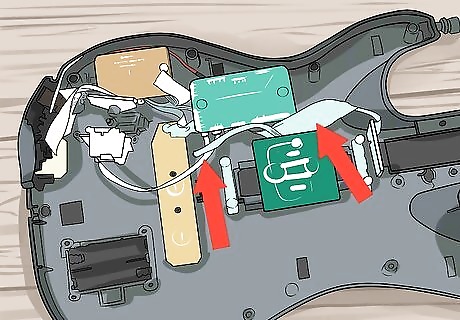
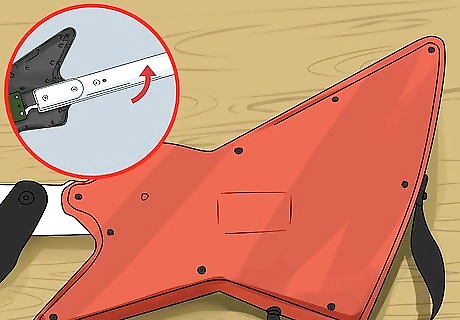
Locate the cable management bridge between the whammy bar assembly and where the cable leaves the guitar body. Take it off first.
Remove the whammy bar assembly next. It's a nuisance to work with the guitar with that on the table. If you have a digital camera, get pictures of how it looks assembled. Chances are you'll be referring to them when you rebuild.

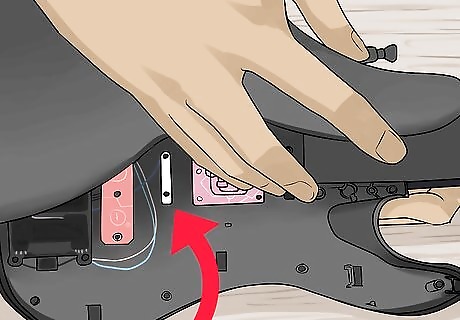
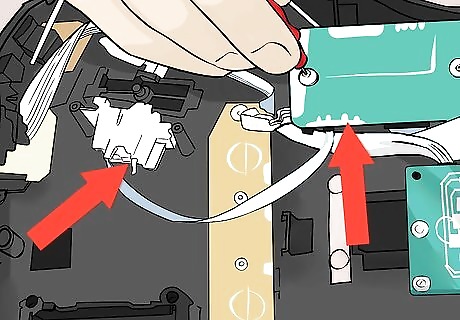
Disconnect the microphone port, the phone jack, and other small parts that aren't the face buttons or strum bar.
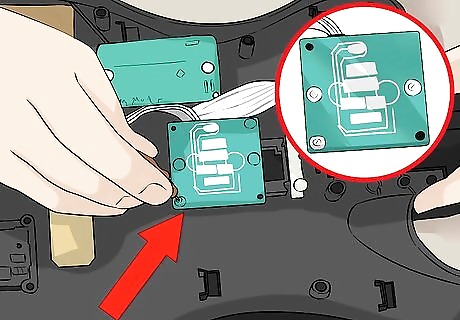
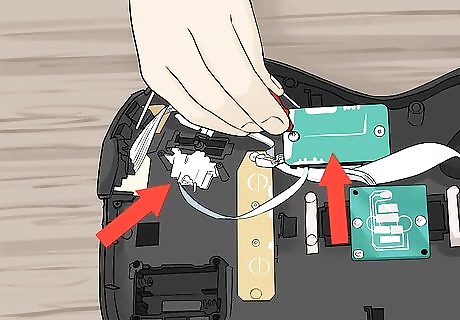
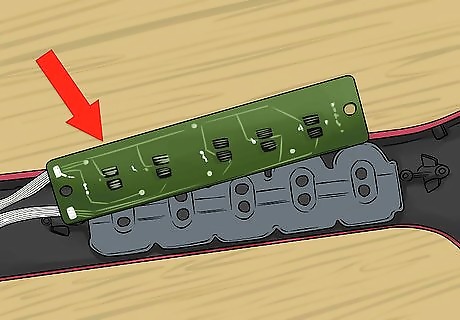
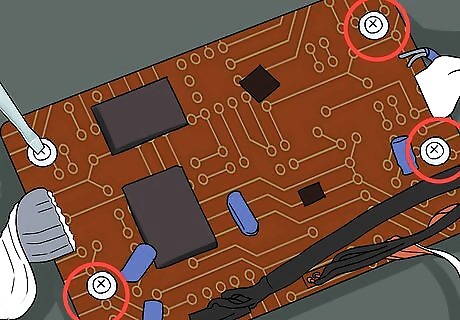
Remove the strum bar. Only remove the four outer screws. The inner screws don't need to be altered. Make a note of how these pieces go together in case they become separated, or take a picture.
Remove the face buttons. Find and loosen the four screws in the corner. Be very careful not to lose the small parts here, namely the contacts between the Back and Start buttons and the board. Note how the Guide button goes, and/or take a picture. For the arrows, there will be a plastic piece behind the arrows you will have to pop off with a flat-head screwdriver. Don't use much force on any one side, just go from one to the next until it pops off on its own.
Disassemble the neck. Two screws at either end of the fret board will release that board.
The guts of the guitar will all be free now. Carefully coil up the cord in the bowl and place the boards and ports on top of the cord.
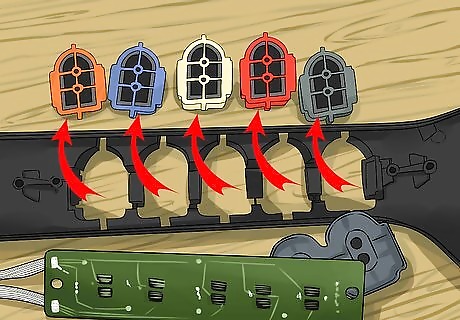
Take the fret buttons out of the neck. Simply turn it over.
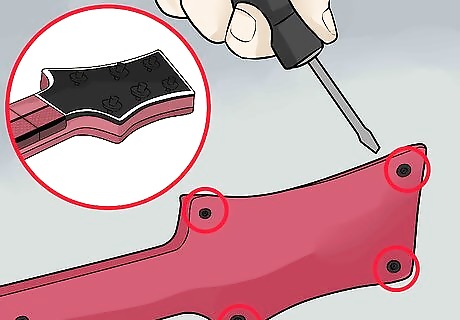
Remove the strum guard. Remove the six screws and use your flat-head screwdriver used like a crowbar to pry this useless plate off.You should be left with four big pieces with nothing of consequence attached: neck and head, front and back, and body front and back.
Painting
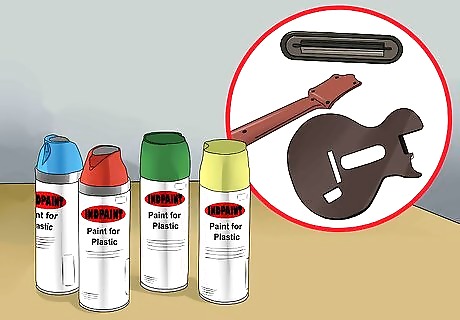
Choose your colors. You can paint the guitar body, the strum guard (that raised platform below the strum bar), the neck, and the headstock. Since the headstock and neck are the same piece, you must use masking tape to paint them different colors. Make sure to select paint that is designed for plastic.
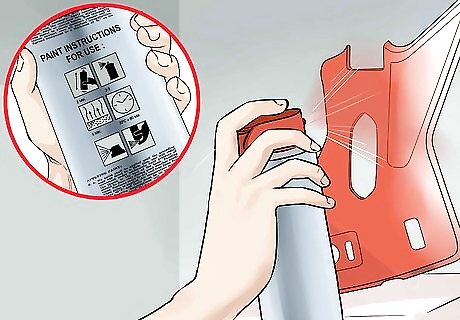
Follow the instructions on the paint to apply at least five coats of color to each piece. Spray evenly and completely coat all exterior surfaces. It is not necessary to paint the interior as well.
Allow the paint to dry completely according to package instructions.
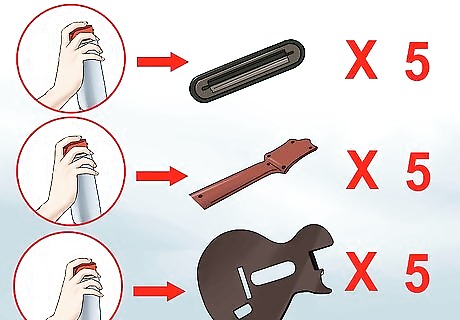
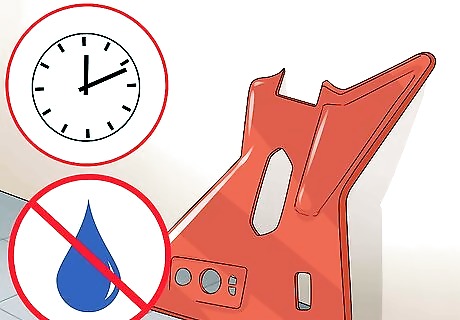
Follow the instructions on the paint to apply at least five coats of clear coat to each painted piece. This will help protect your guitar.
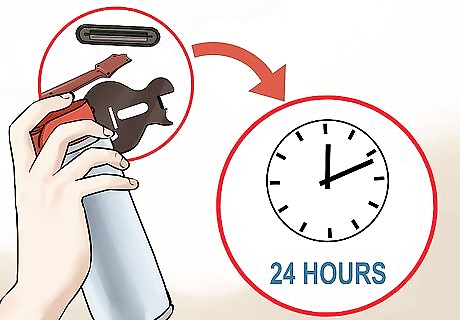
Allow the clear coat to dry per instructions, or at least 24 hours, whichever is longer.Generally you will follow the above directions in reverse, but being more specific:
Reassembling the Guitar
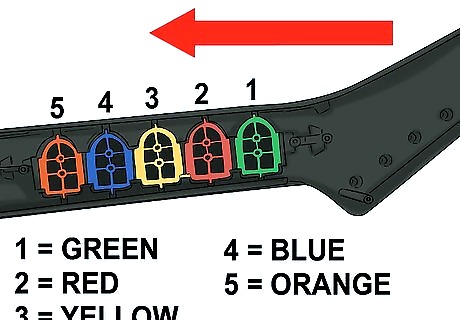
Replace the fret buttons in the neck. Recall the order: from the headstock to the body, it goes Green, Red, Yellow, Blue, Orange.
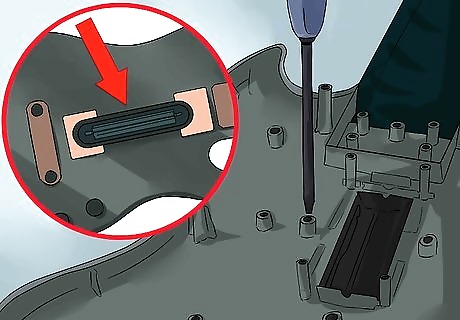
Replace the fret board above the buttons. Ensure that pressing the buttons presses the rubber piece, which in turn completes a circuit on the board. Screw this board back into place.
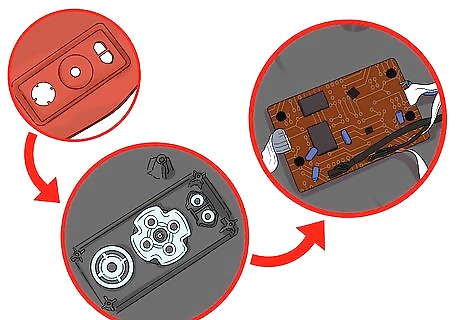
Replace the face buttons. The guide button is tricky to get right. Consult your picture if you took one. Each button has a rubber piece which contains a conductor which will complete a circuit on the board. Plastic button the user presses, rubber conductor, board. You can't miss a single piece or that button will not work.
Screw in the buttons' board. Four screws, one in each corner.
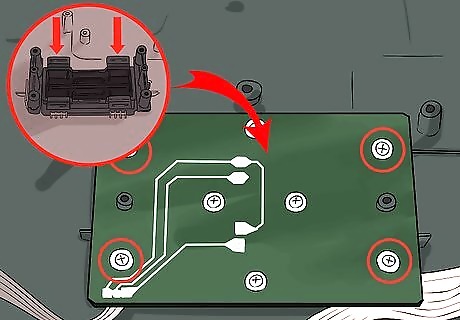
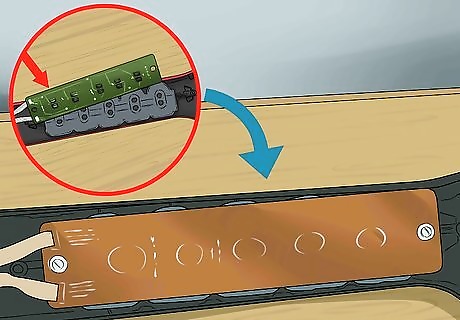
Reattach the strum bar, and replace the board behind it. Four screws, one in each corner.
Reattach the whammy bar assembly and hope it doesn't fall apart. If it does, consult your picture to see how it goes.
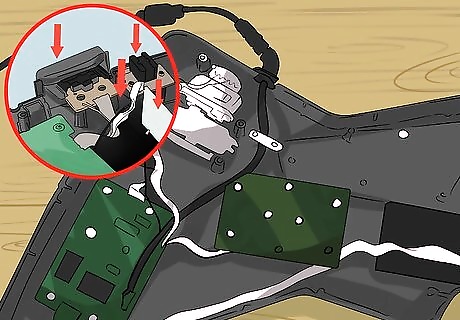
Reconnect the little things. Arrange the cables neatly and reinstall the cable management bridge.
Reattach the back of the neck and the back of the guitar.
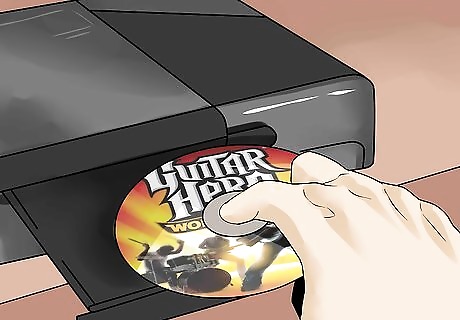
Put in any Guitar Hero or Rock Band game, load up your favorite song, and test your new guitar. Use all of the guitar's features. Choose the wrong song and use back, not Red, to back out. Use Start instead of Green in a menu. Use all four arrows when you can. During the song, test your whammy bar (most useful on long white notes) and tilt sensor.


Comments
0 comment