views
Making Canned Cherries
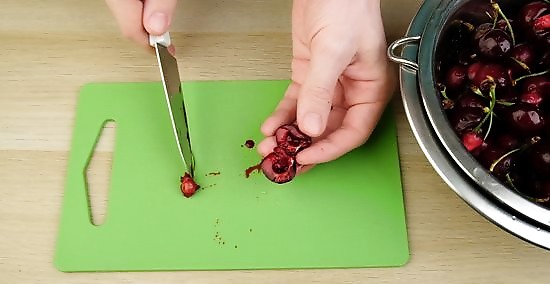
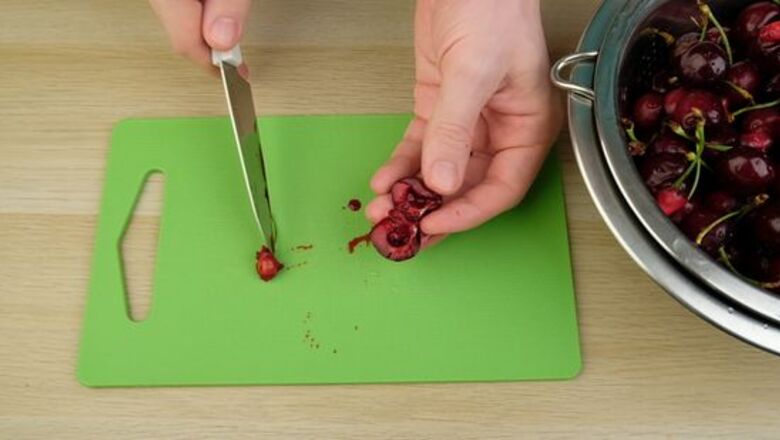
Rinse, pit, and stem your cherries. For canning cherries, you can use either sweet or sour varieties. Rinse them under cool water and remove all the stems and pits. To pit the cherry, cut them out with a knife or invest in a cherry pitter to help you pit quicker. While you’re processing the cherries, discard of any that are mushy or rotten. Set the cherries to the side on a clean dish towel when you’re done. 1 pound (0.45 kg) of cherries will fill one 16-ounce (1 pint) jar. Use sweet cherries, like rainier or bing, for desserts or to eat on their own. Use sour cherries, like early richmond or morello, for future pie-filling and danish-making purposes.
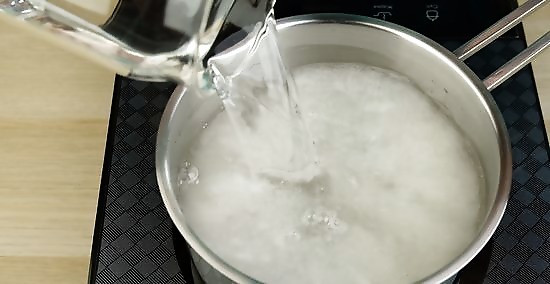
Make a simple syrup to store the cherries in. Because cherries are already so sweet, you can use less sugar in your simple syrup than you normally would. Depending on your preference, use 1.5 to 2 cups (300 to 400 grams) of white sugar and 4 cups (950 mL) of water. Heat the sugar and water in a saucepan over medium-high heat, stirring occasionally, until all the sugar has dissolved. Remove the pan from the heat once it’s done. If you want softer cherries, cook them in the simple syrup for about 5 minutes before you take the pan off the heat. Otherwise, you don’t need to cook the cherries at all.
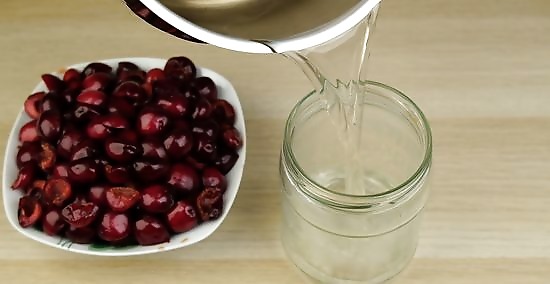
Add about ⁄2 cup (120 mL) of syrup to each jar. Your 2 pounds (0.91 kg) of cherries will fill 32 ounces (2 pints), and you can divvy up those ounces between different sizes of jars. Pour about ⁄2 cup (120 mL) of syrup into each jar you decide to use. Make sure to use clean jars with tight-fitting lids.
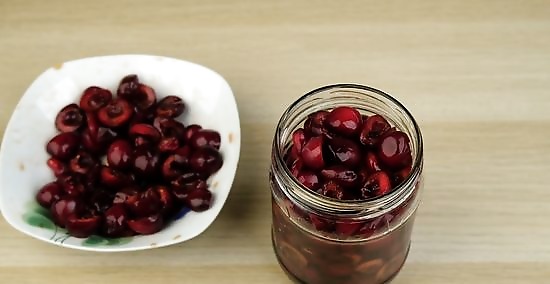
Fill each jar to the top with cherries. Take your stemmed and pitted cherries and fill each jar to the brim. Once you’ve done this, tap the jar on the counter or table several times to help the cherries settle into place. If there is excess room after doing this, go ahead and add a few more cherries. Wash your hands before working with the cherries again. How packed you make each jar is up to you. It won’t hurt anything to really stuff them in there. The only risk you run with lightly filling jars is that you might run out of simple syrup and have to make more, but even that doesn’t take much time.
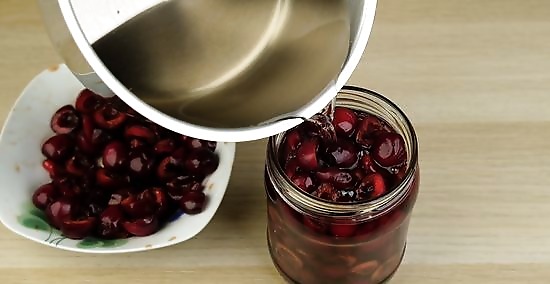
Pour more syrup into each jar, leaving ⁄2 in (1.3 cm) of headspace. Once the cherries are in the jars, add more simple syrup to each one. Stop filling the jar once the syrup reaches the ⁄2 in (1.3 cm) headspace level. This extra space is important in keeping your cherries safe during the hot water bath. Overfilling the jars could potentially cause them to break.
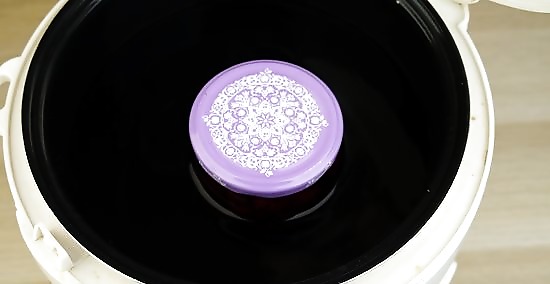
Process the cherries in a hot water bath for 15 minutes. Fill the water bath canner halfway with water and heat it to 180 °F (82 °C). Place the filled and sealed jars into the bath, then add more water to cover all the jars by 1 to 2 inches (2.5 to 5.1 cm). Put the lid on the canner, and let the jars process for 15 minutes before removing them with rubber tongs or a jar lifter. If you don’t have a hot water bath, use a large, deep pot with a lid instead. Use a thermometer to make sure the water gets to 180 °F (82 °C).
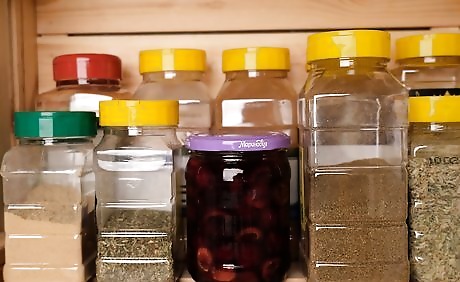
Keep unopened, canned cherries for up to 2 years in your pantry. Store the jars of cherries in a cool, dry location. If left unopened, they’ll last for 18 to 24 months, or possibly even longer. Once they’ve been opened, store them in the fridge for 5 to 7 days. If the cherries have an odd smell when you open the jar or develop mold, discard of them immediately. Label the “Date Made” on each jar of cherries. Use canned cherries to make pies and other baked goods. You can also spoon them over ice cream or blend them into a milkshake.
Making Maraschino Cherries
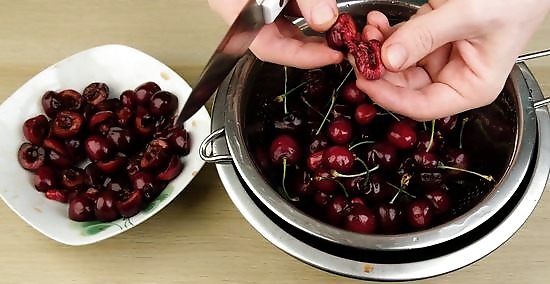
Rinse, pit, and stem 16 ounces (1 pint) of sour cherries. The morello cherry is the best known sour cherry, but you can also use the montmorency cherry or the early richmond. Rinse the cherries under cool water and remove all the stems and pits. To remove the pits, cut them out with a sharp knife, or use a cherry pitter to make the process go a little faster. You can buy a cherry pitter online or at a home goods store for less than $10.
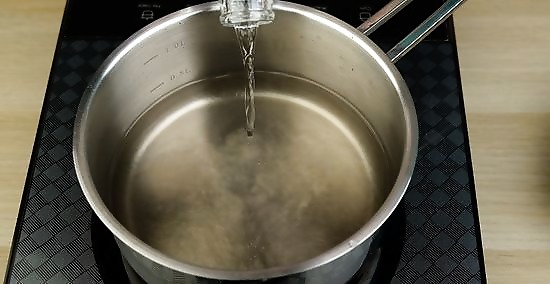
Simmer 1 cup (240 mL) of maraschino liqueur on the stove. Measure out the liqueur into a saucepan and simmer it over medium-high heat. Stir it occasionally to keep the liqueur from burning. If you don’t like maraschino liqueur, you could also use equal amounts of bourbon or brandy to preserve your cherries.
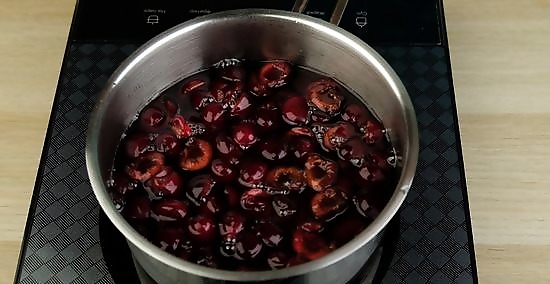
Add the pitted cherries to the simmering liqueur. Once the liqueur is simmering, transfer the stemmed and pitted cherries to the saucepan. Stir them in to coat them in the liqueur. Be careful to not burn yourself on the hot saucepan.
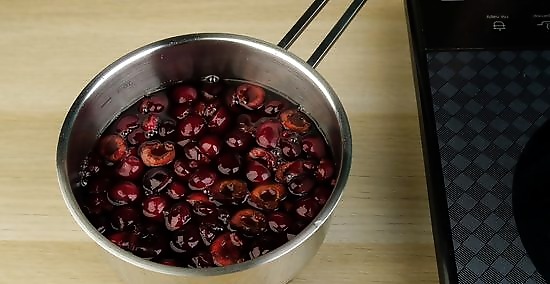
Remove the pan from the heat and let the mixture cool. After you’ve added the cherries, turn off the heat and remove the saucepan from the burner. Let the cherries and liqueur cool down for about 30 minutes. If you were to add the cherries to the jars right away, the heat might cause the glass to shatter.
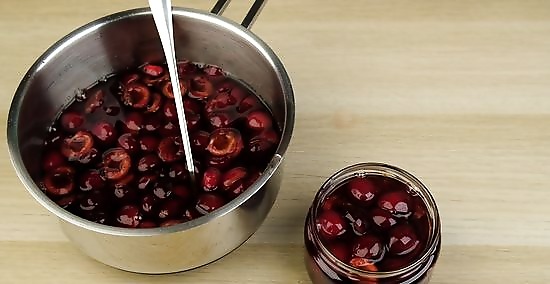
Transfer the cherries to a glass jar, and then refrigerate them. Use a 16-ounce (1 pint) jar or 2 8-ounce (1/2 pint) jars for the cherries. Carefully spoon the cherries and liqueur into the jar, and then seal the lid on tightly. Put the cherries into the fridge right away. Maraschino cherries make great gifts. Double or triple your batch and make extras to give away to friends and family.
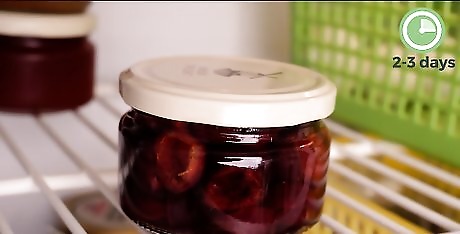
Let the cherries macerate for 2 to 3 days before you eat them. The longer the cherries soak in the liqueur, the more flavorful they will be. You can even let them sit for as long as 2 months before opening them. Just make sure to keep them in the fridge so they are safe to eat. If you eat the cherries too soon, chances are the flavors won’t have had time to mix together yet. They’ll be safe to eat, but they won’t taste as good.

Use opened maraschino cherries within one year. If you keep the opened jars in the fridge, the cherries should be good to eat for 6 to 12 months. If you notice any mold or strange flavors, though, you should get rid of them. Label the jar with the “Date Made.” This will help you remember to use them before they go bad.
Making Frozen Cherries
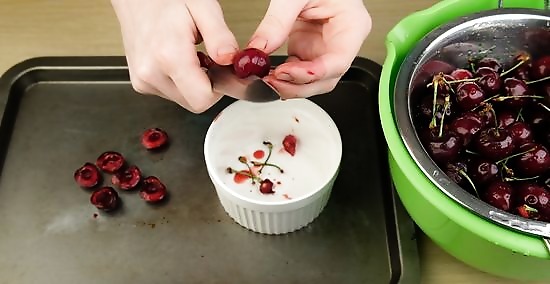
Stem, pit, and sort the cherries before freezing them. Freezing cherries is a great option for whenever you have leftover fruit that you won’t be able to use before it goes bad. There’s no limit for how few or how many you can freeze, except for your available storage space. Remove the stems and pits, and discard any cherries that are mushy or rotten. Don’t rinse the cherries before freezing them. The water will affect the skins and may change the taste and texture after they’re frozen. You definitely don’t have to remove the stems and pits from the cherries, but it does make it a lot easier to use them later as you won’t have to take the time to do it then. Use a cherry pitter to make the process go faster. If you don’t have a pitter, use a sharp knife to cut out the pits.
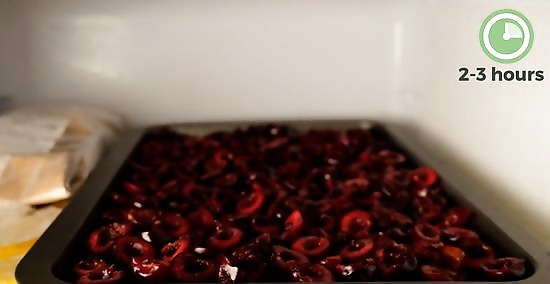
Spread the cherries on a baking sheet and freeze them for several hours. Make sure there is a little bit of space between each cherry so that they don’t freeze in clumps. Arrange them in a single layer on a baking sheet, then place that sheet in the freezer for 2 to 3 hours. Freezing the cherries on the tray before transferring them to the storage bag will keep the cherries separate, making it easier to remove however many you need for a given recipe. If you put fresh cherries into a bag and froze them, they would form one giant mass. If your freezer isn’t deep enough to accommodate a baking sheet, you could also use a plate.
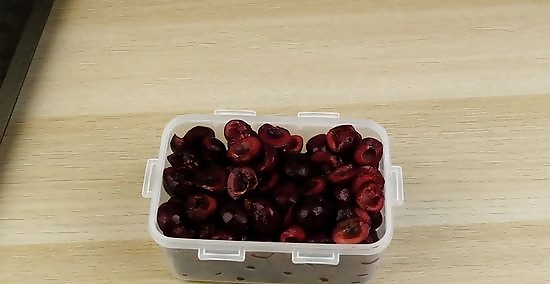
Transfer the frozen cherries to a plastic bag or freezer-safe container. Once the cherries have frozen through, remove them from the baking sheet. Put them into a large resealable plastic bag or a lidded container that can go in the freezer. Put the bag or container back in the freezer. If you use cherries regularly for things like smoothies, portion them out into snack-sized bags to make your smoothie-making routine a little easier. That way you won’t have to take out the entire bag every time you need a handful of cherries.
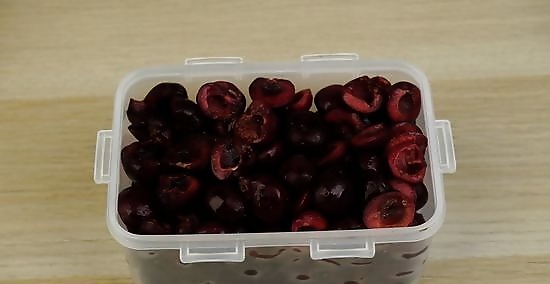
Use the cherries within one year of freezing them for the best flavor. The cherries will be safe indefinitely, but the flavor will start to decline after 12 months. To defrost the cherries, put them in a bowl on the counter and let them thaw until they’re no longer frozen, which should take about 30 minutes. Label the bag or container with the “Date Made."


Comments
0 comment