
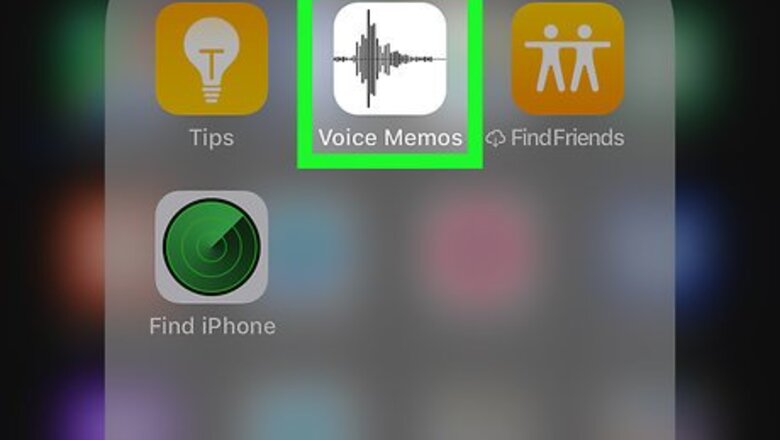
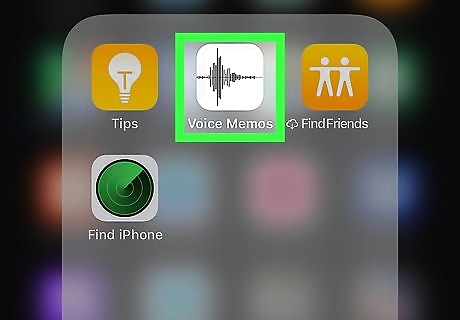
Open Voice Memos on your iPhone or iPad. The Voice Memos icon looks like a sound wave on a white background. You can find it on your home screen, or in an app folder.
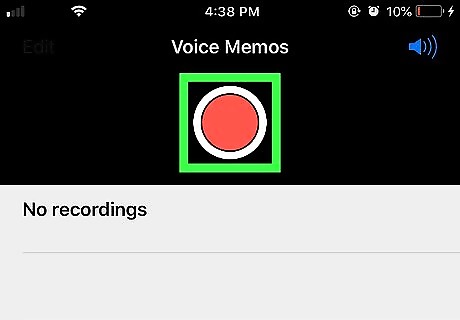
Tap the Record button. This button looks like a red circle at the bottom of Voice Memos. It will start recording a sound clip.
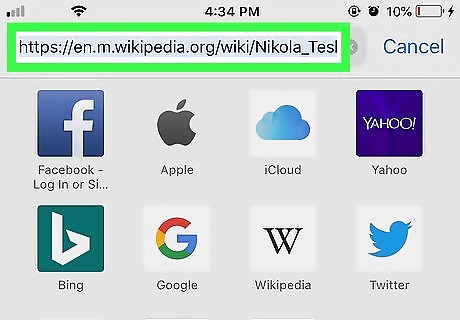
Open the text you want to record. You can select text from a message, email, note, web page, or a social media app.

Double-tap the text you want read aloud. This will select and highlight the text you tap on. A black toolbar will pop up above your text selection. You can hold down either end of the highlight, and move it to change your text selection.
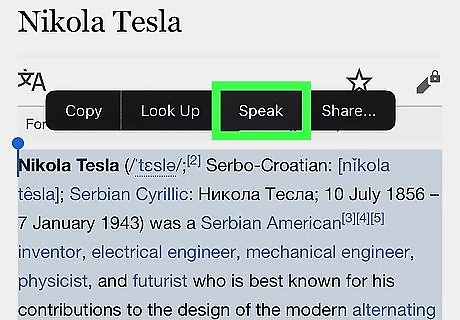
Tap Speak on the black toolbar. This will read aloud the selected text. This will be recorded in your ongoing voice memo. If you don't see the Speak option on the toolbar, make sure the Speak Selection feature is enabled on your iPhone or iPad. You can check out this article if you need help with enabling Speak Selection.

Open the Voice Memos app again. Your voice memo recording should be going on.
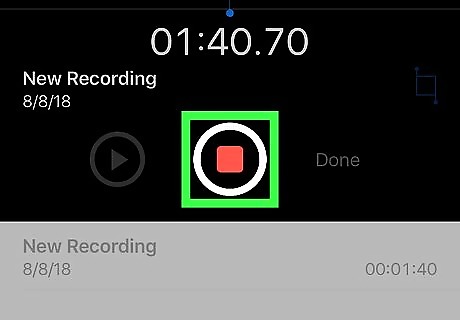
Tap the Stop button. This button looks like a red square at the bottom. It will stop recording your voice memo.
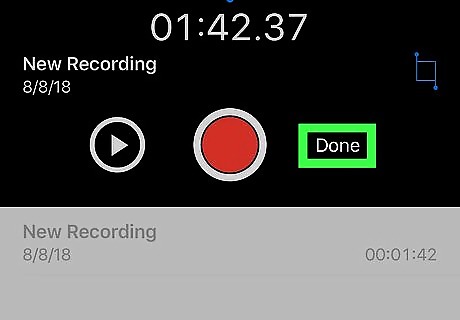
Tap the Done button. This option is in the lower-right corner of the Voice Memos app, next to the Record button. It will allow you to save your voice memo to your library.
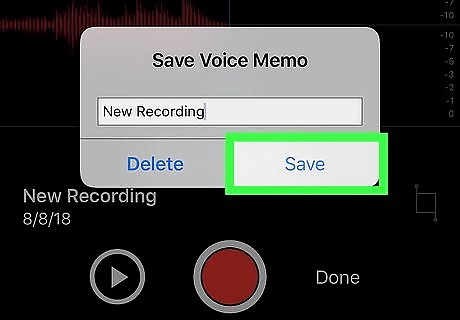
Tap Save in the pop-up window. This will save your new recording to your voice memo library. Your recording will have all your text-to-speech conversion in it. Optionally, you can change the name of your Voice Memo in the pop-up here before saving it.


Comments
0 comment