views
Using a Cartridge Chip Reset Tool
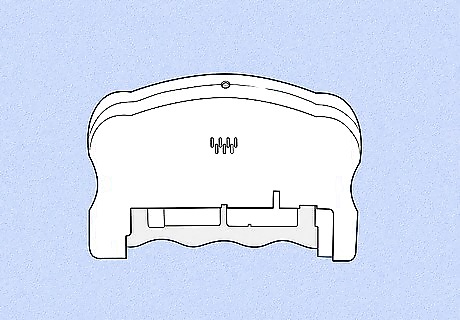
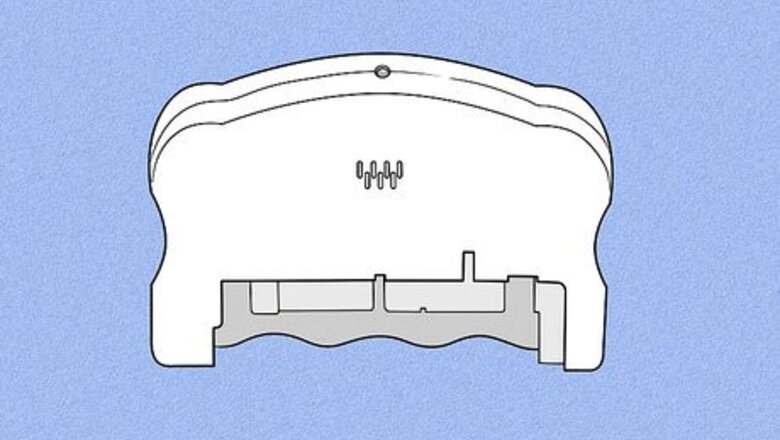
Get the right cartridge chip reset tool. A cartridge reset tool is a plastic device with pins that, when inserted into the pinholes on your cartridge, reset the chip inside. The pins on the reset tool must line up with your cartridge's holes, which are on the bottom or side edge. Different models' cartridges have different numbers and arrangements of pin holes. To find the right chip reset tool, search the web for "Epson cartridge chip reset tool" along with the exact model of your printer (e.g., WT-7620). Most cartridges have either 7 or 9 pinholes in a cluster. Compare a picture of the pins on the reset tool to the number and arrangement of pinholes on the bottom of your print cartridge before purchasing. If you don't see a cluster of pinholes, look for a small green microchip somewhere on the cartridge—it will either have one single pinhole just above or below it, or two round metal contacts at the top or bottom. In this case, see the Using a Paperclip method. "Universal" chip reset tools are NOT universal for all models—some tools marked as "Universal" have 7 pins, while others have 9.
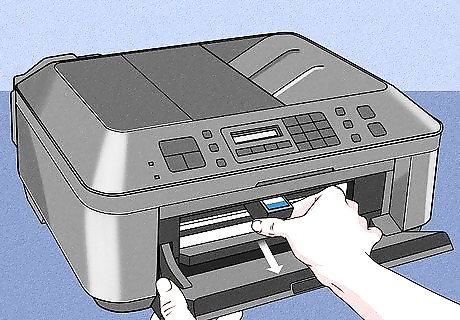
Remove the empty ink cartridge from your Epson printer.
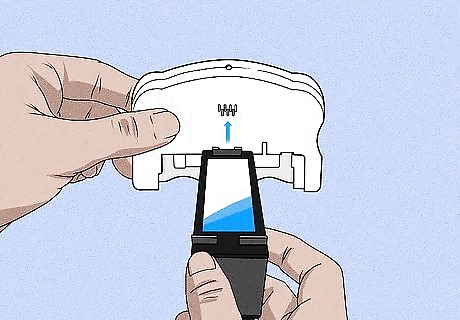
Line up the ink cartridge with the marks displayed at the base of the chip reset tool. Each chip reset tool is uniquely shaped to accommodate ink cartridges from different Epson printer models.
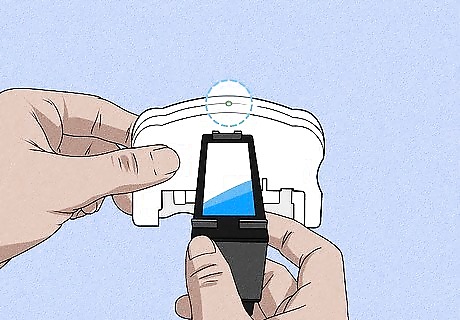
Press the pins on the reset tool firmly into the chip contact holes. The LED on the cartridge tool may blink several times to indicate that a connection is being made. This depends on the reset tool you purchased.
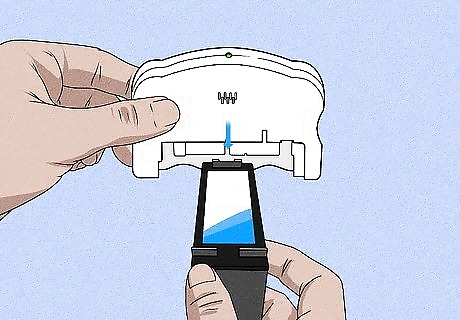
Remove the chip reset tool when the LED turns green. Once the light on the reset tool goes solid, you can disconnect the tool. Your Epson ink cartridge chip is now reset and ready for use.
Using a Paperclip
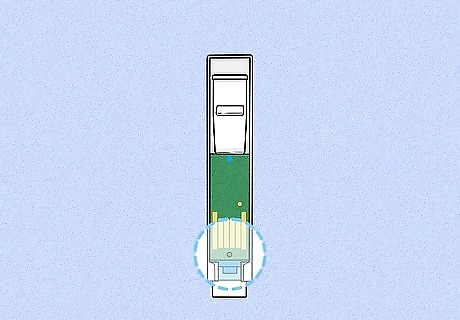
Locate the pinhole(s) or contacts on your cartridge. You can use a paper clip to reset your Epson cartridge chip if there's a single pinhole on the small green microchip on the bottom or side of the cartridge. If there are two round metal contacts at the top or bottom of the chip, you'll actually need two paperclips. If you have a cluster of 7 to 9 pinholes instead, see this method.
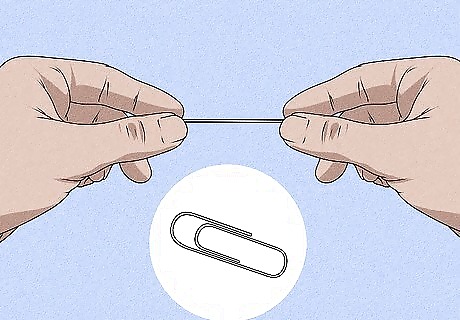
Straighten out one or two paperclips. The goal is to have about an inch or so of straight-ish paperclip that you can easily insert into the contact hole (or two paperclips, if you have dual metal contacts on your cartridge).
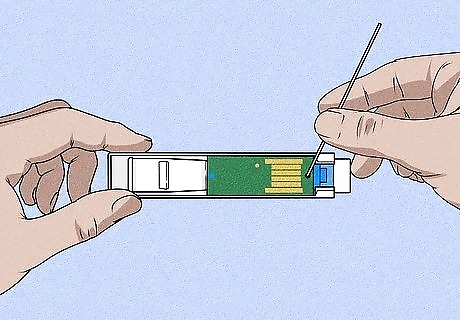
Reset a cartridge with one pinhole. Insert the end of the paperclip into the pinhole. Press down gently so the pin lies flat against the metal contact inside for a few seconds, and then remove the paperclip. This should reset your cartridge.
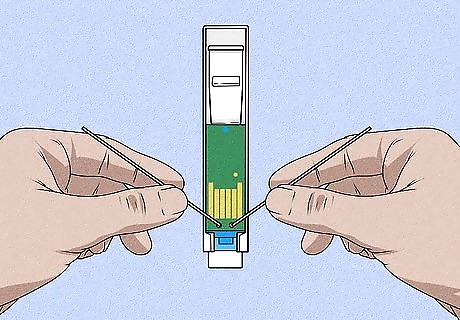
Reset a cartridge with two metal contacts. Lay the cartridge on a flat surface so the chip is facing upwards—you'll need both hands to use the two paperclips at the same time. Then, place the ends of the extended paperclips against the two metal contacts at the same time. After you've held metal against the contacts for a few seconds, the cartridge chip will reset.
Swapping Cartridge Chips
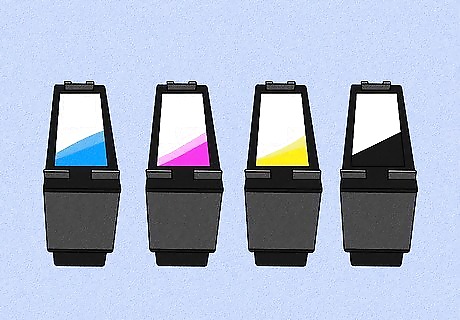
Remove both the color and black ink cartridges from your Epson printer. If you ran out of either color or black ink and you're in a pinch, you can remove the chip from your other cartridge and insert it into the one that registers as empty. This will trick the "empty" cartridge into thinking it has as much ink as the other cartridge. This will only work if the chip in the other cartridge is not also out of ink. You can also use a chip from another matching cartridge for your model.
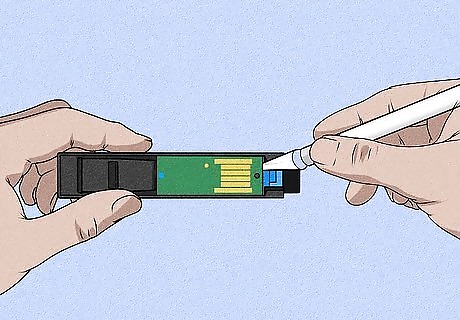
Use a single-sided razor blade to remove the chips from each cartridge. On most models, you'll do this by slipping the razor edge below the chip and gently lifting it from the cartridge. On other models, you may have to trim away excess plastic from the top post of the ink cartridge that is holding the chip in place first. Be sure to keep track of which chip came from which cartridge—if you put the same chip back into the same cartridge, the chip will not reset.
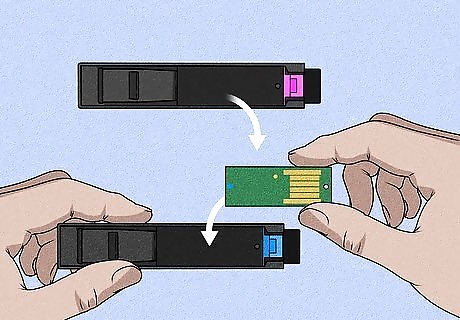
Place the new chips into each cartridge. The chips will pop back into place easily. This will trick your printer into thinking the empty cartridge is now full, based on how much ink exists in the other cartridge.
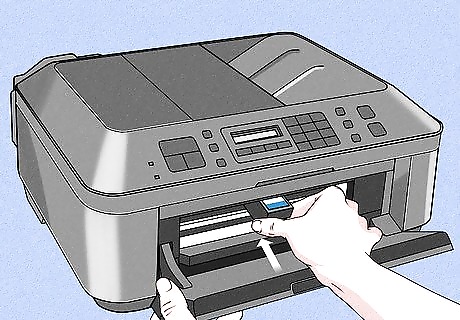
Place both ink cartridges back into your Epson printer. If your printer has an Ink Change button, press it after re-inserting the cartridges. If not, wait until the printer scans and recognizes the "new" ink levels, which can take about 90 seconds. If you have an Ink Change button, press it again once the printer is ready before you continue.
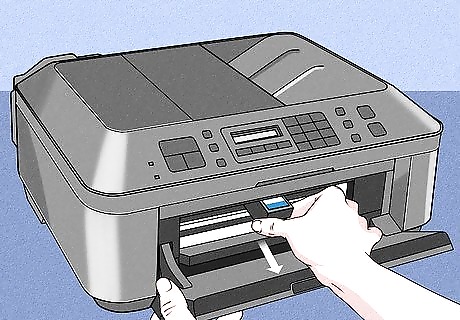
Remove both ink cartridges from the printer. Now you'll be reinserting the original chips into each cartridge—this ensures that both cartridges register as having the same level of ink.
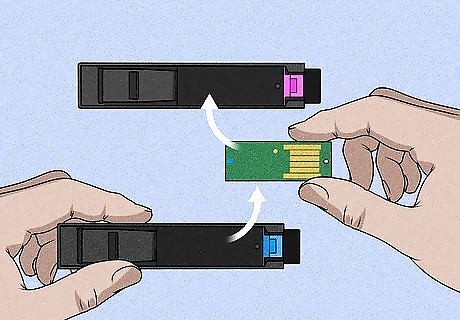
Swap the chips so each chip is back in its original cartridge.
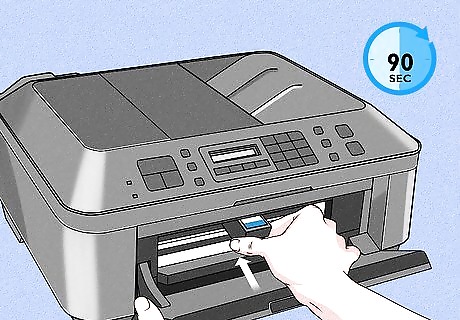
Reinsert the cartridges. If you have an ink change button, press it again. If not, wait another 90 seconds or so for the printer to recognize the cartridges and register the ink levels. Both the black and color ink cartridges now reflect the same levels of ink, and you can get more ink out of the empty cartridge Epson had originally requested that you replace.






Comments
0 comment