views
If you're taking fingerprints for fun, use a pencil and a piece of tape.
Taking Fingerprints
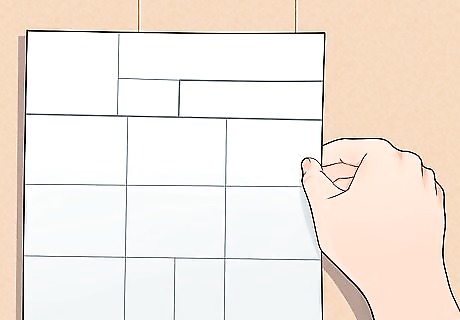
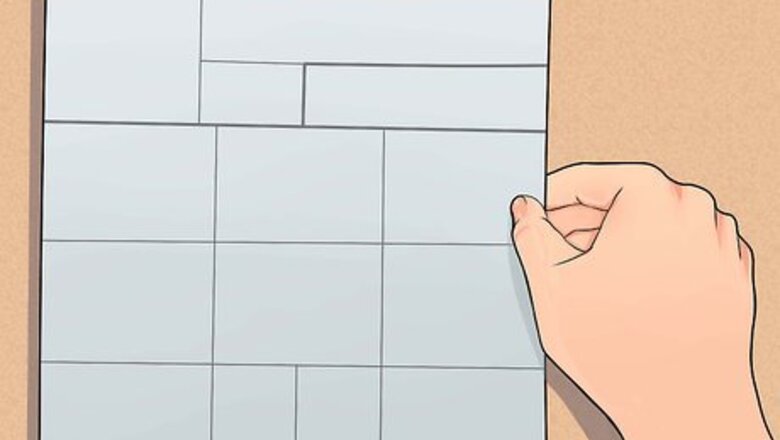
Set up the fingerprint card. You can print fingerprint cards from free online images. Try this one used by the FBI and other US agencies. Position the card on a special stand, or just weigh it down with a heavy object to stop it sliding. If you are taking fingerprints for an official purpose, you may need to find a fingerprint card you are authorized to use. Even if your agency is authorized to use the card linked above, it should order it using these instructions on the FBI website.
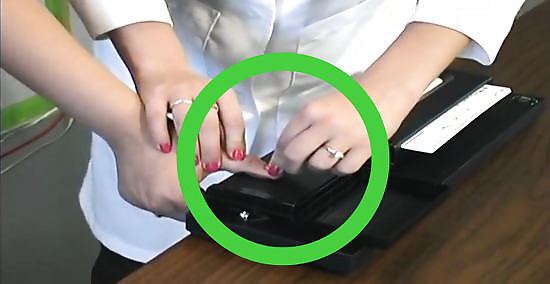
Decide on a fingerprint method. There are several different methods used to take fingerprints. Here are a few of the most common: Ink pad: Find a special "porelon pad" for fingerprinting. Use as a normal ink pad, no preparation needed. Glass plate: Dab printer's ink or fingerprint ink onto a glass or metal plate, fixed in place. Roll ink out with a rubber ink roller until thin and even. Inkless pad: Special pads are available that will not stain fingers. Check the instructions in case special preparation is needed. Fingerprint scanner: An electronic device. The process is not covered here; check product instructions, and confirm that the device is approved by your agency.
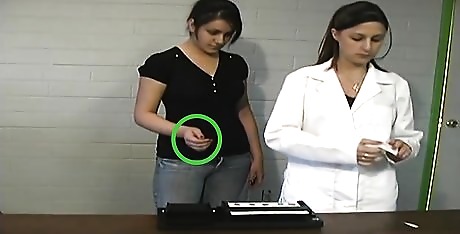
Clean hands. Have the subject wash and dry his hands to remove dirt that may obscure the fingerprints. Check the hands for lint from the towel, and ask him to brush it off if present. If soap and water are not available, rubbing alcohol is the second best option. Have the subject sign the card before washing his hands. Use blue or black ink.
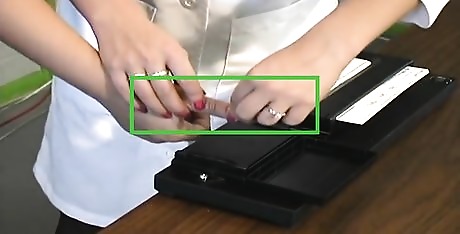
Grasp the subject's hand. The subject does not fill out his own fingerprint card. You, the person tasked with taking the fingerprint, will do it for him. Hold the base of the subjects thumb, tucking unused fingers under your hand. With your other hand, hold the subject's finger just below the nail tip, and at the third joint. Keep the wrist level with the hand. If possible, move the fingerprint station to a height level with the subject's arm. Ask the subject to look away if they seem to be "helping;" the fingerprint will be more clear if only you are controlling the hand.
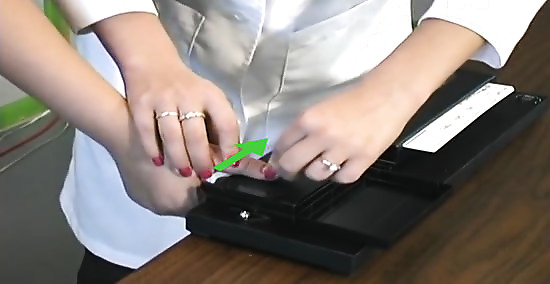
Roll the right thumb over the ink. Your goal is to ink the thumb from the top of the pad to ¼ inch (6mm) below the first joint. Place the side of the thumb nearest the forefinger onto the ink, right against the nail. Roll the thumb past the thumbprint, and continue until it touches the opposite nail. You can remember the direction as "awkward to comfortable" — try it out and you'll see what this means.
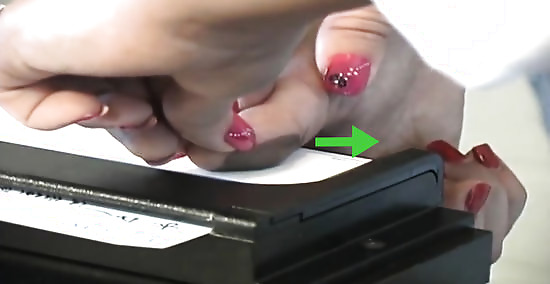
Roll the thumb over the fingerprint card. Find the area of the card labeled for the right thumb. Roll the inked thumb over the card, in the same direction as you did before. Roll at a steady pace, and with light pressure only. Changing speed or pressure can cause smudges. Roll one time only, not back and forth. Lift the thumb up directly when finished, to avoid smudging.
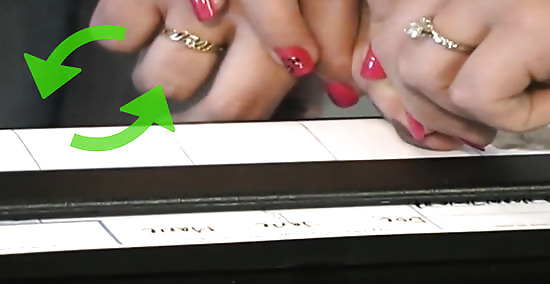
Repeat with remaining fingers. Put your hands together with the backs facing you, then turn them palm up. This is the direction your fingers should rotate — which still follows the "awkward to comfortable" rule. Apart from this change, the process is the same as the thumb. Record the fingerprints of the right hand, then the left thumb, then the fingers on the left hand. If using an inking plate, you need to roll out the ink again before each finger. Otherwise, you may end up with an image of two overlapping prints. Make sure you have each fingerprint in the correct box of the card, that the impression goes from nail edge to nail edge, and down to ¼ inch (6mm) below the first joint. Let the subject wipe off ink from the right hand before moving on to the left.
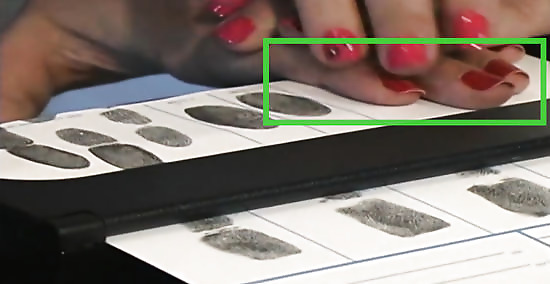
Take the plain impressions. Your fingerprint card should have two additional spaces for thumbs, and two large spaces marked "four fingers simultaneously." In the same order as above (right thumb, right hand, left thumb, left hand), ink the fingerprint and press it flat against the paper, without rolling. For the fingers, you'll do all four fingers at once. You'll often need to rotate the fingers slightly to fit them all in the available space. These are also called "flat" or "slap" impressions. These are used to verify that the fingerprints are in the correct boxes. Some features are also more visible on the plain impression.
Troubleshooting
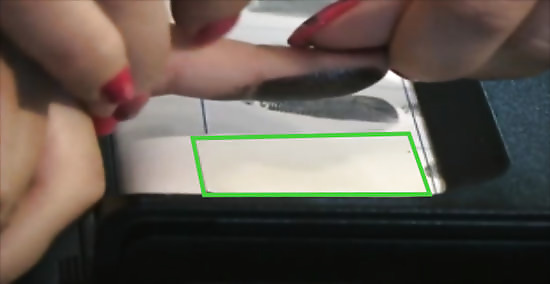
Retab over mistakes. Retabs are small squares of adhesive paper you can press over the paper to cover smudges, partial fingerprints, and other mistakes. Retake the fingerprint onto the retab. More than two retabs on one card makes it likely that your card will be rejected. US law enforcement agencies can order these from the FBI.
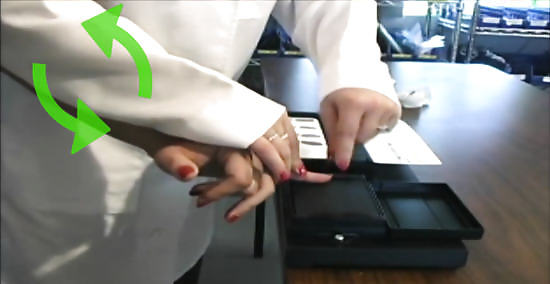
Alter the amount of ink. If the ridges of the fingerprint are obscured by solid black areas, you have too much ink. If areas of the fingerprint are white, you have too little. If using a fingerprinting plate, try again with more or less ink rolled onto it. If using an ink pad, the ink pad probably needs to be replaced. Many general purpose ink pads are not suitable for fingerprinting. Look for a Porelon pad instead.
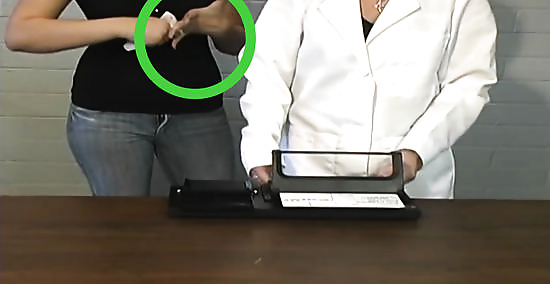
Reduce sweat with cloth or alcohol. Blurry fingerprints are usually caused by sweat (or an unsuitable type of ink). Wipe the finger with a cloth and take the fingerprint immediately. Rubbing alcohol will also help dry the hand.
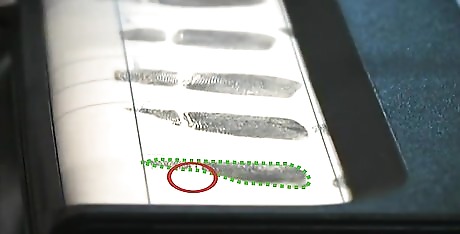
Note missing fingerprint areas. If there is a reason you can't show the whole fingerprint, write this down or your card will be rejected. Typically, the reason is "fully amputated," "tip amputated," or "missing from birth." Extra fingers are not recorded by the FBI. Other agencies may request that you record the extra fingers on the back of the card. Try to find specific guidelines for your purposes.
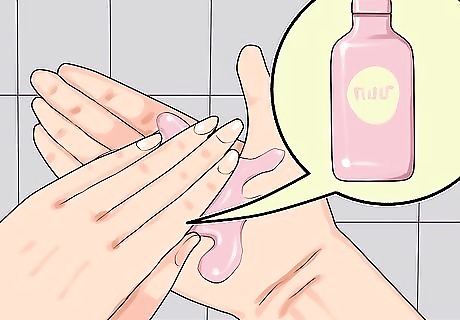
Deal with difficult fingerprints. People in many professions or hobbies wear down their fingerprints over the years. If the fingerprints won't come out clearly, try one or more of these techniques: "Milk the fingerprint" by pressing it or rubbing it in a downward motion from palm to fingertip, before taking the print. Rub worn prints with hand lotion or creams. Hold ice against the fingerprint, then dry and print. This works best on naturally small ridges and soft hands, not worn prints. Use very little ink and very light pressure. Note the condition of the prints, especially if worn smooth. Note the occupation that led to this problem.
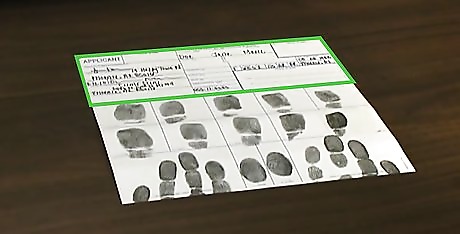
Fill out the entire card. Your card will likely be rejected if there is any missing information. Use blue or black ink to fill out every box. If you are not sure what to put in a box, ask someone with more experience, or look online for your agency's guidelines. Even a "Weight" or "Date of Birth" box needs to follow an exact format to keep the database consistent.
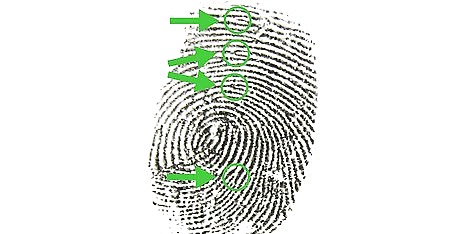
Analyze the fingerprints. Familiarize yourself with the basics, and you'll do a better job noticing problems with fingerprint impressions. Here's the first lesson: 95% of people have fingerprints with loops (ridges forming a curved U shape) and/or whorls (circles). The rest are arches, with ridges that rise to a bend or peak, then continue onward instead of curving back. Make sure you get enough of the print to tell which type it is. "Deltas" are any point on the fingerprint where ridges meet from three directions. If you don't see at least one on a loop or whorl print, make sure you have covered the entire fingerprint. Rarely, a delta is not visible, in which case you should note on your card "no delta, inked nail to nail."




Comments
0 comment