views
Cutting the Lining of Your Jacket
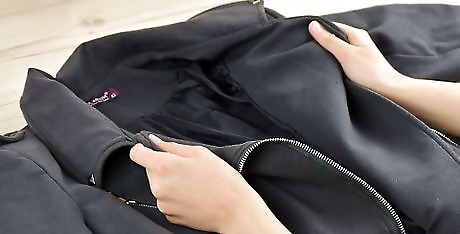
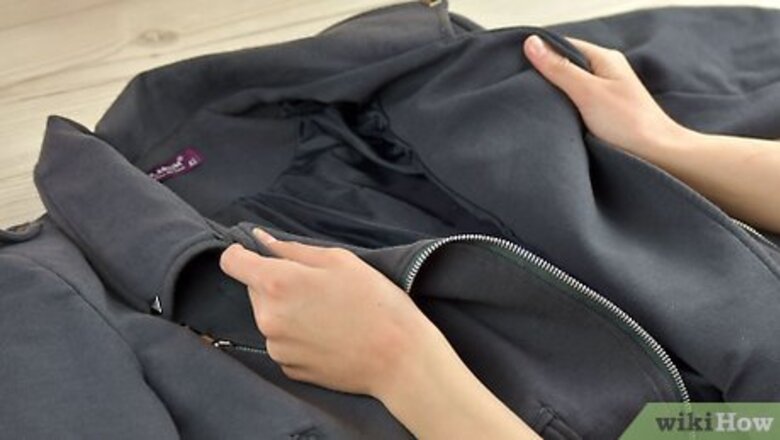
Lay your coat out flat with the shoulder pads visible. Choose a flat surface, like the floor or a table, to work on. Spread out your jacket and open up the front so that you can see the area where the shoulder pads are. You can turn your jacket all the way inside out, but you don’t have to.
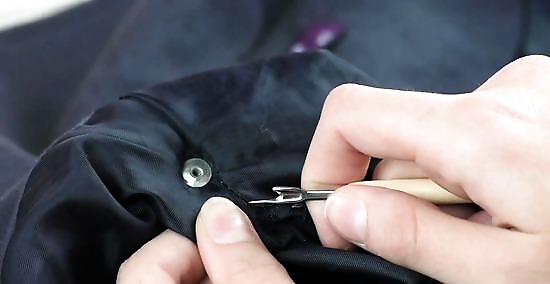
Rip the seam open that contains the padding with a seam ripper. Feel around for the area that contains the actual “pad” of the shoulder pad. Use a seam ripper to cut off the thread that is holding the shoulder pad closed. Try to make the hole as small as you can to avoid unnecessary stitch work later on.Variation: Some shoulder pads are made separately from the coat and then sewn inside of the jacket with a few stitches. If your shoulder pad is a separate piece and not inside the lining of your coat, just rip the threads that connect them and remove the shoulder pad. Try not to rip 2 seams that cross over each other, or it will create more work for you later on since you’ll have to sew a hole up in 2 directions.
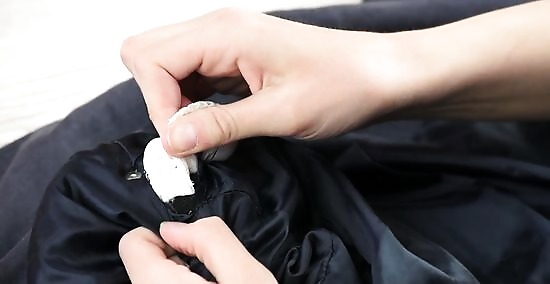
Pull the pads out until you can see how they are connected to the coat. Reach into the hole you created and grab the pad or stuffing inside. Pull it out of the hole until you can see how it has been sewn into your jacket. Most shoulder pads are connected to the inside of the jacket with 2 to 3 strands of thread. However, some are sewn into the actual lining of the jacket.
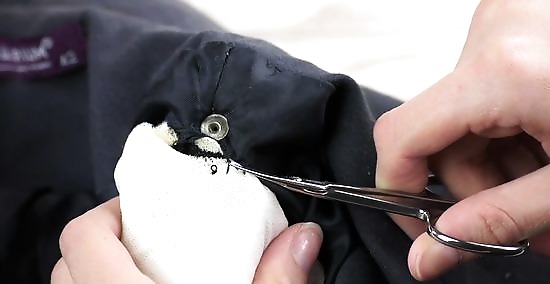
Cut the 2 to 3 threads that attach each pad to your jacket. Use scissors to carefully snip the threads that are holding the pads to your jacket without removing any of the thread in the lining. Use caution so you don’t poke a hole in your jacket or tear the lining further.
Cut around the edge of each pad if they are sewn into the actual lining. If your shoulder pad is attached to the lining of your jacket with a long line of stitches, it’s best to leave the majority intact so you don’t rip a hole in your jacket. Use scissors to cut around the area that’s sewn into the jacket and remove the parts of the shoulder pad that aren’t sewn down. This may leave some slight padding in the shoulders of your jacket, but it will remove the majority of the shoulder pads. EXPERT TIP Shaelynn Haning Shaelynn Haning Professional Tailor & Business Owner Shaelynn Haning is a Tailor & Business Owner based in Tulsa, Oklahoma. Shaelynn is the founder of the highest-rated and most-reviewed alterations and tailoring service in Oklahoma, Tallgrass Tailor, employing a team of skilled craftsmen and women from across the country and the world. Shaelynn is a member of the State of Oklahoma Education Careers and Technologies Board and a member of both the Custom Tailors and Designers Association and the Association of Sewing and Design Professionals. She is the host of The Sew Show with Shae, an entertaining and educational sewing channel posting weekly videos on YouTube. Shaelynn earned her BS in Apparel Design and Product Development from Marist College. Shaelynn Haning Shaelynn Haning Professional Tailor & Business Owner Removing shoulder pads changes a jacket's shape. Taking out shoulder pads can make a jacket lose structure and look deflated. While removing one pad is easy with a seam ripper, keep in mind that it will affect the whole look and fit.
Sewing the Hole Closed
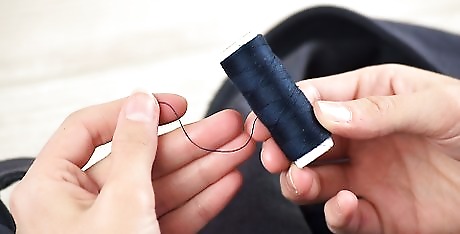
Choose a thread color that matches the lining of your coat. Even though the hole is on the inside of your jacket, try to find a thread color that will blend in easily. Take a look at the color of the thread in the rest of the lining to find a match. Since you’ll be sewing on the inside of your jacket, the color doesn’t have to match perfectly. For example, if your lining is light brown, going with a dark brown thread color is fine.
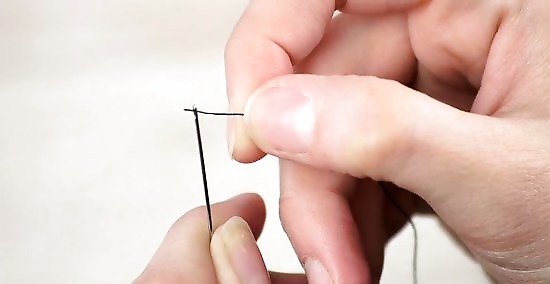
Thread your needle with 12 in (30 cm) of sewing thread. Pull a 12 in (30 cm) length of thread through the eye of your needle and then tie the ends of the thread together. Make sure your knot is tight so the thread doesn’t come loose as you are sewing.
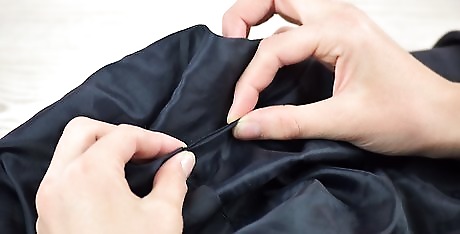
Press the lining together over the hole to close it. Grab the 2 sides of the lining of your jacket and bring them together so they line up. If you need to, add a sewing pin to keep them in place. Otherwise, just hold the hole closed with your fingers as you sew. Since the hole is pretty small, you probably won’t need to use a sewing pin.
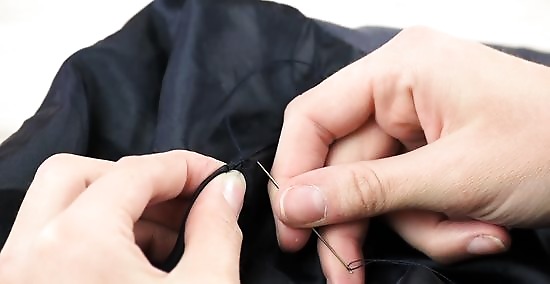
Stitch the seam back together with a whipstitch. Start at 1 end of the hole and poke your needle through both layers of lining. Bring your needle up and over the seam of the lining, then poke it through again right next to your original hole. Continue stitching this way until the entire hole is closed up. A whipstitch will hold your lining together more securely than any other stitch.
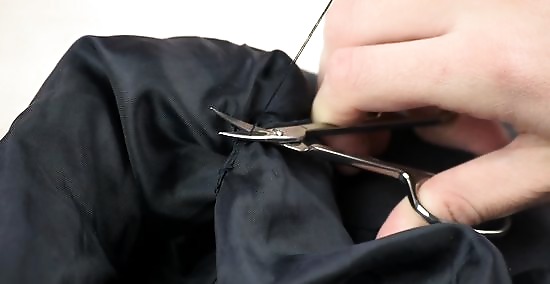
Tie off the thread and cut off the excess. Make sure the knot in your thread is secure so your stitches don’t unravel. Use sharp scissors to cut off any excess thread that’s left so it doesn’t tickle you when you put on your jacket.Tip: The stitches you made in your jacket should hold for a while as long as you take gentle care of your jacket and follow the washing instructions on the label. If your stitches do open up again, simply add a few more whip stitches to close up the hole.
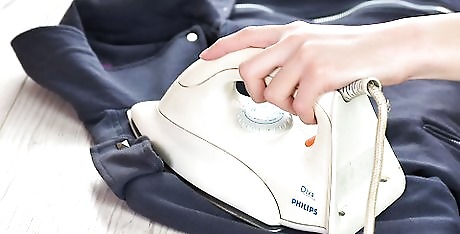
Iron or steam your jacket to remove the boxy shape. Read the care instructions on the label of your jacket to make sure it’s safe to use heat on. Then, iron or steam the shoulders of your jacket so they lay flat and don’t stay in a boxy, padded shape. Jackets without shoulder pads look much more modern and chic.



Comments
0 comment