views
X
Research source
- Use a smartphone app; compare apps and check reviews before you pick one, then select the tone you want for each string as you tune the instrument.
- Electronic tuners include basic microphone tuners, chromatic tuners, clip-on tuners, and pedal tuners; pick the one best suited to your needs.
- For a built-in tuner, switch it on and pluck a string to check the display; tune each string one at a time, and turn off the tuner when you’re done.
Using a Smartphone App
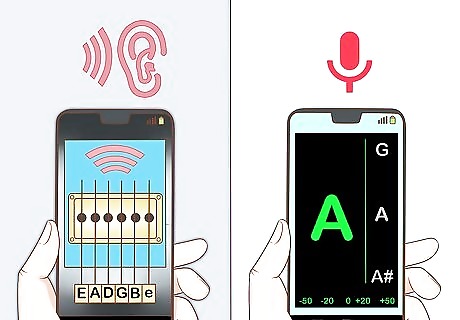
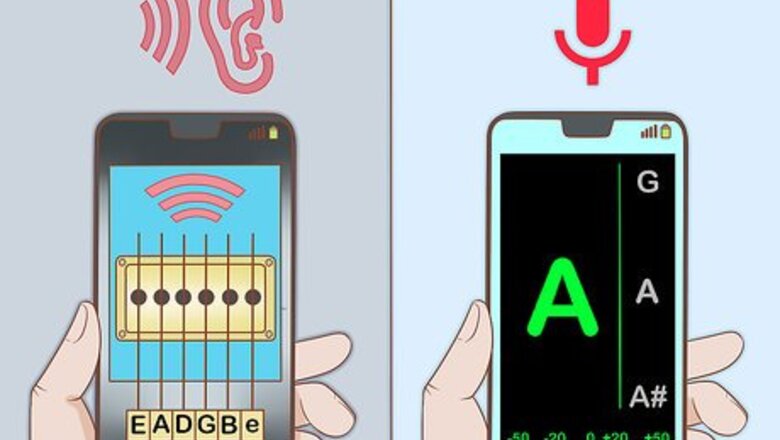
Decide on audio input or reference tone apps. There are two basic types of smartphone tuners. One uses the internal mic of your phone to "listen" to your guitar and guide you towards getting it in tune. Others simply provide a reference note. If you have a strong ear, you may prefer a reference note tuner. If you haven't yet developed your ear, you can use a reference note tuner to help train your ear, but it shouldn't be your exclusive tuner. The downside with audio input apps is that mobile phone mics may not be as accurate.

Check reviews and ratings for tuner apps. There are dozens of tuner apps available for both Android and iOS. While they all do basically the same thing, some have better reputations than others. Typically you can download the app for free. The ones that you have to pay to download may have more features, such as the ability to set different tunings. The main difference between the apps is the interface. However, some reviewers do claim that certain apps are more accurate than others. For example, Pano Tuner and Guitar Tuna get consistently high ratings and are considered highly accurate.
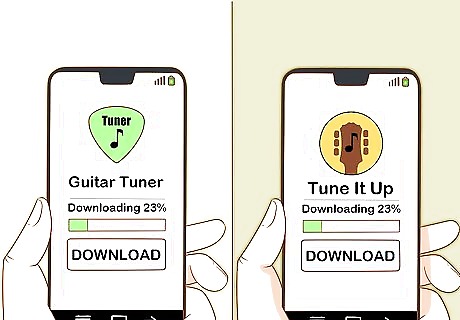
Download several apps so you can compare. Since you can download a tuner app for free, it makes sense to download several and try them out. Even if there isn't much noticeable difference in the accuracy, you may find a particular interface you like more. A few apps have additional features, such as a metronome. Some, such as the Martin Tuner, also have instructional guides on maintaining your guitar and training your ear. If you're a beginner, you might find these useful.Tip: Once you've found the tuner app you like the best, you typically have the option of paying a small fee to upgrade to a "pro" version of the app. With a pro version, there won't be ads clogging up your display, and you may also have access to some additional features.
Select the tone you want for your first string on reference note tuners. Typically you'll tap a string or note to start playing a tone, depending on the design of the interface. The app then produces a tone for you to listen to and match your string. The app may have different types of tones available. Especially if you're a beginner, use a tone that most closely imitates a guitar sound. Turn your volume up on your phone if you can't hear the tone, or move to a quieter location. It's not a good idea to use headphones, as you might have trouble hearing your guitar.
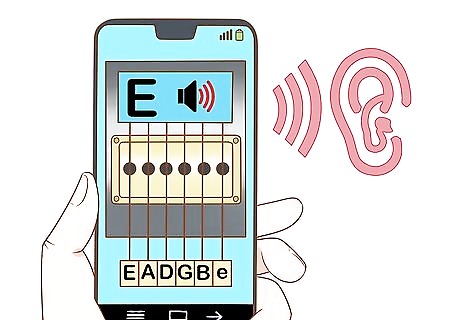
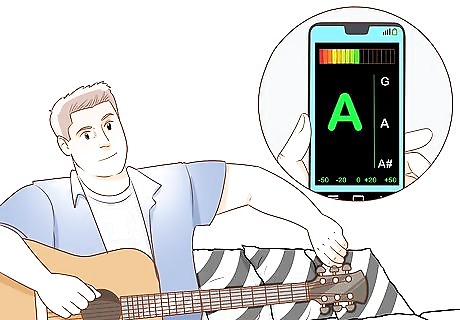
Turn your tuner knob as you pluck the first string. If you're using an audio-input tuner, the app will show you whether you are higher or lower than the desired note when you pluck your string. Simply adjust your tuner knob accordingly. If you have a reference note tuner, you'll have to rely on your ear to tell whether the string is high or low. For audio input apps, set your phone as close to your guitar as you can. Try to eliminate background noise. Your phone's mic will pick that up too, and it could interfere with the operation of the tuner.
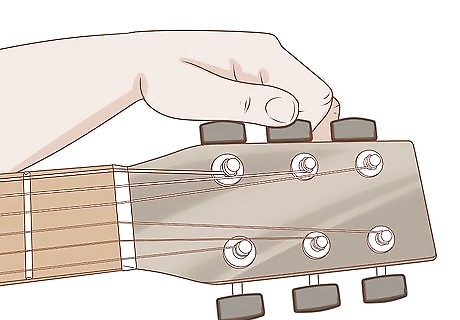
Repeat the process with your remaining strings. Once you have your first string in tune, proceed to the second, then the third, and so on. Only play one string at a time, or you'll "confuse" the tuner. Once you've gone through all the strings, start over from the first string and make small adjustments as necessary. If you used a reference note tuner and you don't have a particularly strong ear, you may want to repeat the process with an audio-input tuner just to check your accuracy.
Choosing an Electronic Tuner
Get a basic microphone tuner if you're just starting out. Microphone tuners "listen" to the string as you pluck it and display the tone on the screen. Some also have needles that indicate how far out of tune the string is, and rather its tone is high or low relative to the target tone. Since microphone tuners tend to be less expensive than other electronic tuners, they're typically the best option for a beginner. You can find battery-powered microphone tuners online for less than US$20. If you've already experimented with smartphone tuner apps, you know how a microphone tuner works. However, the microphone in these tuners tends to be more sensitive than the built-in mic in your phone (and therefore more accurate). To use a microphone tuner, simply pluck the string you want to tune. The display will let you know whether the tone you plucked is higher or lower than the tone you want.
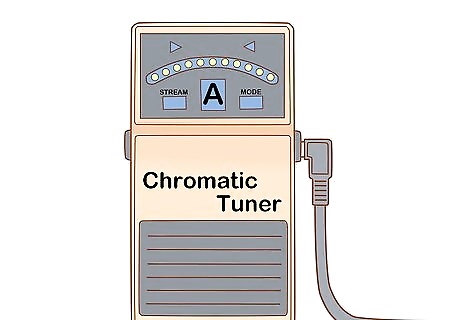
Buy a chromatic tuner for alternate tunings. Most basic tuners are set to tune your guitar to standard tuning (EADGBE). If you want to tune your guitar to anything other than standard, you'll need a chromatic tuner. Chromatic tuners can also be used to tune other instruments. For example, if you want to tune your guitar to Drop D so you can play hard rock and heavy metal power chords with ease, a chromatic tuner is the easiest way to get there.Tip: Chromatic tuners have greater flexibility than standard tuners, but that flexibility comes at a price. If you don't play any other instruments and don't see yourself playing in anything other than standard tuning, save some money with a non-chromatic tuner.
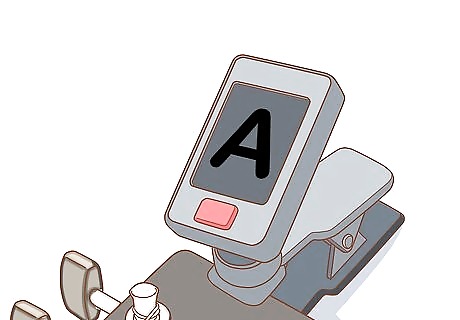
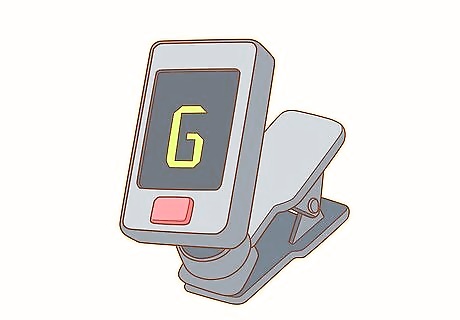
Attach a clip-on tuner to your guitar's headstock in noisy settings. If you need to tune your guitar while performing, or in an environment with a lot of background noise, a microphone tuner won't work as well. Clip-on tuners read the tone based on the vibration of the strings, not by listening to the sound. To use a clip-on tuner, clip it to the headstock of your guitar, then start plucking a string. The tuner will detect the string you're plucking and the tone it should be playing. On the tuner's display, the readout will tell you whether to tune up or down to get your string to the right tone. Clip-on tuners work with both acoustic and electric guitars, although they're more useful for acoustic guitar players. Their small size also makes them portable. They typically are battery-powered, so make sure you have spare batteries in your gig bag just in case.
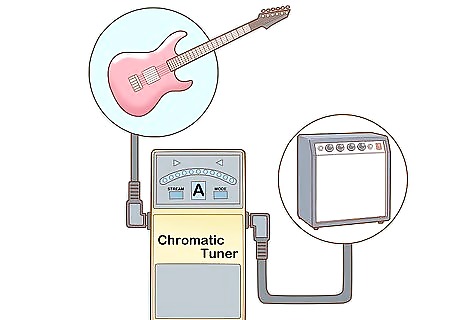
Try a pedal tuner if you play through an amplifier. Pedal tuners are more useful for electric guitar players. Simply plug your guitar directly into the pedal to use it. When you press the pedal and pluck the string, the display will tell you whether the string is high or low relative to the desired tone. You can also connect a pedal tuner permanently through your pedal board. When it isn't switched on, the signal passes straight through the pedal. When you turn it on, it engages to help you tune your guitar. Pedal tuners are designed primarily for use at shows. The displays are bright and any background noise won't affect their accuracy.
Working with a Built-In Tuner
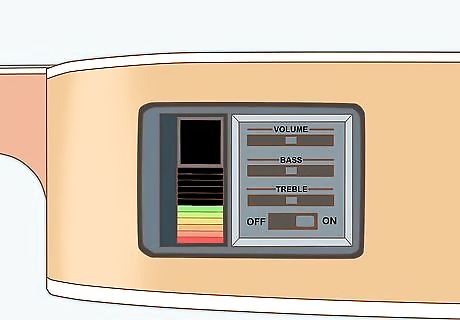
Switch on the tuner to use it. Acoustic-electric guitars, and some electric guitars, come with a built-in tuner. It's typically located on the side of the guitar, or in the headstock. Look for an on/off button or switch and move it to the "on" position to tune your guitar. When you turn the tuner on, the display typically will light up to let you know it's functioning and ready for use.Tip: Some built-in tuners require an additional power supply – typically batteries. Look for a battery door near the tuner display.
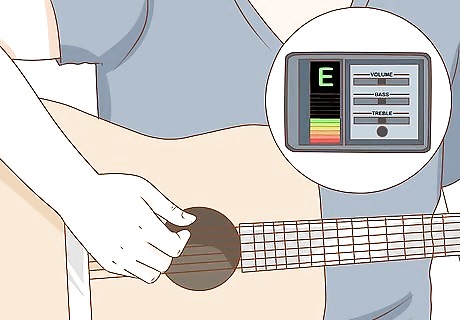
Pluck a string and check the display. To use the built-in tuner, pluck your first string while the tuner is on. The tuner's display will indicate whether the tone coming from your string is higher or lower than the appropriate tone for that string. Simply turn the tuning knob until the string is playing the correct tone. Many tuners have the display on the side of the guitar that faces you when you play, so you can see it easily. Just hold your guitar as you normally would to play, glancing down at the display as you tune.
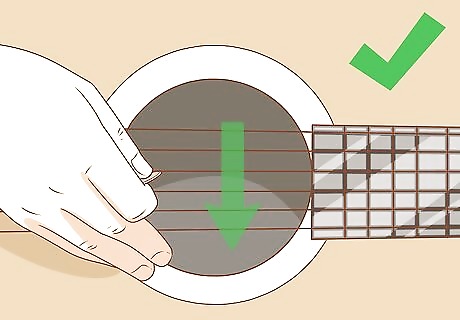
Move through each of the strings one at a time. When using a built-in tuner, only play one string at a time. If you play more than one string, the tuner won't read accurately. Move from your first string to the second, and so on, until you've tuned the whole guitar. You may want to go back through and fine-tune each string again after you've performed a basic tuning. Particularly if your guitar was significantly out of tune, tuning the higher strings may knock the lower strings out of tune.
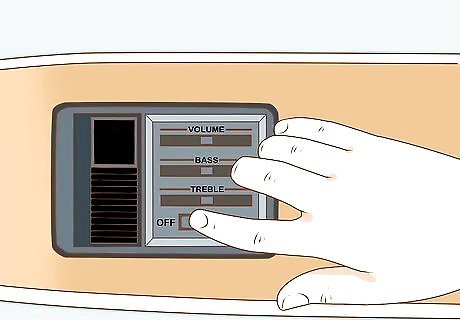
Turn off the tuner when you're done. Typically you want to make sure you've switched the tuner to the "off" position after you've tuned your guitar. Particularly if the tuner relies on its own power source, you want to preserve battery life. Some built-in tuners are designed to automatically shut off if they aren't used for 3 minutes. However, this may not work if you're playing your guitar immediately after you tune it.




Comments
0 comment