
Any screenshots made here are made with Photoshop Elements 9.
If you haven't already done it, or don't already own it, go to Adobe.com and download it. You will need to give them your email address for them to send in the link.
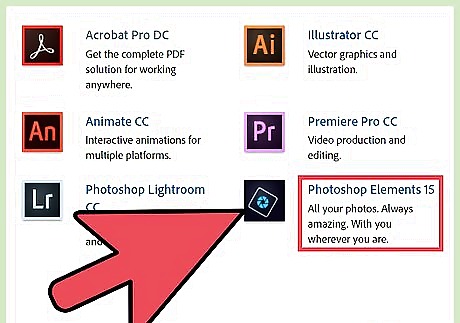
Download the 'downloader'. Yes, you download a tiny program that will download the big program for you. It is an EXE file, so you won't need an unzip program for it.
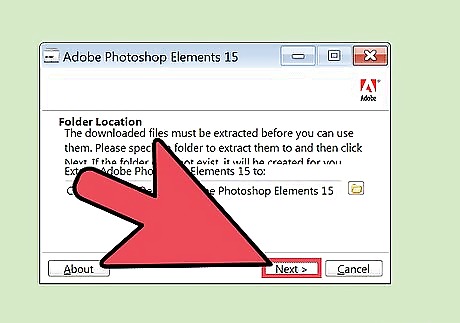
Install the program. The downloader will take care of most of the work for you. You just have to wait for it to do it.

'Inform' the software that you are using it for a trial or enter in your program key that you would get when you buy it.
Decide whether you want to 'Organize' or 'Edit'. This screen, and a few following ones, tell you some of the things that PS Elements can do.
Click on Edit. For this article, the subject will be the editing part of Elements.
Wait. Elements is a good size program and will take a little while to start up.
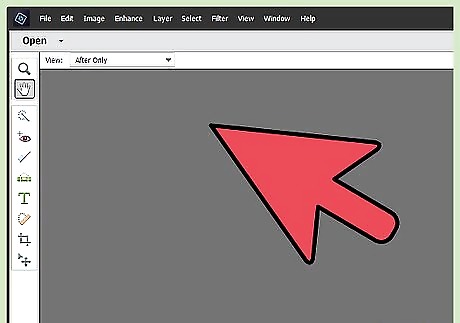
Look at your workspace. Right off the bat, you can see that there is a lot that Elements can do.
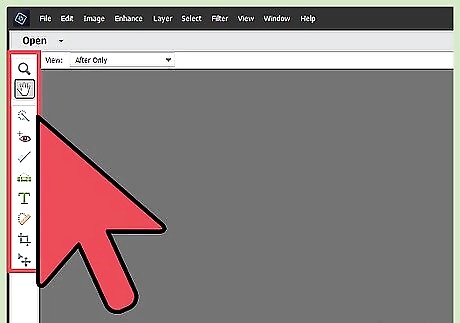
Look at the toolbar on the left. From top to bottom, left to right, the tools are: Move Tool Zoom Tool Hand Tool Eyedropper Tool Rectangular Marquee Tool Magnetic Lasso Tool Magic Wand Tool Quick Selection Tool Horizontal Type Tool Crop Tool Cookie Cutter Tool Straighten Tool Red Eye Removal Tool Spot Healing Brush Tool Clone Stamp Tool Eraser Tool Brush Tool Smart Brush Tool Paint Bucket Tool Gradient Tool Custom Shape Tool Blur Tool Sponge Tool
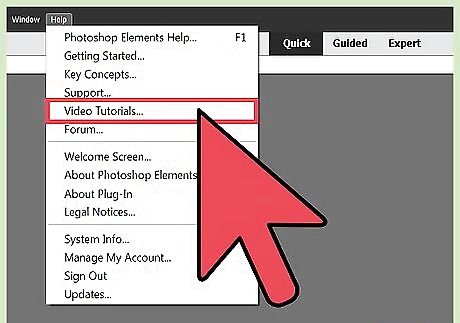
Check out the other articles on how to do certain tasks with PS Elements.


Comments
0 comment