views
Picking Movements to Enhance Joint Mobility and Stability
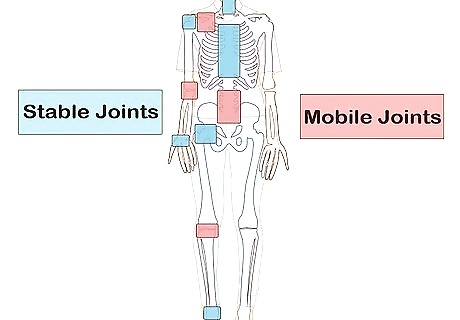
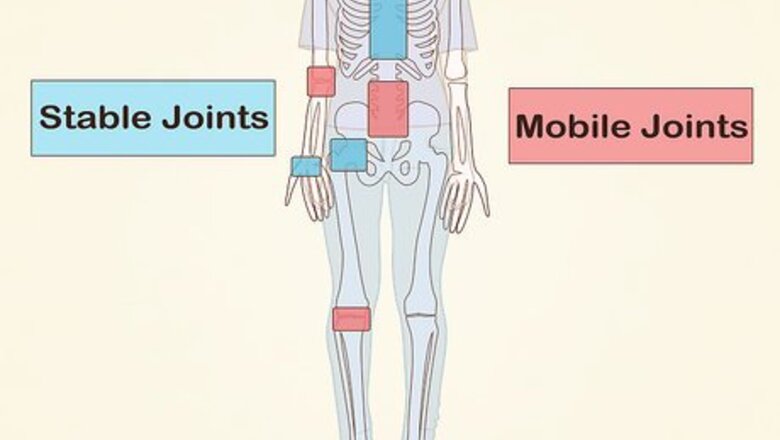
Understand the importance of joint mobility and stability. Mobility is the range of uninhibited motion around a joint or joint system that's not impeded by tendons, muscles, and ligaments. Stability is the ability to maintain control of a joint in a particular movement or position. Possessing good joint mobility and stability in tandem will reduce the likelihood of injuring your joints, which you will need for bench pressing (and many other things).
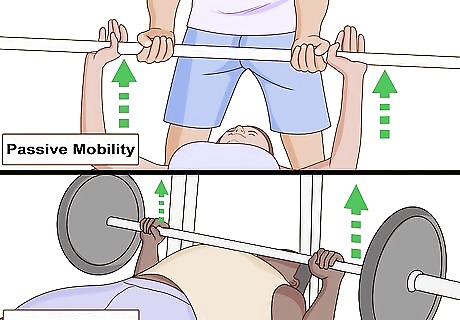
Understanding active vs passive mobility. Passive mobility refers to to being able to get into a position with the help of outside influence, and active mobility refers to being able to get there yourself. If you need a trainer, friend, or even a piece of equipment to assist you, that's passive mobility. It is okay to get into a position using passive mobility, but the goal is to eventually turn passive mobility into active ability through repetition.
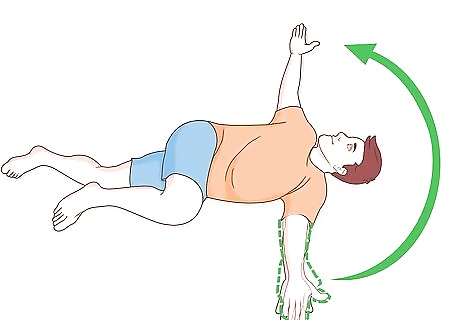
Do side-lying windmills. Start in a position lying on one side with your legs curled as though you are sitting on a chair. Extend both arms in the same direction as your knees are pointed. With the top arm, raise it in a slow, circular motion over your head until it has reached the other opposite side and extends at a 180 degree angle from your bottom arm. Then, bring it directly from that position back to its original position, this time straight over your torso instead of making the circular motion, until your hands are touching again. Do multiple repetitions of this for each arm until your muscles start to feel looser.
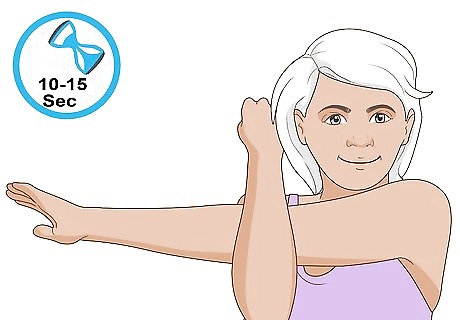
Do arm cross-over stretches. Bring one arm all the way over to the other side across your chest. Use the opposite arm to press against it right above the elbow. This primarily assists the deltoids (the muscles around your shoulders). Hold this position for at least 10 to 15 seconds each time you do it, depending on how loose or tight your body feels. Make sure you do this exercise for both arms.
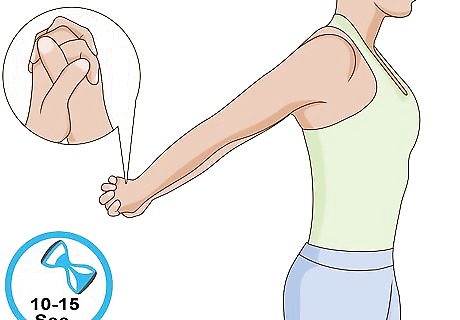
Do double arm behind the back stretches. Stretch your arms directly in front of you and then with a sweeping motion, move them both out to their respective sides and all the way behind you. Lock your thumbs so that both arms will be evenly and identically elevated. With your thumbs still hooked behind your back, raise your arms to be as level with your shoulder blades as possible. Hold this position for at least 10 to 15 seconds depending on how loose or tight your body feels.
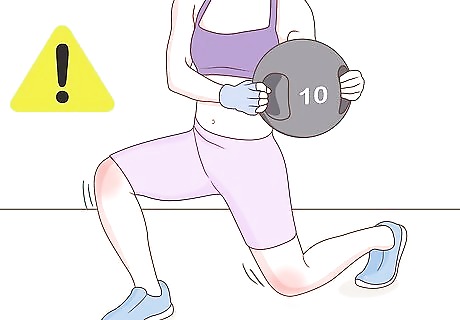
Compensate your lifting habits accordingly. When you increase your range of motion, you're adding additional ranges that you have never trained your joints for. If you try to lift weights as you did before in these new ranges, you may hurt yourself. Knock your weights down and gradually work your way back up. The process will occur much faster in the newly freed areas than it did for your initial training.
Performing Drills to Target Your Arms and Back
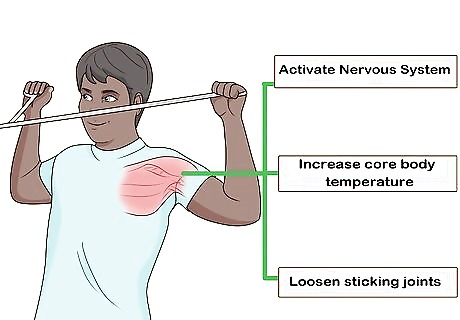
Understand why you do targeted warm ups. Although getting your heart rate and general body temperature up with cardio is an important part of any warm up, you want to also target specific areas of your body that will be performing the most. This will more effectively prepare you for the tasks to come, which should help you to have a better performance and prevent injury from occurring. These activities will help activate your nervous system, increase your core body temperature, and further loosen sticking joints.
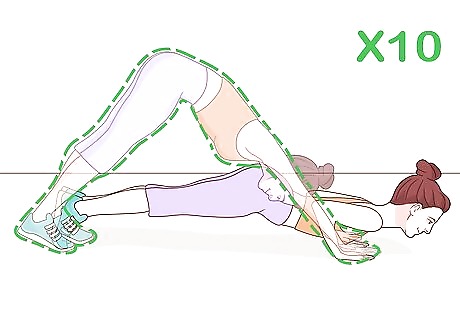
Do yoga push ups. Start in a basic pushup position: ideally, your weight should be supported by just your hands and toes and your face and body should only be an inch or so from the floor (not touching, but not too far away). Using your arms, push your body up as though you were doing a pushup, but continue to push further, pushing until your buttocks moves backward into what is often referred to as "downward dog" in yoga. Ideally both your hands and feet should be flat on the floor or as close to it as you can manage. Hold the position for a second before returning to the upward pushup position, then return to the downward push up position. This activity promotes scapular (shoulder) movement and loosens the shoulders. It's also helpful for the thoracic spine. Repeat this exercise 8-10 times.
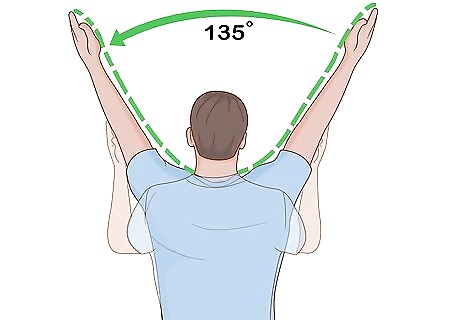
Do forearm wall-slides at a 135 degree angle. Stand facing a wall, about 2-3 inches from the surface, and pinch your shoulder blades together. Brace your forearms against the wall and slide them up and in a v shape. You want to go as high as possible, and then bring your hands away from the wall toward yourself while still keeping your shoulder blades depressed (that is, don't shrug). Return to the starting position and repeat 8-10 times. Like the yoga push up, this exercise targets the shoulder and spine again, but it also activates the "serratus anterior muscle," which is a muscle that goes from the ribs at the sides of your chest to meet the scapula (shoulder blades).
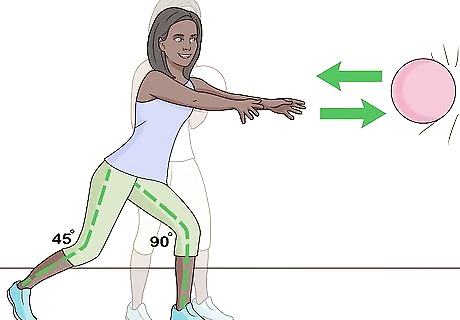
Do chest passes with a medicine ball. Although some people say you need to have a partner for this exercise, you can use a wall to bounce a medicine ball off of instead. Stand perpendicular to a wall or a partner with one leg pointed to a 90 degree angle and the other in front at a 45 degree angle. Holding a medicine ball level to your pecs, pivot with your hips (moving your feet to go with the motion) to bring your upper body face to face with the wall or your partner. Using the momentum provided by your upper body, throw the ball, and catch it when it bounces or is tossed back to you. After catching the medicine ball, return to your original position and repeat this action 8-10 times. You do not want to stand very far from the wall or your partner; the point is not to throw the ball a great distance but to be able to throw and catch it in quick succession to loosen your body and raise your body's core temperature.
Using a Pre-Exercise Warm Up with Weights
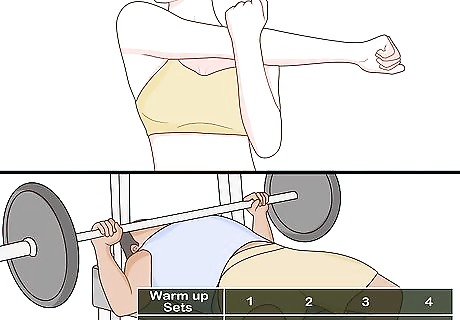
Know the difference between a pre-exercise and pre-workout warm up. A general pre-workout warm up includes activities like stretching and cardio or aerobic activities. However, a pre-exercise warm up is just as important for lifting and should be used in combination with your pre-workout warm up. Even if you know you can bench press 200 lbs, it's better for you to gradually increase your weights to 200 lbs instead of doing 200 straight away. Once you get to your real work sets (that is, the actual exercise you want to do) that's when you should start off with your heaviest weight and then reduce.
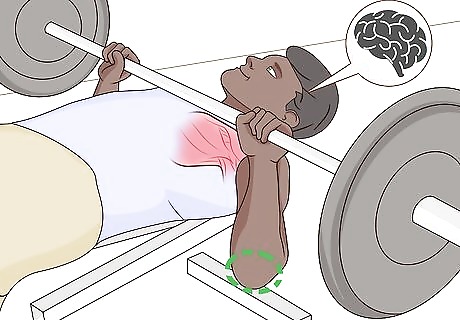
Understand the goals of warm up sets. Because different warm ups have different intentions they must also have different goals to achieve those purposes. In the case of the pre-exercise warm up sets, you want to continue to prepare the target muscles, joints, and nervous system, but now you also need to begin to prepare yourself mentally for actually lifting weights and accomplish all of that without exhausting yourself. This means you should now move to working with weights, ideally the bench press if it's available.
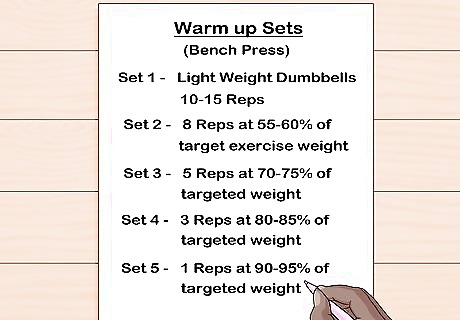
Design your warm up sets to avoid fatigue. Starting with smaller weights, work your way up to the actual working weight you have in mind for your exercise. However, as the amount of weight you use goes up, the number of reps you do should go down. An example warm-up sequence might look like this: Begin with 1 very light set with light dumbbells. Do 10-15 reps at this weight. Do 8 reps at 55-60% of your target exercise weight. For example, if your target weight is 100 lbs, you would use 55-60 lbs for this set. Do 5 reps at 70-75% of your target exercise weight. Using the example from before, this would be 70-75 lbs. Do 3 reps at 80-85% of your target exercise weight. Now you'd be at 80-85 lbs. Do just 1 rep using 90-95% of your target exercise weight. Concluding with the example, this would mean 90-95 lbs. If you do not have a pair of dumbbells handy, you can use just the bench press bar by itself for your first warm up set.
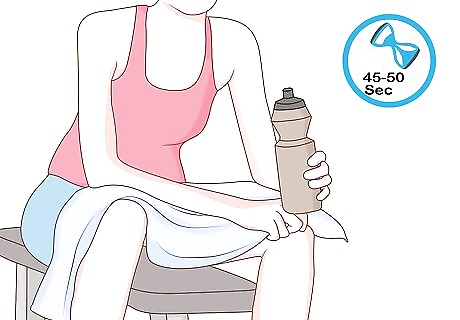
Rest between sets. Although you might think you can just go from one set to the other in order to get to your main focus, it is important to take a short rest between sets since you are increasing weights. This gives you a chance to breathe normally, recover strength before beginning the next part of the sequence, change your weights, and even get a drink of water. Rest 45-60 seconds between every warm up set.
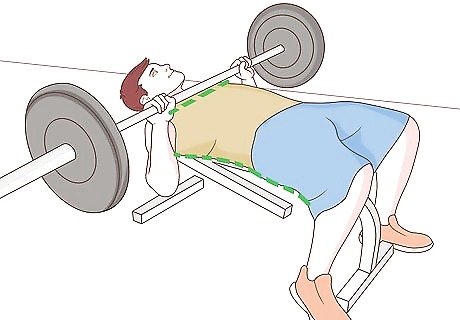
Maintain good form. You will want to make sure that while you are doing these exercises that you are maintaining the same good form that you use during your regular bench pressing. That means that when using the bench press your feet should be on the ground and your upper back and butt are both in contact with the bench. Make sure that when you bring the bar down, it is coming down over your chest (pecs) and not your neck or head.
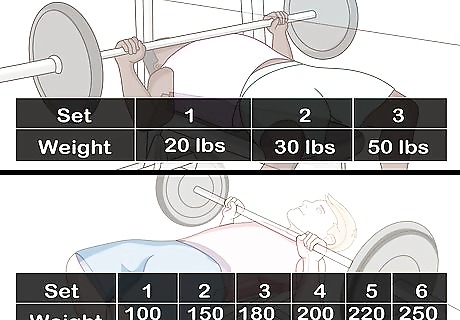
Account for your strength level. Someone who is planning to bench press more weight is going to need a longer pre-exercise warm up. The reason for this is that there is simply a greater amount to work up to. So, if you plan to bench press 250 lbs and your friend is only bench pressing 50, you should be doing more sets to work your way up than your friend.
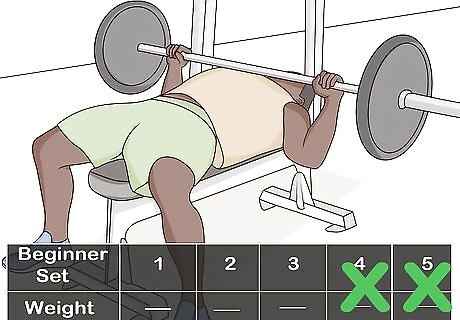
Account for your experience level. If you're a beginner to weight lifting, you will not need to do as many reps as someone who is more advanced. That's because beginners are generally weaker than their more advanced counterparts. To compensate for this, you might be able to eliminate sets 4 and 5 from your routine because they will be less important until later on. There is no set period of time or strength level to determine if you are a beginner or advanced weight lifter, and you shouldn't feel pressured to move to something heavier faster. Decide based on the progress that you're making: if you plateau on your beginner routine for a sustained period of time, that is when you should consider moving up to a more advanced routine.







Comments
0 comment