views
No matter whether you are a student or an office-going employee, there are times in your daily routine when you need to scan documents. Think passport, important files, or even sending a copy of your driving licence—the instances are endless. However, most iPhone users simply click a picture of the document and send it as is. But what if there was a built-in tool in iOS and iPadOS that lets you do the same more effectively, and in a proper manner?
Yes, you can easily scan and send documents using your iPhone or iPad, and the process is quite straightforward. Plus, it even has a level of automation built-in.
Follow these steps to scan large documents in no time at all:
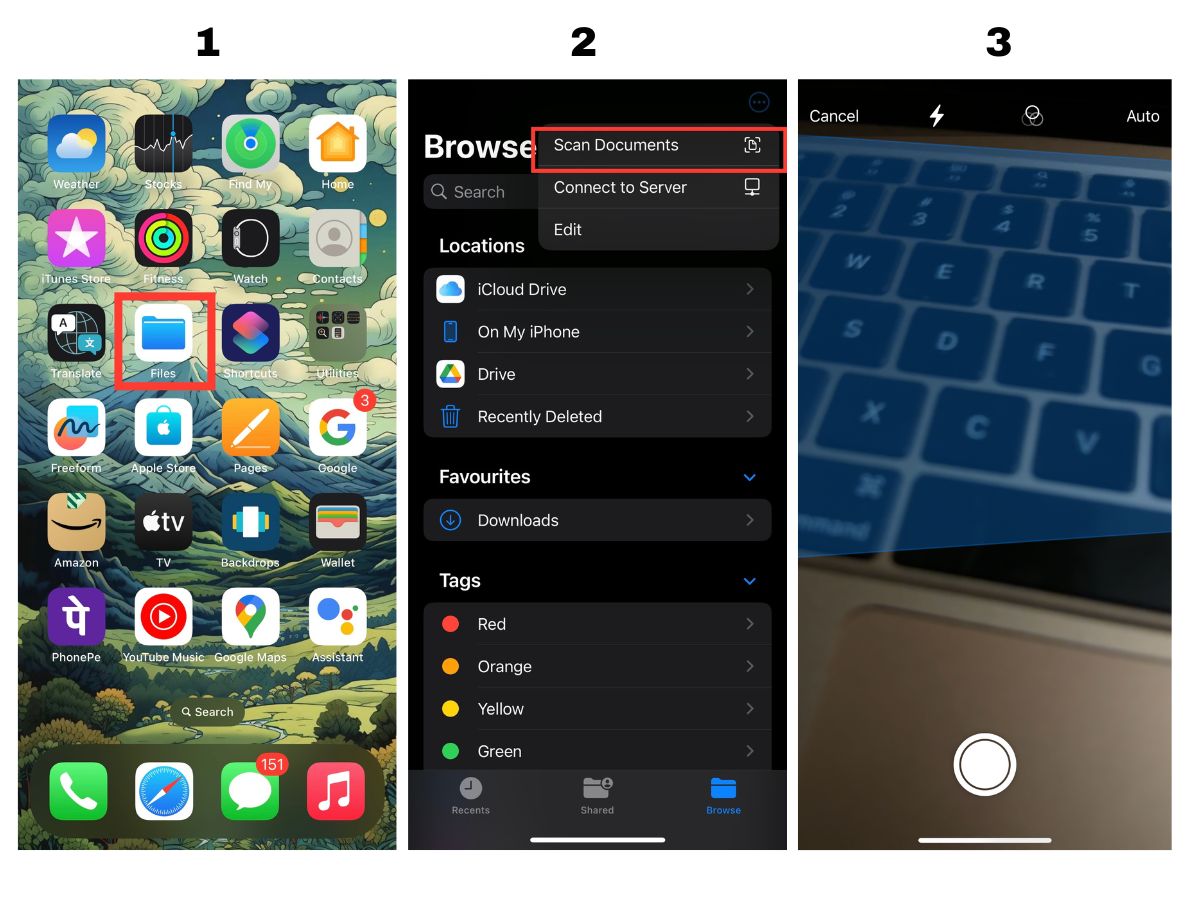
– Firstly, on your iPhone or iPad, head to the Files app.
– Next, tap on the three-dotted menu in the top-right corner.
– Once you tap on it, you will see an option to Scan Documents denoted by a scanner icon; open it.

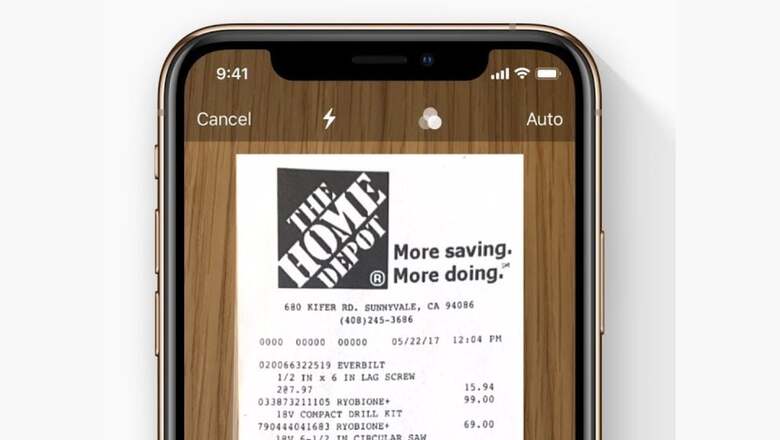
– Here, you have two ways to go about it: you can allow the feature to scan in auto-shutter mode, or you can toggle the Manual mode.
– You can choose either of the two to scan a document. If you are in a hurry or are scanning a large document, the Auto setting works quite well in our experience.
– Apart from being able to choose how you scan it, Apple also gives you the option to scan it in full color, greyscale, black and white, or just a simple photo. Plus, you can also enable the flash if there’s not enough light.
– Once you are done scanning, you can save the document as a PDF in your Files app and then share it right away!
That said, there are other ways to scan a document. You can also use the Apple Notes app for the same purpose. This way, if you frequently use the Notes app, you can directly add a scanned document to the note you are taking.


Comments
0 comment