
Creating an Image File

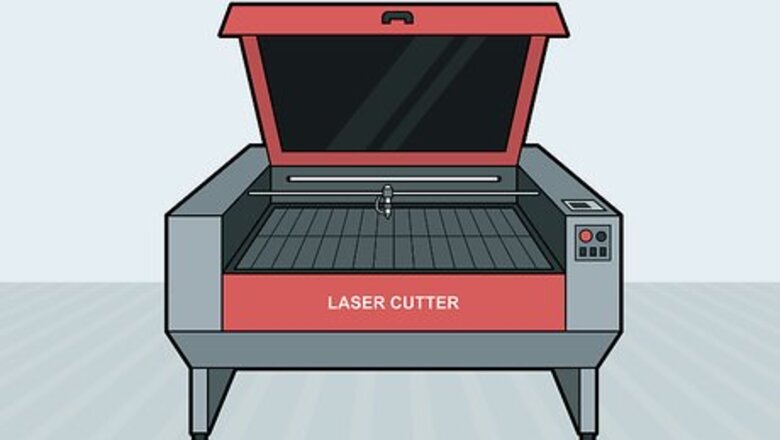
Find a laser cutter to use. A middle of the range laser cutter costs about US$1000. This is quite a high price if you are just wanting to experiment with a laser cutter. Contact your local university or polytechnic and ask if you can pay to use their laser cutter. This will give you a chance to find out what model of laser cutters you like best, before investing a large amount of money in purchasing your own. If you want to buy your own laser cutter, consider buying a used model to reduce the cost.

Decide what material you want to cut or engrave. Laser cutters can cut and engrave wood, plastic, cardboard, foam, fabric, and thin sheets of metal. Any material containing chlorine cannot be used due to the toxic fumes they produce. Avoid PVC, vinyl, and printed circuit boards. Glass can be engraved but cannot be cut. Thick metal cannot be cut.
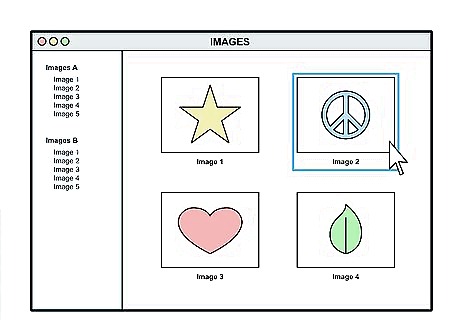
Choose an image to cut or engrave onto your chosen material. This could be a photo, a computer drawing, or computer text. Start with a simple image at first and try more complex images as you gain experience with the machine. If you are using a photo, make sure it has plenty of contrast and not many shadows.
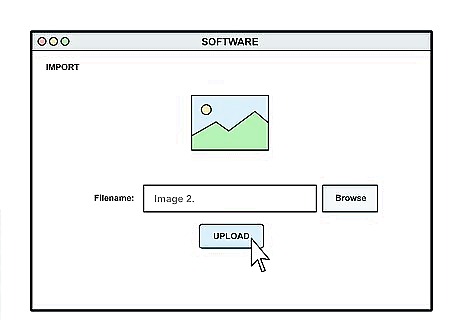
Upload the image into software that is compatible with your laser cutter. Check the side of the laser cutter or the user manual to find out what software to use. Save the image file to your computer. Open the software and click “import” to upload the image to the programme. Popular software options are Adobe Illustrator and CoreIDRAW. These can be downloaded online. EXPERT TIP Ylva Bosemark Ylva Bosemark Jewelry Maker Ylva Bosemark is a high school entrepreneur and the founder of White Dune Studio, a small company that specializes in laser cut jewelry. As a young adult herself, she is passionate about inspiring other young adults to turn their passions into business ventures. Ylva Bosemark Ylva Bosemark Jewelry Maker Use online tutorials to learn the software. Ylva Bosemark, a jewelry designer, says: "I learned Rhino first, which made it much easier to learn CorelDRAW and Adobe Illustrator. Those are the two softwares connected to most laser cutters, and the commands are very specific and concise. Also, on the CorelDRAW website, there are tutorials you can use. Online tutorials are your best friend."
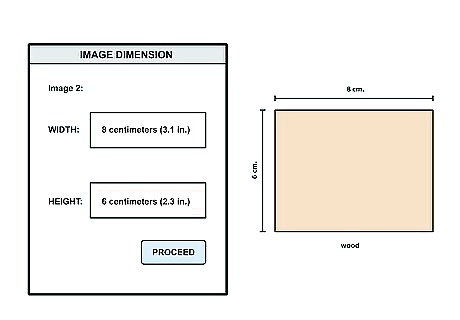
Set the dimensions of your image to match the size of your material. It is important that the image size is not larger than the size of your material, otherwise you will end up with sections of the image missing. Go to the setting of the image and change the dimensions to match the size of your material. For example, if your material is 10 centimetres (3.9 in) x 20 centimetres (7.9 in), enter 10 centimetres (3.9 in) as the width and 20 centimetres (7.9 in) as the height. Make sure that you have selected the correct unit of measurement.
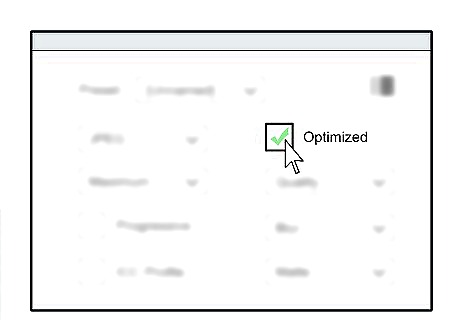
Optimize your image for laser cutting. In the settings of the image, select “photo-optimised” if you are cutting a photo. If you are printing a digital drawing or text, select a resolution of at least 333dpi (dots per inch). This will optimise the image for laser processing. As you get used to the laser cutter you are using, experiment with different effects. In the algorithm effects toolbar you can vary the depth and patterns of engraving. If you are cutting a picture of people, select “ordered dithering” in the algorithms toolbar. This effect will help the people to stand out.
Adjusting the Machine
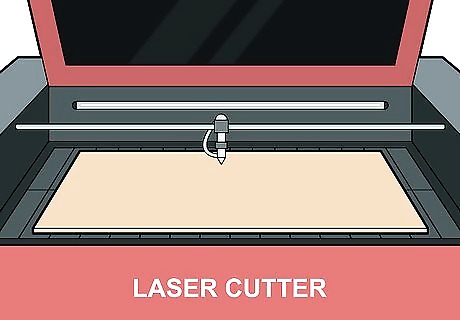
Place the material in the centre of the laser cutting mat. This is the optimal placement to achieve a quality result. If your material doesn’t fit, you will need to trim it down so it can fit flat inside the machine without bending up at the sides. Press any key on the keyboard, this will cause the laser to test its dimensions across the mat. If the laser moves outside the area of your material, reposition the material so that the laser doesn’t move off the edge of the material. Don’t forget to resize your image if you trim the material. If your material has a bend in it, place a weighty metal rod on the edges of the material to hold it down.
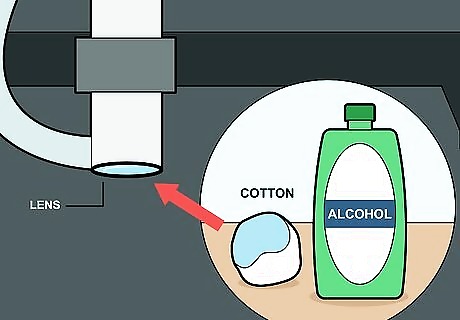
Clean the lens with rubbing alcohol. Dampen a piece of cotton wool with rubbing alcohol and lightly rub the lens of the laser cutter. This can be done while the lens is still in the machine. Purchase rubbing alcohol from a drugstore or grocery store.
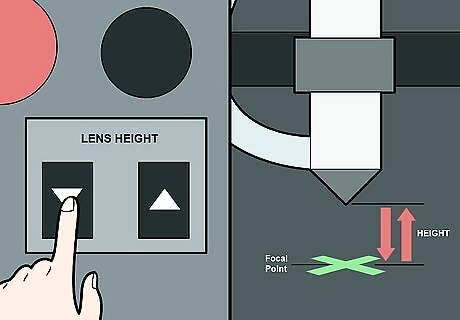
Set the lens height. Most modern laser cutter will have an automatic lens height sensor or button. Once your material is in the correct position, press the “adjust lens height” button on the machine if the machine doesn’t adjust automatically. Adjusting the lens height will focus the laser at the correct level. If there is no lens height button, you will need to adjust the height manually. Read the user manual of your laser cutter model to find out how to do this, as the process varies between models.
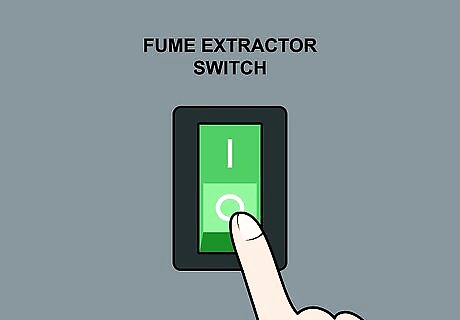
Turn on the fume extractor. Press the on switch on the fume extractor. This is the large tube located behind the laser cutter. The fume extractor sucks all the fumes and dust from the material out of the laser cutting machine. Don’t use any materials that contain chloride, even if you are using a fume extractor.
Choosing Print Settings
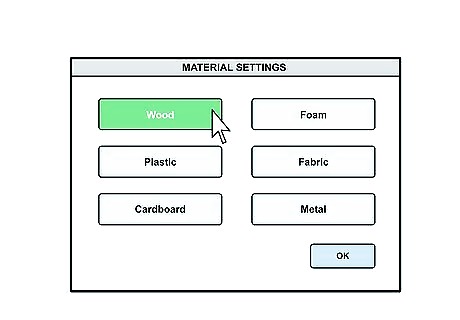
Select the material you are using. In the material settings, select what kind of material you are using. This will dictate the settings of the laser. For, example if you are cutting wood, the pressure will be stronger than if you were cutting foam.
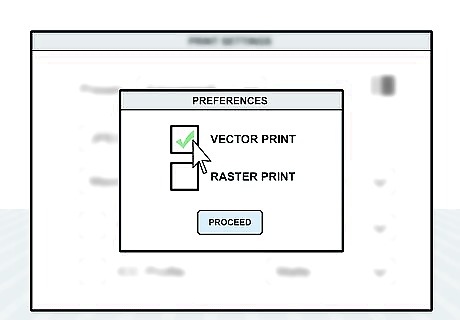
Select what type of cuts you are making. Click on the print menu. A preferences menu will pop up and ask you to choose the cutting method: raster or vector. If you are cutting your image press “vector print” and if you are engraving press “raster print”.
Press print. Press print and watch your image come to life. Don’t move your material while it’s being cut, otherwise, the image components won’t line up. If you want to print multiple copies of the same item, replace the cut object with a new piece of material and press print again.


Comments
0 comment