views
Applying Concealer
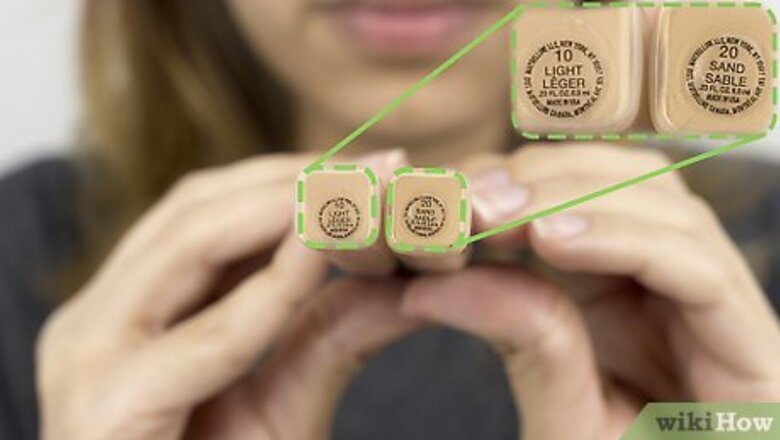
Choose your shade. Concealer comes in a variety of shapes and colors, so analyze your skin first to determine what you need. Are you trying to cover up acne? Under eye circles? Scars or birthmarks? Once you determine what you want to conceal, you can choose the appropriate color and shade. Use the color wheel to help you figure out which color corrector to use. Match the opposite color on the color wheel to cancel it out. Green tinted concealer is used to reduce redness. Yellow tinted concealer will brighten your face. Lavender concealer can help even out complexions with yellow tones. Orange or red-tinted concealer is used to cover purple or dark spots. For scars or under eye circles, use a concealer 1-2 shades lighter than your natural skin tone. Determine whether your skin tone is warm or cool before picking a shade. Be careful not to get too light of a shade, or your complexion might look ashy. Test skin tone concealer on your face, not on your hands, in order to get a true color match. Make sure that you test your concealer without any other makeup on first.

Decide what type of concealer you want to use. Concealers come in many different forms. There are sticks, potted creams, and pencils. These all offer different types of coverage, and some may be better for certain skin types than others. If you have large pores and oily skin, you may want to avoid cream or stick concealers, as they may make your pores look bigger. Look for a liquid concealer instead. Use a pencil concealer for acne, as the pointed edge makes it easier to apply around the acne spots. Thicker, cream concealers are also effective as they can be molded and blended over the blemish.
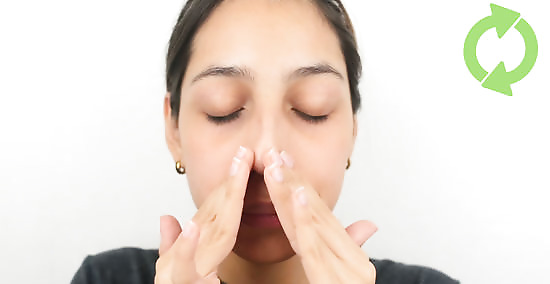
Prep your face. Before you apply any concealer, wash your face with a mild face cleanser and apply a moisturizer. Use makeup remover and a q-tip to get rid of any darkness under your eyes that might be the result of old mascara. Your concealer is the first step in your makeup application, and will go on most smoothly over a blank canvas.
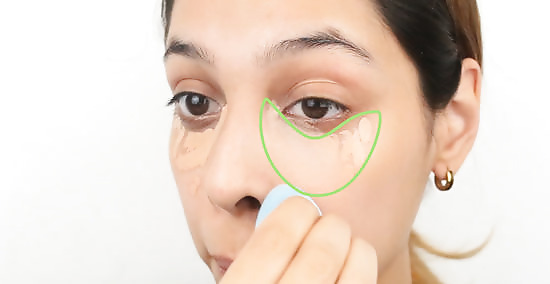
Cover up your under eye circles. Use a concealer brush or your fingertips (the former is more sanitary) to dab concealer under your eyes. Apply the concealer in the shape of an upside down triangle. Draw a triangle from one end of your eye to the other, bringing the point down your cheek to your nose crease. Blend the concealer in around the edges, so that there is not an obvious change in tone between your skin and the concealer. Never rub the concealer in around your eyes, as the skin here is damaged very easily. Simply pat or dab the concealer with the tips of your finger or brush in order to blend it. This will also give you lots more coverage than rubbing. Work the concealer up on the inside of your nose if your eyes are deep-set. This area is often neglected by concealer application, and will leave you still looking sleepy. Be sure to apply your concealer all the way to the very base of your lash line, directly under your waterline. Dotting concealer under your eye in a U-shape will appear less natural, and it may be noticeable in photographs.
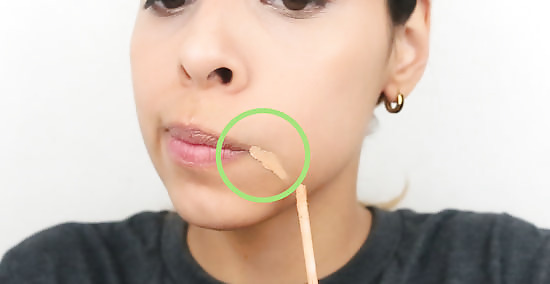
Apply your concealer to acne and spots. If you have any acne, dark spots, sun spots, scars, or birthmarks, now is the time to cover them up. Dab your concealer onto the top of each mark, and then blend softly outwards to your skin. Use a thin layer of concealer to avoid having a caked-on look, and apply more if necessary. If you have acne, avoid using your fingers to blend the concealer. Using your fingers may spread bacteria that will worsen your breakout, and it will melt the concealer, giving you less coverage. Instead, use a clean makeup brush. If you are using concealer over a wide area (to cover rosacea, for example), use an especially thin layer and blend the edges very well. The more concealer you wear, the more likely it will become apparent over the course of the day. You can set your concealer with powder to keep it looking natural all day long.
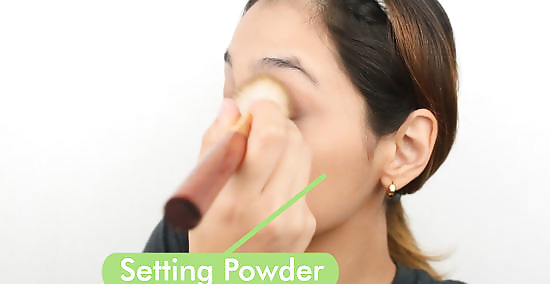
Set your concealer. When you are certain all your dark spots and under eye circles have been covered and blended, add a layer of foundation over the top of your concealer. To kill two birds with one stone, use a loose or compact powder foundation. You can also use a cream or liquid foundation, but you will have to add an additional setting powder over the top. Spread your foundation over the entirety of your face. Use a translucent setting powder with a large brush over the top of your foundation to set it for a solid 12 hours. Use a brush to reach the inside corners of your eyes and under your lash line; make sure that you cover every part of your face that also has concealer. Dab a little extra powder over the areas where you put concealer to make sure that they won’t run off over the course of the day.
Applying the Rest of Your Foundation Makeup
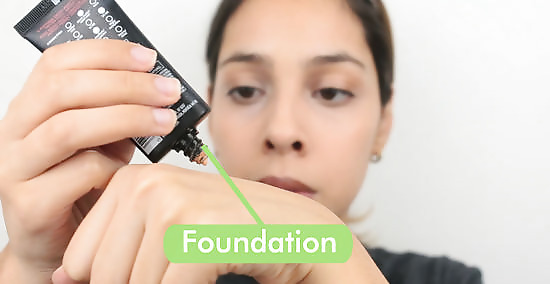
Put on your foundation. Once you have finished applying your concealer to your liking, the next step is to put on your foundation. Choose between liquid, cream, powder, or mist foundations to create a smooth skin tone and blank canvas for the rest of your makeup.
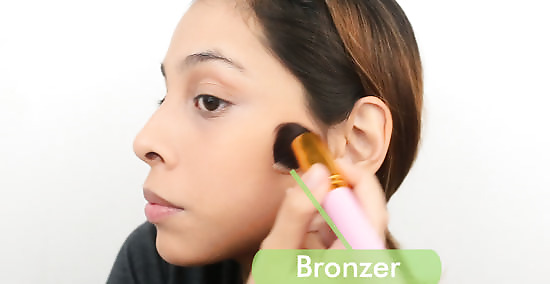
Add a bronzer. Covering your face with concealer and foundation completely smooths out your complexion, but also removes any natural shadows or bronzed areas that your skin has. Apply a bronzer to your cheekbones, inside contours of your nose, and around the perimeter of your face to add dimension to your makeup.
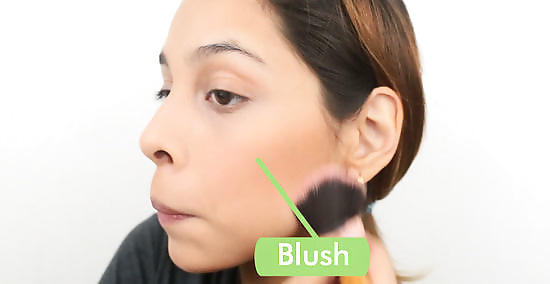
Put on blush. Although not everyone has a natural rosy tint to their cheeks, it is typical to have a slight blush appear naturally on your face. Add blush to recreate this over the top of your flat foundation. To apply blush, smile, and brush the blush on the apples of your cheek. Blend it upwards towards your temples.
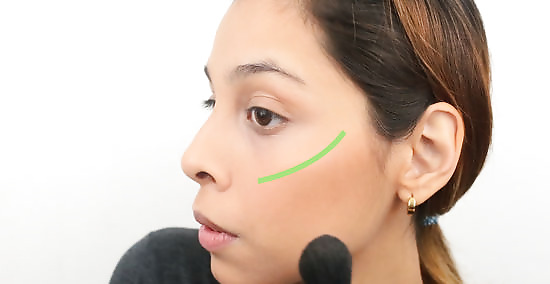
Create highlights. To add even further depth to your face makeup, use a cream or powder highlighter along the tops of your cheekbones, under your brow bones, and the inside corner of your eyes. This will make your face pop and set off your entire makeup look.
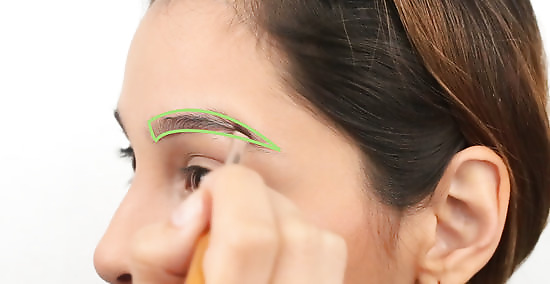
Fill in your eyebrows. It is likely that with all the makeup that you've been throwing around that your eyebrows have gotten a little colored and look a bit dull. Fill in your eyebrows to create a natural darkness and draw attention to your eyes and the shape of your face.

Finished.







Comments
0 comment