views
Preparing the Painted Surface and Wax
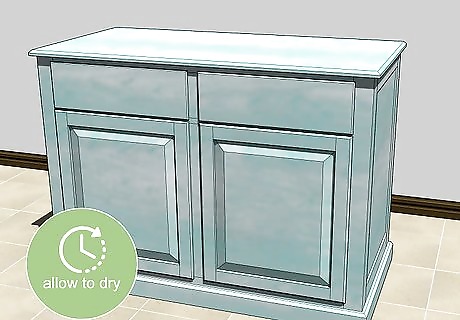
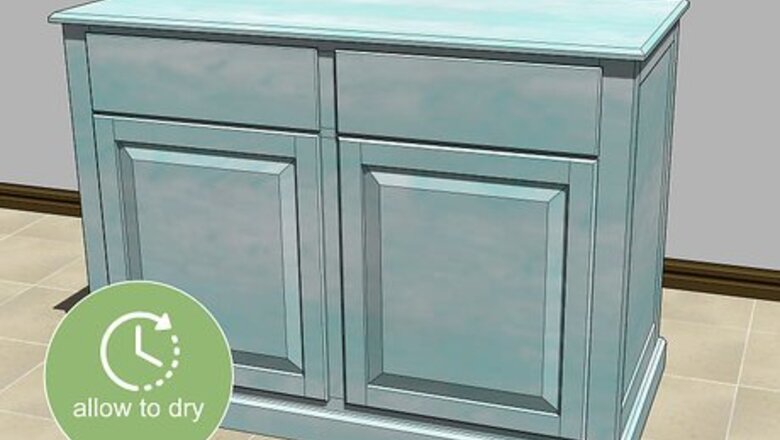
Allow the chalk paint to dry completely before applying the wax. Chalk paint doesn’t take very long to dry, but err on the safe side before starting the wax process. Allow the final coat to rest overnight to ensure that it’s completely dry. Keep in mind that before you apply chalk paint, you should get all the grease off and prepare the surface so it will accept the paint. Use a soft brush to apply the paint. Allow the first coat to dry, then apply the next coat. It is better to put several light coats of paint than a couple of heavy coats. You can complete the sanding and distressing process prior to waxing, but be aware of the dusty mess the chalk paint will create. Feel free to wait until after the first coat of wax to start sanding if you prefer.
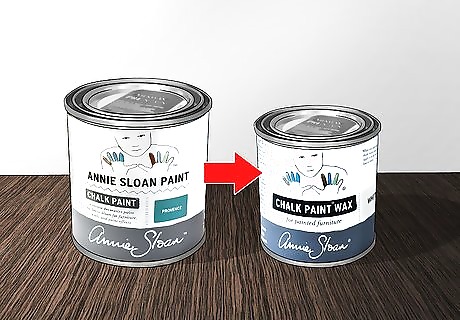
Choose a clear soft finishing wax compatible with chalk paint. If you’re using Annie Sloane Chalk Paint, choose the wax produced by the same brand for the best results. Or, if you’ve made your own chalk-style paint, look for a soft, clear finishing wax intended for furniture. Pick up a 500 mL (17 fl oz) tin of wax per 3 to 4 L (0.79 to 1.06 US gal) of chalk paint you’re using for your project. Start with a clear coat, even if you later want to apply dark wax. If dark wax is used first, it will soak into the chalk paint and the pigments will be harder to lift off. A clear wax barrier solves this problem and allows for a more customizable application of the dark wax.
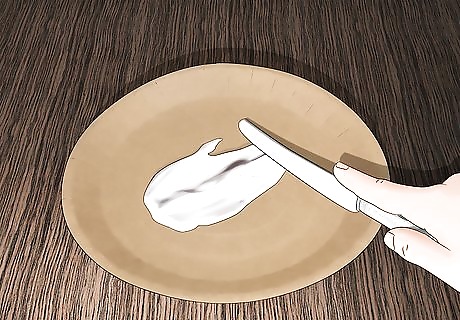
Scoop out a dollop of wax and place it onto a paper plate. Use a disposable plastic knife to pick up about 2 to 3 US tbsp (30 to 44 mL) from the tin. Spread it out on the plate to make it easier to pick up with the wax brush. Try not to dip the brush into the tin of wax. This will help you avoid picking up too much wax and contaminating the wax with bristles or paint dust.
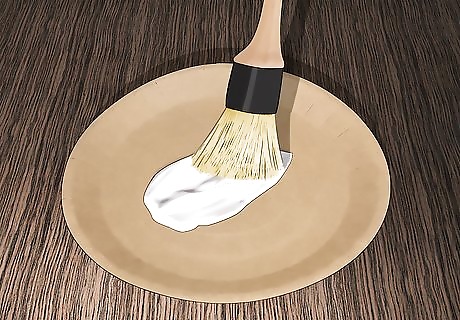
Load up some wax onto the tip of a soft wax brush. Use either a brush designed specifically for chalk paint wax application or a similar round brush with stiff bristles and a blunt end. Dab the brush vertically into the wax sitting on the paper plate to pick up a quarter-sized amount. One of the biggest mistakes to avoid is starting with too much wax. Don’t saturate your brush or scoop up a big blob. Remember that less is more! You can always go back and apply more wax if necessary.
Brushing on the Wax
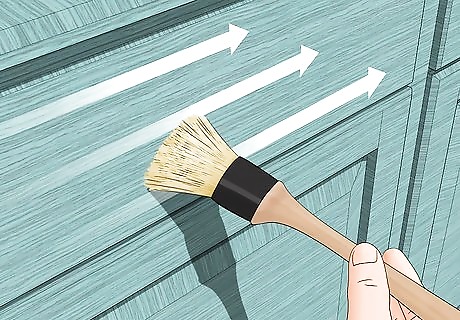
Massage the wax into 1 section of the chalk paint. Work the brush in loose circular motions to distribute a thin layer of wax across the surface of the paint. If you work the brush from side-to-side, be sure to follow the grain of the paint and wood. Apply steady pressure to rub the wax into the chalk paint with the brush. Continue spreading the wax until the brush gets dry and you’ve run out of product. Start by applying the wax to a smooth area first and avoid getting wax build-up into the crevices and grooves of the furniture. Think of how you apply moisturizer to your skin when applying the wax to the paint. The first layer should smoothly cover the entire chalk painted surface, but you shouldn’t apply so much that you’re left with goopy blobs of wax that won’t blend in.
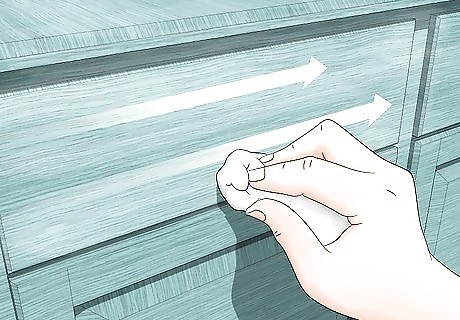
Wipe over the waxed surface with a clean lint-free cloth to remove the excess. Opt for a microfiber cloth, a clean but old t-shirt, or a piece of cheesecloth. Ball up the cloth and use it to go over the wax in a few steady sweeps in the direction of the grain. While doing this, you’ll remove any excess and more deeply massage the wax into the chalk paint. Although you applied the wax using circular motions, there’s no need to wipe the cloth in tiny circles just yet. The final polishing comes later; big sweeps will suffice for now. If you notice a lot of wax buildup on the cloth, switch to a clean side or a fresh cloth.
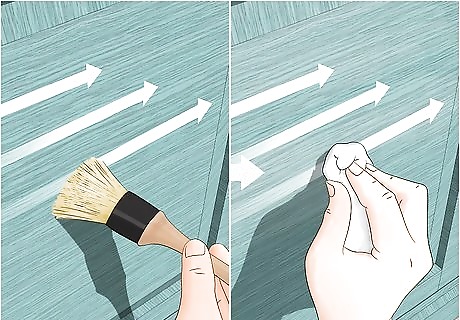
Move onto the next section, applying a small amount of wax and wiping it off. Rather than applying a full first coat of wax to the entire piece of furniture, you’ll work in small sections at a time. For each section, scoop up a small amount of wax onto the brush and buff it into the chalk paint. Then wipe over it a few times with a cloth. You’ll be able to see where the wax has been applied since it increases the saturation of the chalk paint color. Slightly overlap the new section with the previous one so you don’t leave any gaps, but keep each coat thin and even. For a dresser, try working on one drawer at a time. For a table, work on a quarter of the tabletop surface or 1 table leg at a time.
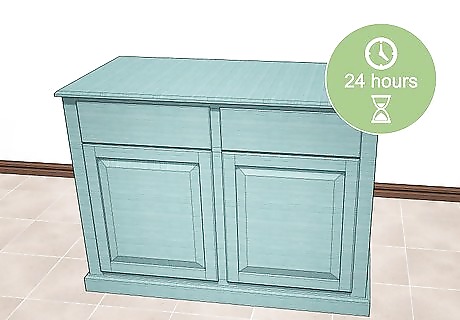
Let the first coat of wax dry for 24 hours. Once the wax has been applied to the entire piece of furniture and the excess wax has been wiped off, allow the wax to cure for 24 hours. Refrain from adding any additional coats or polishing the wax until a full day has passed. The wax won’t be fully cured for about 30 days. However, it’s okay to add more coats and start using the furniture after a 24-hour curing period. Complete 2 or 3 additional clear coats to surfaces that will get a lot of use. For tabletops that will face everyday objects or frequent use in high traffic areas, add 1 or 2 more coats to the surfaces to give the furniture piece a more durable finish. Allow 24 hours of curing time between each coat of wax. While the first coat of wax will heighten the saturation of the paint color, additional coats of clear wax won’t have a visible effect on the chalk paint.
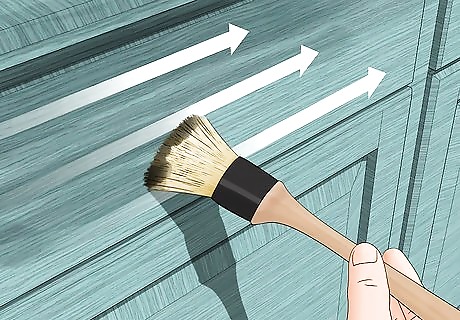
Apply 1 full coat of dark wax over the clear wax for a tinted effect. Once the clear coat has dried for at least 24 hours, you can follow up with an optional 1 or 2 coats of dark wax. This will give your piece of furniture a darker, more worn-in patina. Apply each coat in sections across the entire piece of furniture. As you’re wiping it away from each section, be more detailed with the cloth to lift off the wax from certain areas and leave more if it on other areas. Wait 24 hours between coats to allow each layer of wax to cure. Unlike clear wax, the dark wax will impact the final color of the furniture piece. It will add warmth to cooler colors and will darken lighter colors. For a rustic patina with dimensional details, leave more dark wax pigment in the furniture piece’s crevices but wipe most of it off of the flat surfaces. Use a separate brush for the dark wax and the clear wax to avoid contaminating the clear wax.
Burnishing the Wax
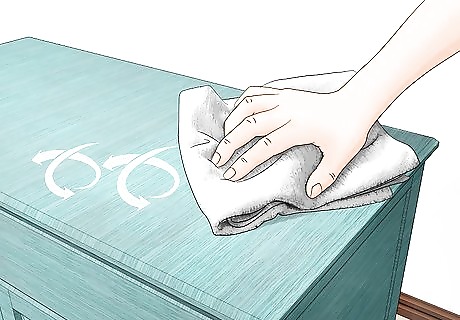
Buff the wax with a soft cloth if you’d like a glossier finish. Once the final layer of wax has been applied and left to dry for 24 hours, take a look at your furniture piece and its overall finish. If you’d like it glossier, buff the wax using a soft cloth and small circular motions. Apply steady pressure while buffing to achieve a consistent patina across the entire piece of furniture. While it’s not possible to achieve a true high-gloss finish, you can achieve a pearly glow or a softly reflective sheen. The more you buff the wax, the glossier it will become. If you like the soft matte finish of the dried wax, feel free to leave it as-is.
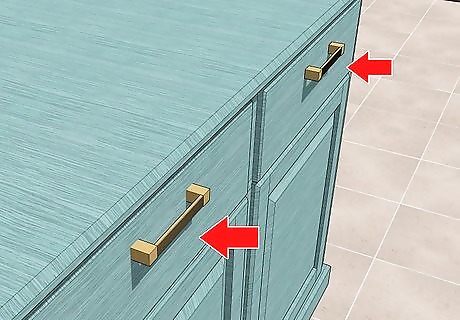
Let the wax cure for 24 hours before reinserting the hardware. While the wax won’t be fully cured for another month, it’s okay to screw back in any new or original hardware after 24 hours of drying time. You can also begin using the piece of furniture as soon as the wax is dry to the touch. For a surface that’ll receive a lot of use, be a little more gentle to the surface for the first few weeks to ensure the wax can cure smoothly and completely.
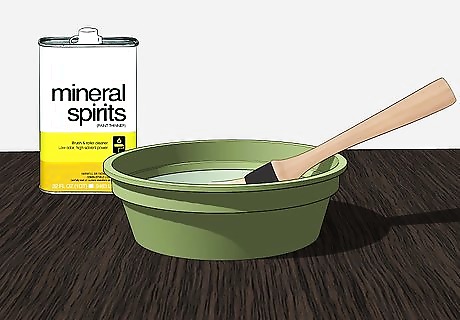
Clean your wax brush(es) with odorless mineral spirits. Pour about ⁄2 c (120 mL) of odorless mineral spirits into a cup. Dunk the bristles in and jostle them around to loosen up the wax. Let the bristles soak for about 30 minutes, then rinse off the brush(es) with warm, soapy water. The dark wax will stain the brush, but as long as the waxy texture is gone the brush is clean. Just don’t try using it with the clear wax in the future.




Comments
0 comment