views
Using a Pipe Spring
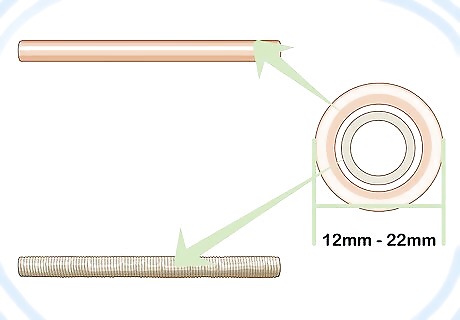
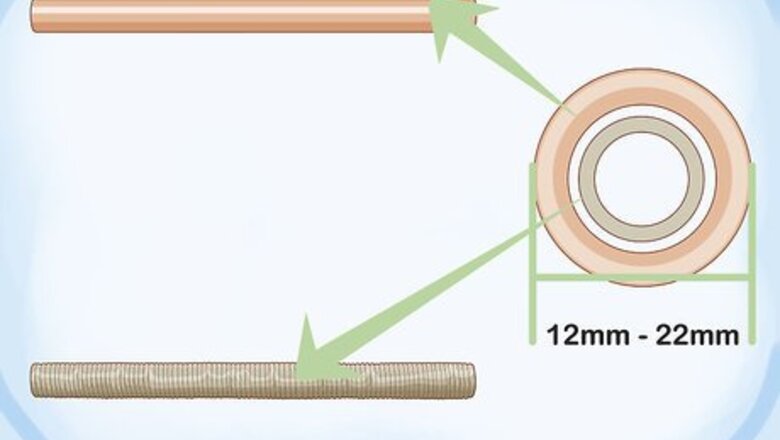
Select a pipe spring in the appropriate size. Pipe springs are available in various sizes, and can be used on any pipe or tube with an external diameter of 12–22 millimetres (0.47–0.87 in). It's important that you use a pipe spring smaller in diameter than the tube you're trying to bend. Otherwise, it won't fit inside. You can find pipe springs at any major hardware store or home improvement center. Pipe springs are useful tools to have on hand for heating, air conditioning, and refrigeration repairs, or any project that involves induction heating or cooling.
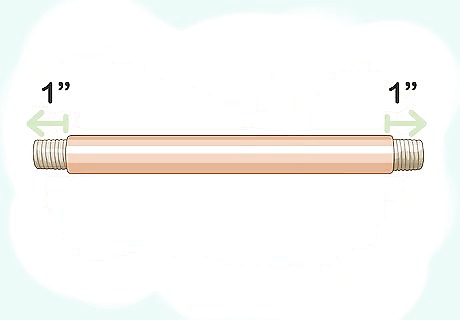
Insert the pipe spring into the section of tubing. Slide the tapered end of the spring into one of the openings of the tube until it begins to emerge from the opposite end. Make sure you leave at least a couple inches of spring sticking out, as this will allow you to remove it once you've finished shaping the tube. Use a deburring tool to remove any metallic burrs on the end of the tube that might present an obstruction to the spring. Tubes that have been cut by a tube cutter often have slightly rounded ends which may not accommodate a pipe spring of the same size as the tubing. In this case, you'll need to recut the tubing rather than using a smaller pipe spring.
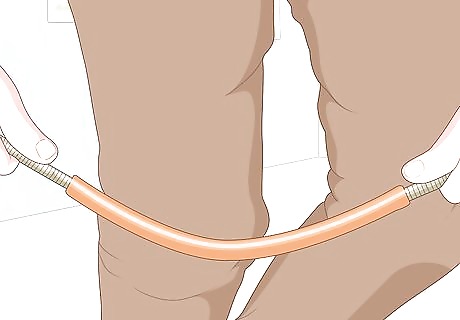
Bend the tube into the desired shape a little at a time. Grip the tube on either end of the intended bend point and apply pressure slowly in short bursts. It may help to shape the tube around a fixed fulcrum, such as the point of your knee. Continue bending the tube until it reaches a suitable form. Tube springs work by providing internal support for the tube, which makes it less likely to kink, warp, or collapse while being bent. Bending the tube gradually cuts down even further on the chances of small ripples and creases forming in the soft metal.
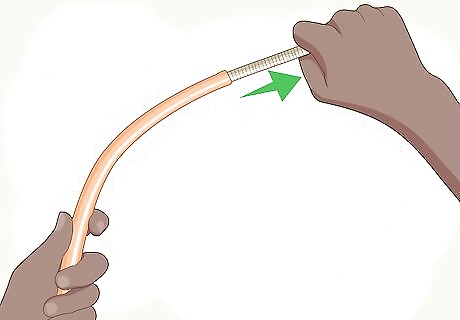
Pull out the spring. Grab the exposed spring and give it a tug. Since it's flexible, it should come free with little effort. The tube is now ready to be fitted or soldered to another pipe. If you're having trouble getting the spring out, try twisting it counterclockwise as you pull. This will wind the coiled shaft tighter, momentarily reducing its width enough for you to yank it free.
Using a Pipe Bender
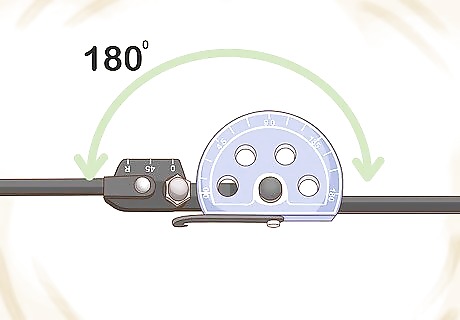
Open the handles of the pipe bender all the way. Lift the short handle until it forms a 180 degree angle to the long handle, which you'll hold onto throughout the shaping process. This will provide enough clearance to insert the tubing and begin setting the bend radius. If the bender die (the rounded piece at the top of the longer handle that the tubing actually bends around) of your pipe bender tool has a faceplate displaying measurements for calibrating bends at precise angles, make sure it's facing you.
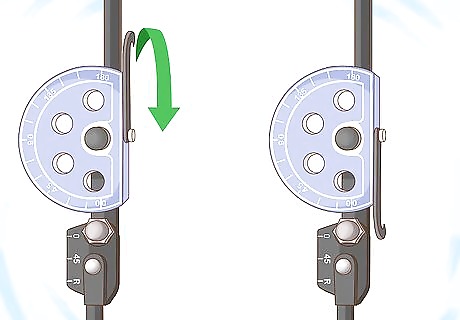
Disengage the tube latch. Press down on the grooved thumb section of the latch until it comes to a stop in the down position. On most models, you won't be able to insert the tube until the tube latch is out of the way. Pipe bender tube latches sometimes take the form of simple hooks that swing over the pipe or tube after it's been put into place inside the unit.
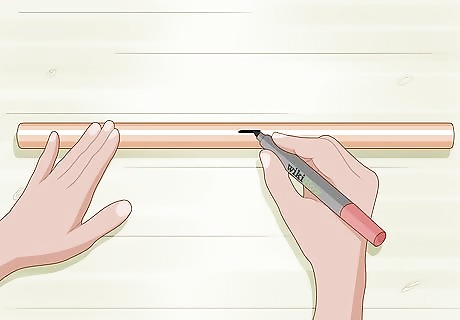
Mark the copper tubing where you want to make the bend. Use a felt-tipped marker to draw one or more lines along the top of the tube. If necessary, grab a ruler or measuring tape to make sure the placement and spacing of each bend is as precise as possible. Marking the tube before you attempt to shape it will help you position the bend correctly. Drawing a series of lines can also make it easier to keep track of each bend point you need to make multiple or compound bends.

Slide the copper tube into the pipe bender. Insert one end of the tube into the open slot between the two handles. Make sure the tube is perfectly aligned with the groove in the rounded bender die. Feed the tube into the pipe bender until the section you marked is resting over the bender die. Pipe benders can create bends in any part of a pipe or tube, including the ends. When you close the handles of the unit, the tubing will curve smoothly around the bender die, which prevents it from kinking or collapsing.
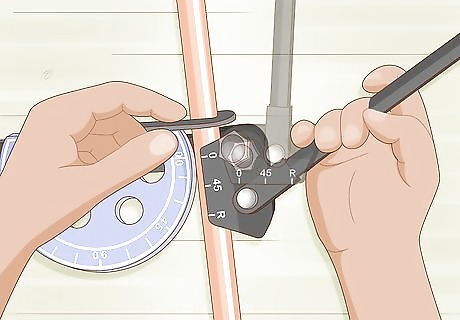
Secure the tube latch. Flip the latch back up over the tube. You should hear it click as it locks into place. Once it's been closed, the latch will hold the tube steady while you make the necessary modifications. The tube latch is designed to clamp down on the tubing, but not so tightly that you can't make last-minute adjustments.
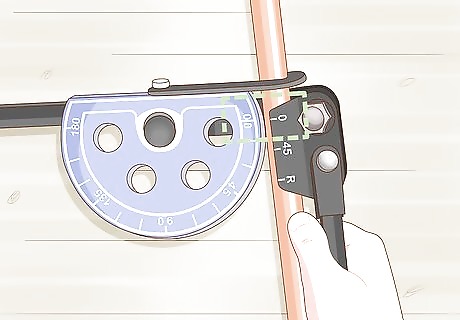
Line up the marked bend point with the desired bend radius. Lower the short handle until the notched roll support comes into contact with the upper surface of the tube. If necessary, slide the tube further into the unit so that the intended bend point is in position at the corresponding bend angle listed on the faceplate of the bender die. Make sure the markings on both pieces mirror one another—while the handles are open, the '0' on the roll support should be aligned with the '0' on the bender die faceplate. The guide markings on various pipe bender tools may differ, depending on the model.
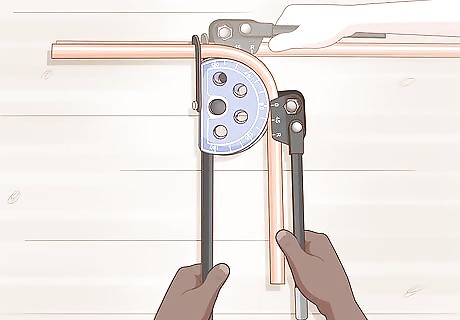
Close the handles to make the bend. Holding the long handle steady, push down fluidly on the short handle. As you do, the pressure will cause the tubing to wrap around the circular bender die. Stop moving the the handle once the '0' on the roll support reaches the marking corresponding to the desired bend radius. Once you've finished bending the tube, simply raise the short handle again to remove it. If you want to double-check your work, you can use a protractor to confirm that the angle of the bend is accurate.




Comments
0 comment