

Creating a Casting Mold
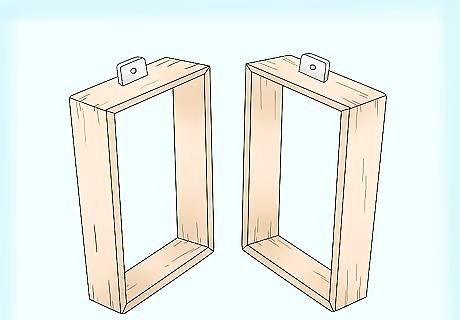
Get a 2-piece mold frame. To successfully cast metal, you’ll first need to acquire a mold frame (also known as a mold flask) made of wood, iron, or a similarly solid material. Make sure the frame comes in 2 parts and is large enough to hold the object you want to cast. Look for mold frames online or from specialty metal supply stores. As long as it is sturdy, the specific material used to make your mold frame does not matter.
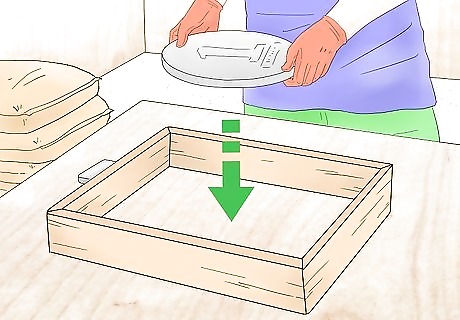
Place the object you want to cast in 1 of the mold frame pieces. Place 1 of your mold frame pieces on a flat working surface. Then, put your casting object in the center of the frame, making sure its flattest side sits face down on the table. If you’re casting an object that comes in 2 pieces, place the bulkiest piece in the frame right now. If you want to create an original metal object, you’ll first need to construct a prototype version out of wood or a similar material. Then, you can place your prototype in the mold frame. Some popular casting items include coins, trophies, figurines, gears, and pipes.
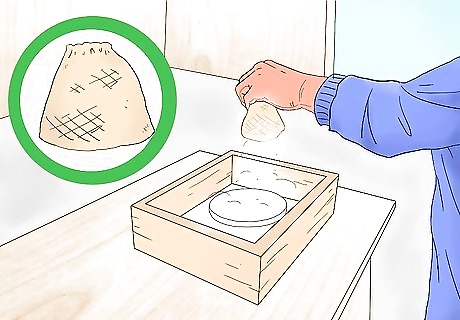
Cover the top of your object with parting dust. Before pouring any molding material into your frame, grab a bag of parting dust and sprinkle it over the object you want to cast. The parting dust will prevent the molding material from sticking to your object, creating a more refined mold. Look for parting dust online or at metal casting supply stores.
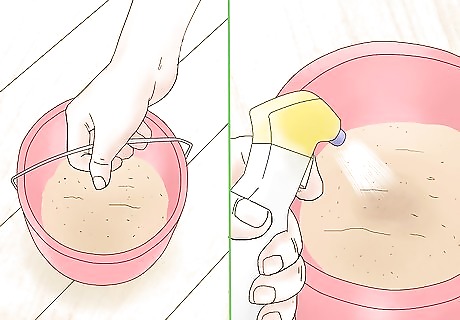
Dampen and toss molding sand to create a molding paste. Grab a container of molding sand and sprinkle the material with water. Then, toss the sand with wooden blocks until it turns into a semi-dry paste. If possible, toss the sand about 12 hours before you make the cast to give the moisture more time to soak through the material. You can find molding sand online or in specialty metal casting stores. It may be advertised as foundry sand or greensand.
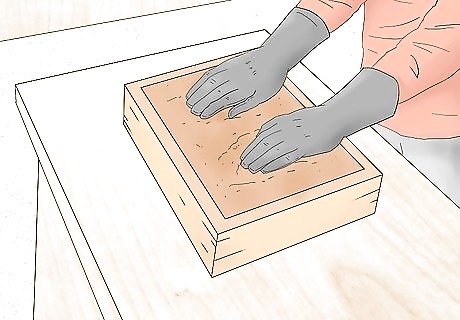
Fill the cast with molding sand. After tossing it, pour the molding sand into a riddle and sift it into the mold frame. Once you’ve covered the casting object, tamp the sand with your fingers to better preserve the pattern. Then, pour additional, unsifted sand into the mold, making sure to fill it well above the frame’s top border.
Tamp the sand down and scrape off any excess. Tamp the molding sand down by pressing the paddle end of a rammer into the material and twisting it left and right. Once you’ve thoroughly tamped the material, scrape the excess sand away using a straight edge. When finished, the top of your mold should be completely smooth. For the best results, tamp the areas around the edges of the frame tightly and the areas directly over your casting object loosely.
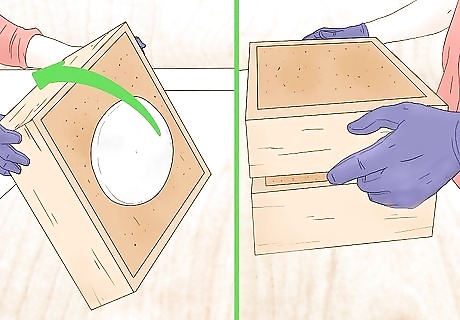
Flip your mold over and place the other frame half on top. Once you’ve tamped the sand down, cover your mold frame with a solid board and carefully flip it over. Then, place the other half of your mold frame on top of the current mold. If you’re casting an object that comes in 2 parts, place the second piece of your item in the top frame and line it up with the first piece.
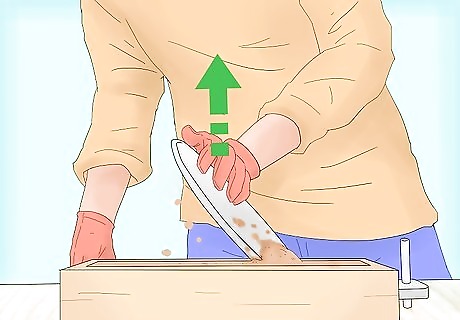
Repeat the process with the other side of the mold. To create the second half of your mold, cover the exposed side of your object with parting dust and fill the cast with molding sand. Then, tamp the sand down until you create a fine, smooth surface. When you’re finished, carefully pull the 2 mold frame pieces apart.
Adding Sprue & Riser Holes
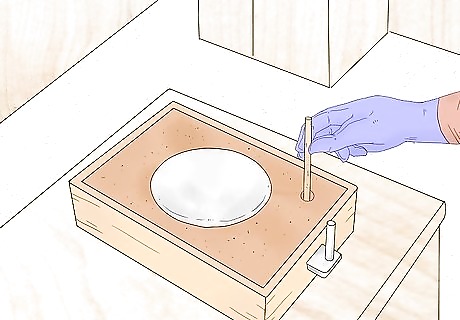
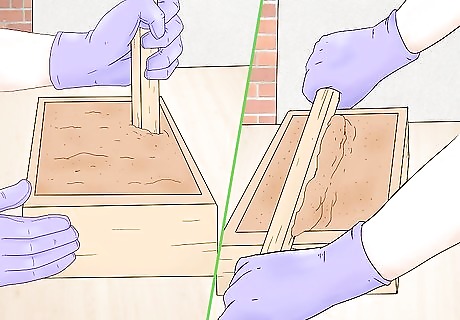
Create a sprue hole using a dowel rod. Grab a dowel rod and push it into the molding sand next to your casting object. Rub the dowel rod into the sand until you create an approximately 0.5 in (1.3 cm) wide hole that runs from 1 end of the mold to the other. You’ll use this hole to pour liquid metal into the cast. You only need to make a sprue hole in 1 of the mold frame pieces.
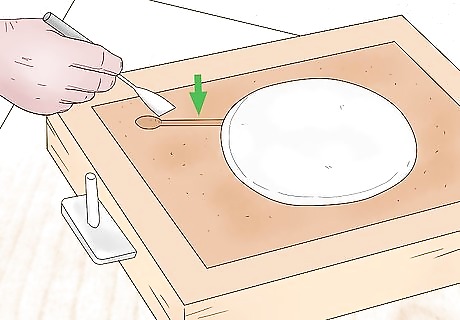
Cut a gate between the cast object and sprue hole. Using a chisel, create a small, shallow passageway between your sprue hole and the casting object itself. Known as an in-gate, your molten metal will flow through this passageway to reach the main cast. Unlike the sprue hole, your gate should not go all the way through the sand.
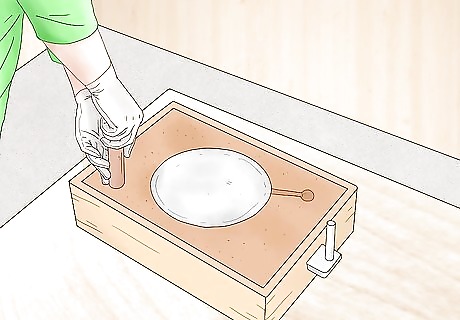
Make riser holes to contain excess metal. Using your dowel rod, create 1 or more small pockets in the sand. Then, connect them to the ingrate using your chisel. These holes will give excess metal a place to go if the mold starts to shrink. For your riser holes, you can either contain them entirely within the sand or connect them to the surface of the cast.
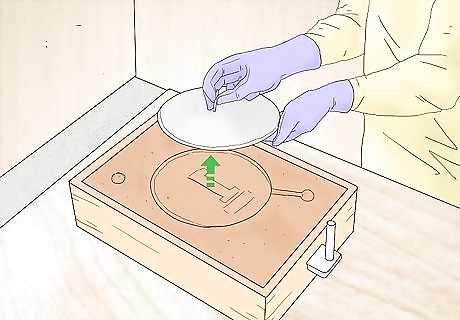
Remove your casting object carefully. Once you’ve created your sprue and riser holes, you can finally remove your object from the cast. If necessary, tap the object gently to loosen it up. Then, carefully pull it out of the mold. Your sand is incredibly delicate at this point, so be cautious when handling the casting object. If necessary, use your finger to clean up any rough edges on the mold. If your sand appears extremely wet, give the mold some time to dry out. Otherwise, you can cast with it immediately.
Filling Your Mold
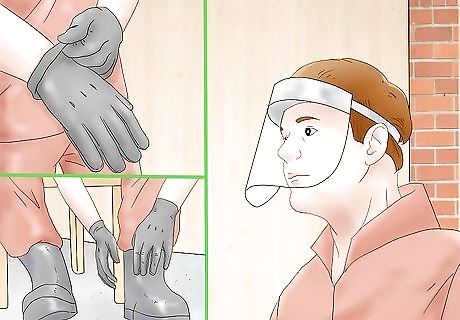
Put on leather gloves, boots, and protective eyewear. Safety is essential when working with hot metal, so make sure you put on a pair of leather working gloves, thick leather boots, and either protective goggles or a full face-shield. While you’re working, use extreme caution to prevent any unfortunate injuries.
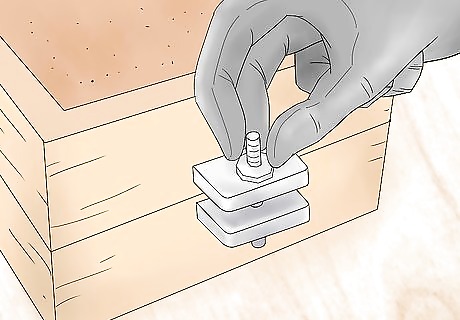
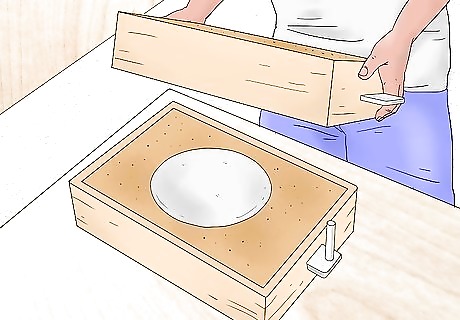
Lock your mold frames in place. If you haven’t already, press the 2 sides of your mold frame back together, making sure the central casts line up with each other. Then, toggle your frame’s locking mechanism to hold everything in place. If you’re creating an aluminum cast, you can take your mold out of its frame if you so desire.
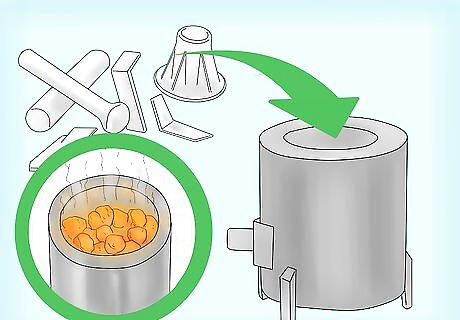
Melt your casting metal in a crucible. When you’re ready to cast, fill a crucible up with dry aluminum, brass, or bronze scraps. Then, cover the crucible with its lid and place it in a furnace filled with hot coals. After the last piece of metal melts, wait 3 minutes before pouring if you’re using aluminium, 5 minutes if you’re using brass, and 10 minutes if you’re using bronze. Do not try to melt aluminum products covered with vinyl, such as soda cans.
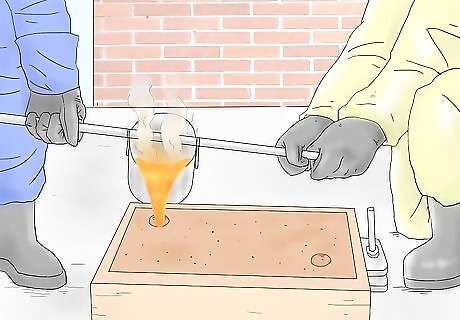
Pour the molten metal into your casting mold. Remove your crucible’s lid and scoop off any unmelted metal dross using a slotted steel spoon. Then, lift the crucible with a metal hook and place it on an iron frying pan. From here, grab the crucible with thick tongs, carry it to your casting mold, and carefully pour it into the mold’s sprue hole. Pour the molten metal into your mold until some comes back out of the sprue hole, indicating that the mold is full. If you have any leftover metal, consider pouring it into a steel muffin pan. Doing so will create small metal ingots that you can melt again at a later date.
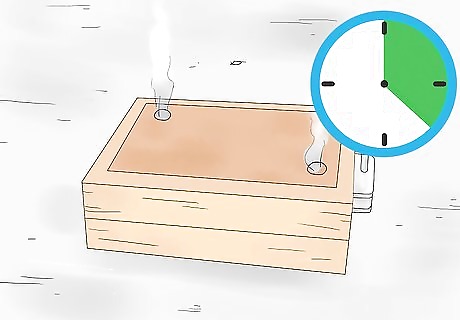
Let your mold cool for at least 20 minutes. After pouring the metal, let your cast cool for between 20 and 30 minutes. If you’re casting a particularly small object, like a metal coin, it may take less time to solidify.
Remove your new object from the mold. Once your metal cools down, shake the mold frame to break up the sand. Then, carefully remove your new object and brush off any excess molding material from it.


Comments
0 comment