
Setting Up an Appointment

Go to https://getsupport.apple.com. If you have AppleCare+, your screen replacement is about $29; you can check if you have AppleCare+ at Apple's site with your iPhone's serial number. If you don't have AppleCare+, you might pay around $279 for a screen repair.

Click iPhone. Since you're fixing an iPhone screen, you want to go to the iPhone section.
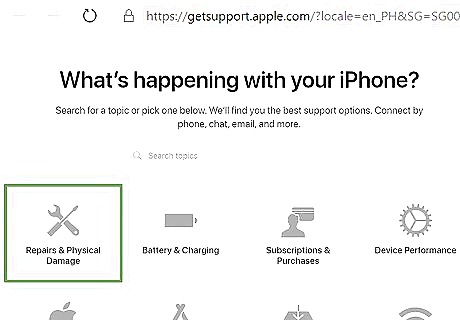
Click Repairs & Physical Damage. This is usually the first option in the menu and has a wrench and screwdriver icon.
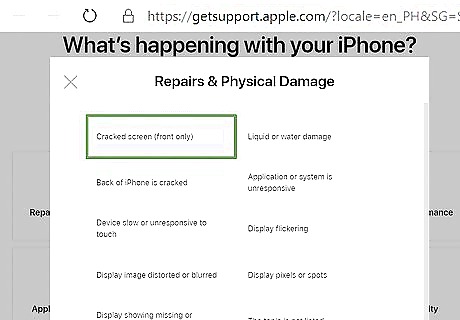
Click Screen is cracked (front only). This is usually the first option in the pop-up window. You can also click Screen and display quality.

Choose an option that best suits you. You can choose to Schedule a Repair, Send in for Repair, Find iPhone Repair Prices. If you can get to an Apple Store or an Apple-Authorized Service Provider, click Bring in for Repair. Sending in your phone may take up to 5 business days, not counting shipping time. If you click Find iPhone Repair Prices, you'll see a page listing the prices you can expect to repair your screen. From that page, you can read "What to expect" and either click Schedule a repair or Start a repair request.
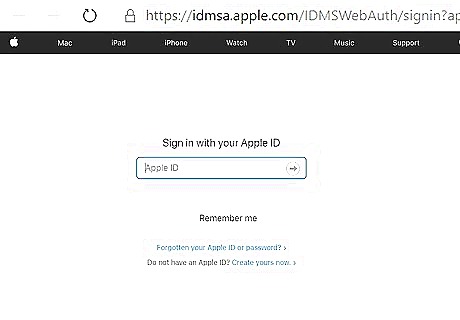
Sign in with your Apple ID if prompted. You'll then be prompted to enter your iPhone's serial number, IMEI, or MEID, which you can find in Settings > General > About.
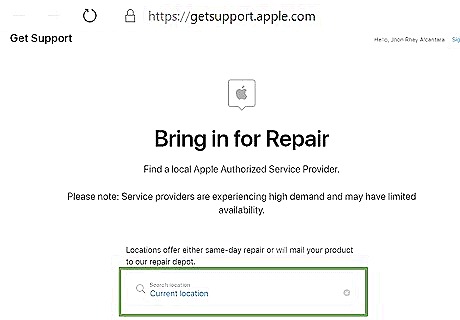
Search your current location that's automatically detected or enter a ZIP code to search (if you're scheduling an appointment only). You'll also want to pick your carrier from the drop-down list. You'll see a map with all the Apple Store or an Apple-Authorized Service Providers near you with appointment times available. You can click around to see different stores.

Click a store and time to schedule your appointment (if you decided to schedule an appointment only). You'll be redirected to a confirmation page when you've made the appointment, and you'll get an email with the confirmation as well.
Changing an iPhone X Screen by Yourself
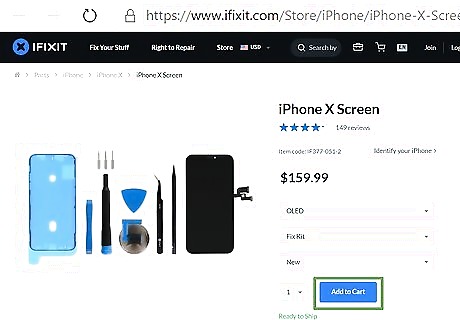
Get the appropriate screen replacement and tools. You can find appropriate iPhone X screen parts at https://www.ifixit.com/Store/iPhone/iPhone-X-Screen/IF377-051?o=2 or you can search the internet for another set. Aside from the replacement screen, you'll need the following tools: Digitizer cable connector foam pads (if you want to restore the waterproof standards of your iPhone) A P2 pentalobe screwdriver A heat gun or heating device that will warm and loosen the current adhesive Opening picks or something small and thin you can use to cut and open around the display Tape if your screen is shattered or broken A suction handle tool or something that will suction to the phone screen and allow you to pull it back Tweezers A 4mm screwdriver If you're not comfortable with this long and intricate procedure, make an appointment at an Apple Store or Apple-Authorized Service Provider.
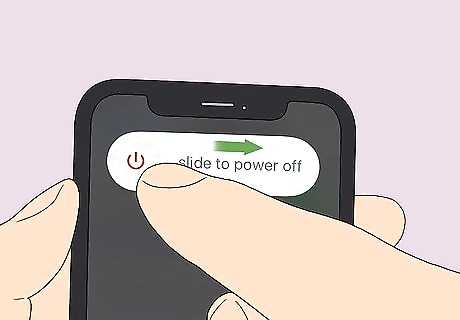
Power off your iPhone. You'll later disconnect the battery, so you won't have to worry about your phone turning back on.
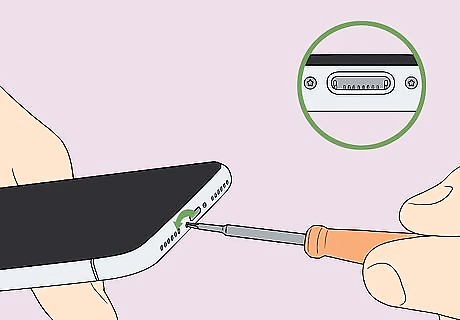
Remove the small screws near the lightning port. These are tiny screws, and you'll find two of them, one on each side of the lightning port on the bottom of your phone. Your battery should be below 25% to avoid damage.
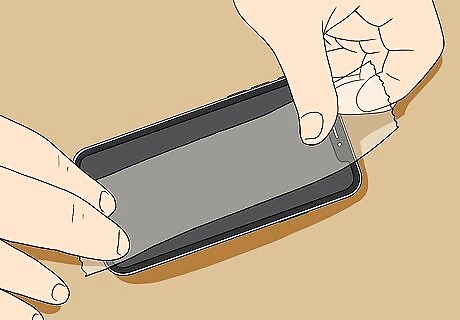
Adhere tape to your screen (if it's broken). To avoid further breakage or bodily harm, put tape over your broken screen to contain glass shards when you're prying and lifting the display. You want to cover your screen with the tape so it comes off in one piece without shattering further. You may need to use the light from the display to see all the cracks.
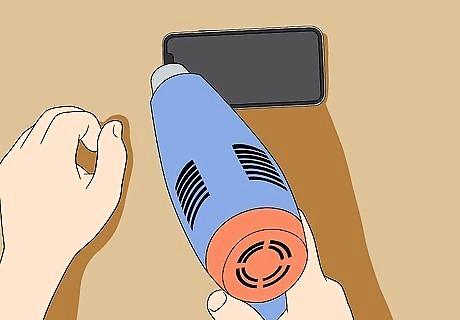
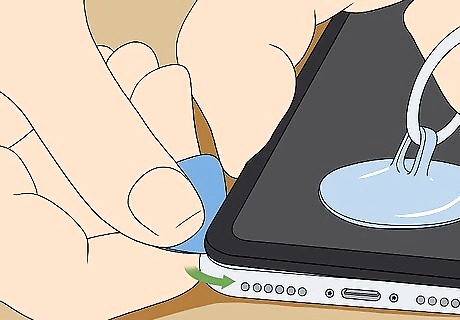
Soften and warm the adhesive on the bottom edge of the iPhone. You can use a heat gun or hair dryer for about 1 minute to carefully warm and loosen the adhesive at the bottom of your iPhone.
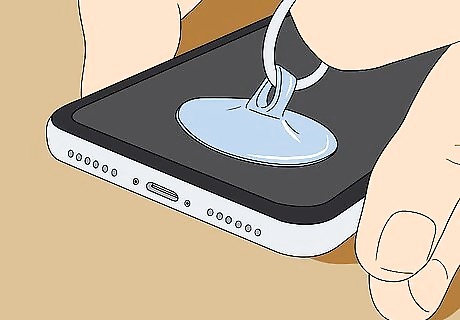
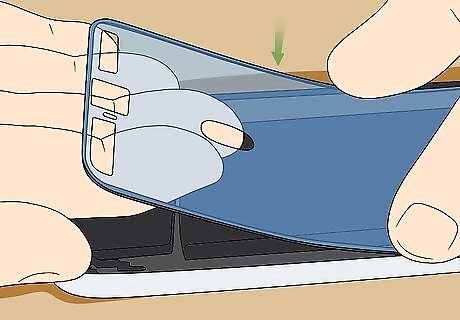
Lift up the bottom edge of the iPhone. Using a suction handle tool, pry open the bottom of the iPhone. You'll need to use a suction tool because the phone is slippery and difficult to open. If you're having an extremely difficult time, try using more heat to loosen the adhesive again.
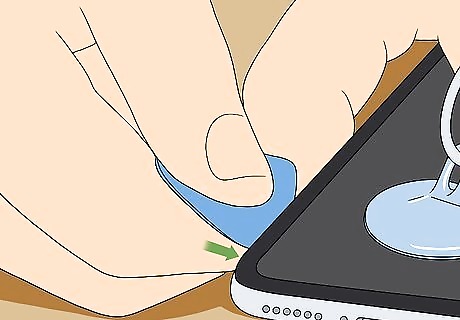
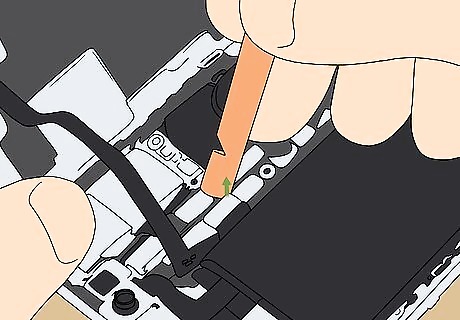
Insert a pick into the gap about a millimeter as you're lifting the display. You'll need a thin tool, like a pick, that can slice through the remaining adhesive.
Slide the pick around the phone's edges. You'll want to slice through any remaining adhesive that's holding the screen to the rest of the phone. Don't insert the thin tool too far or you may cause internal damage. There are cables connecting the phone to the display on the right side, so don't insert your pick too far.
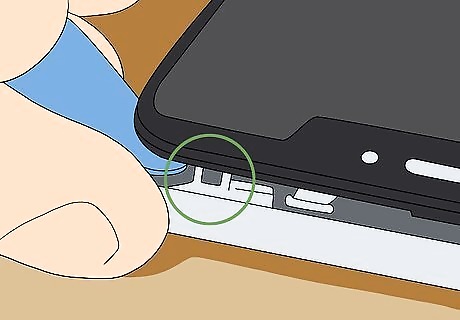
Unsecure the clips holding the screen down. When you have the opening pick at the top of the phone, wiggle and gently pull the screen down toward the lightning port.

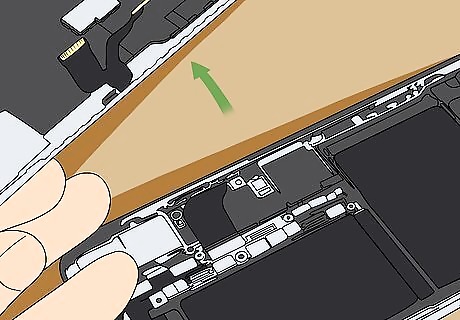
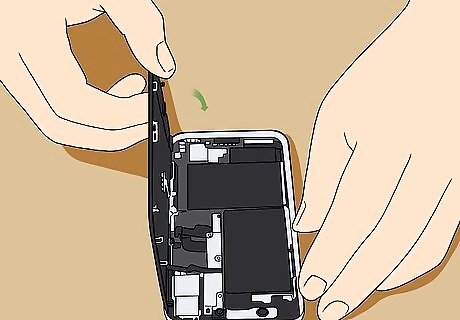
Open the display to the right. You'll want to flip the left edge of the phone up so it looks like a book. Open it gently because there are still fragile cables that attach the display to the logic board on the right side of the phone.
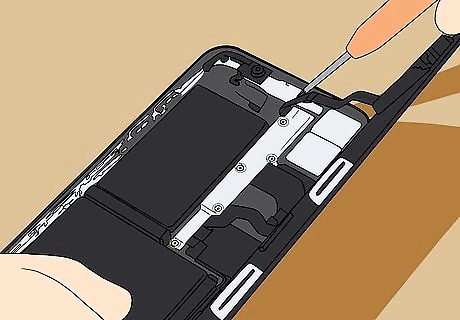
Remove five screws. You'll see five screws immediately that connect to the cable and display. You'll want to use a 4mm-screwdriver set.
Remove the bracket you just unscrewed. It might be held in place with a light adhesive, but you should be able to remove it with tweezers without too much pulling.
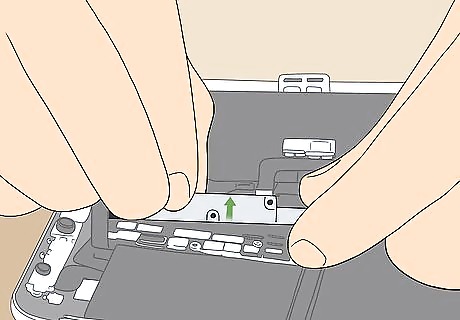
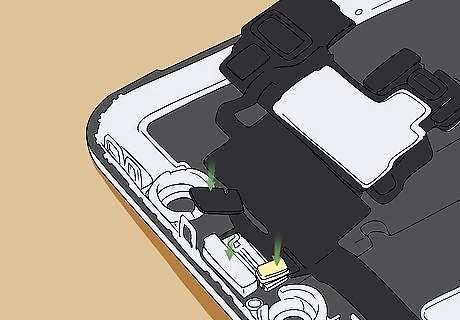
Disconnect the connectors. You first want to disconnect the battery cable. This is the third block up from the bottom. You can do this using your clean fingernail or your thin tool. Continue matching up cables and connectors and disconnecting them. In total, you should remove 4 connectors.
Remove the display from the phone. With all the cables disconnected, you should be able to remove the screen from the rest of the phone.
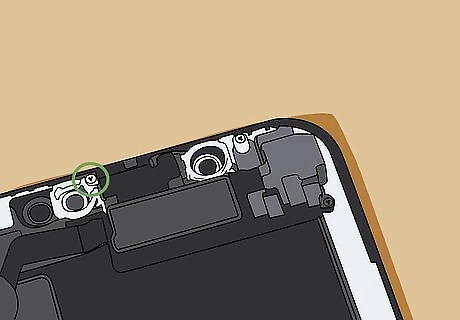
Remove the 1.2mm YOOO screw on the back of the display assembly. You'll see it next to the infrared camera port. There is a small metal piece under the screw that you also need to remove.

Remove two more screws around the speaker/sensor assembly. You'll find these at the top of the display and on the right side.

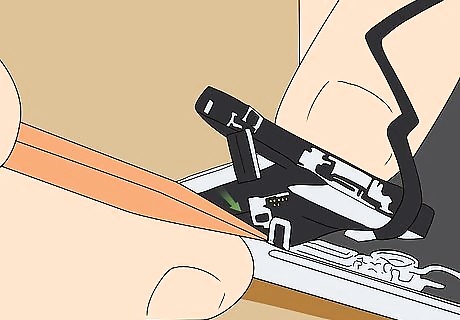
Flip the speaker/sensor assembly down. Using your thin or flat-edged tool, gently pry under the top edge of this assembly and flip it downwards. There is a cable attached here that is very fragile.
Heat the top edge of the display assembly. You'll want to heat the adhesive at the top of the display assembly to loosen the adhesive securing the sensors.
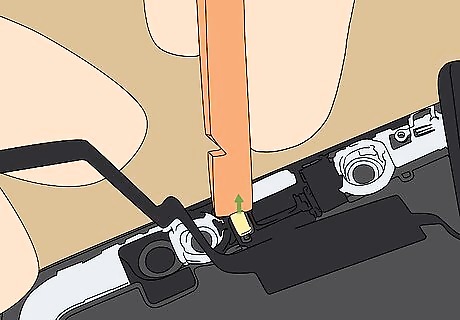
Separate the microphone. Slide your flat-edged tool, like some tweezers, under the flex cable below the microphone and twist to separate it from its notch. Be careful not to damage or break any cables here.
Slide your opening pick under the flex cable and flood illuminator module. You'll need to move your pick left and right to get it under there.
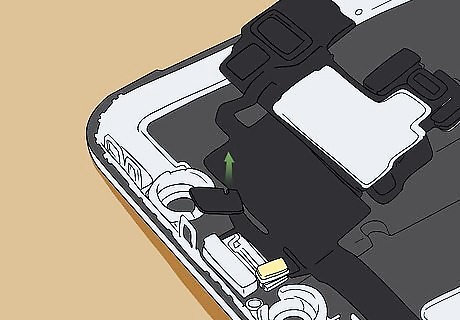
Separate the module from its notch. After sliding your tool left and right, the module should be loose enough to pull out.
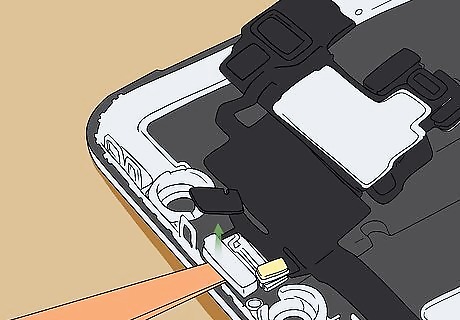
Lift the ambient light sensor out. It is attached to the rest of the sensor display via a thin cable, so you'll remove everything attached to the ambient light sensor as well. If the white diffuser strip detached and stayed in the display, then you need to carefully dig that out. You should now be ready to reassemble everything on the new screen.
Reinsert the ambient light sensor and its assembly. Make sure the proximity sensor and flood illuminator are not obstructed. You may need to press these a little to seat them properly.
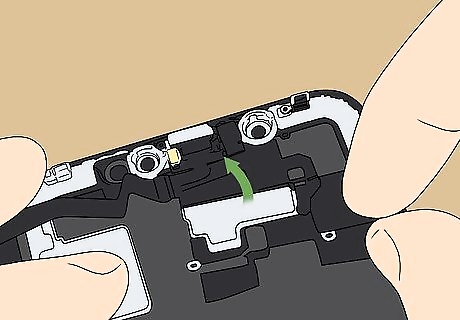
Fold the earpiece back into place. You should be able to flip it up back into place and line it up with holes for screws on the display.
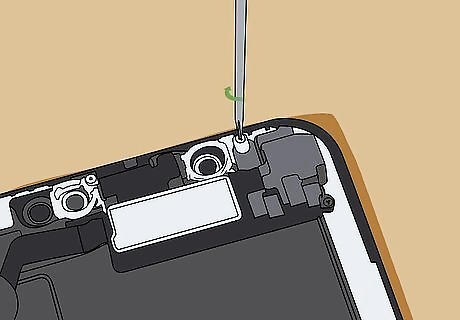
Screw in three Y-Type screws to secure the earpiece. You should see the holes for the screws around the speaker; you need to replace the small metal piece you earlier removed. Make sure the clip is towards the top of the phone as you screw over it. You might need to hold the metal clip with tweezers while you tighten the screw.
Apply the replacement waterproof seal (if you have it). You'll need to remove any remaining adhesive before applying more.

Replace the connectors. Replace the battery connector (3rd from the bottom) last. Gently press the connectors back into place, but don't press too hard or the pins could bend and cause permanent damage.

Reinsert the bracket and screw it in. There are five screws that secure the bracket in place.
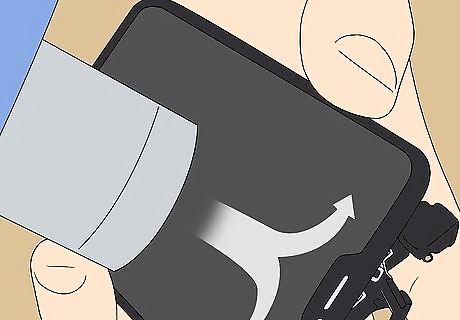
Fold the display down. Carefully and gently replace the display assembly on the rest of the iPhone. You can turn it on and make sure the screen functions before continuing. If everything is working correctly, push firmly to secure the waterproof seal and clips.

Refasten the screws at the lightning port. Fasten the two pentalobe screws to the left and right of the Lightning connector into the enclosure.


Comments
0 comment