
Removing the old grille
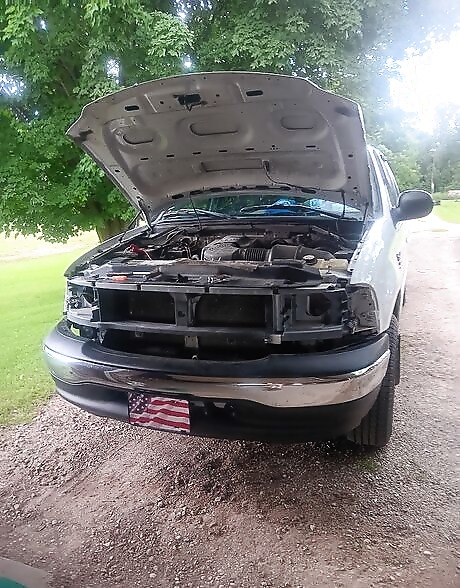
Open the hood. Locate the hood release handle on the bottom left from the driver’s seat. Pull it to release the hood. Open the hood the rest of the way by pushing the hood retention lever underneath in the center, and pulling up. (Note: some vehicles’ hoods need to be propped up with a hood stand, usually located on top of or near the radiator.)
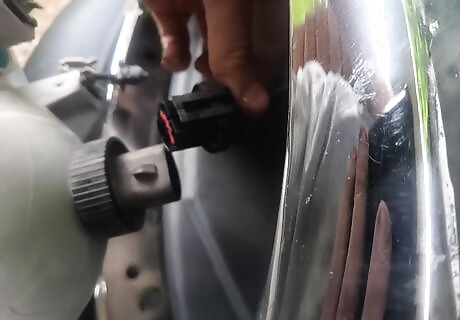
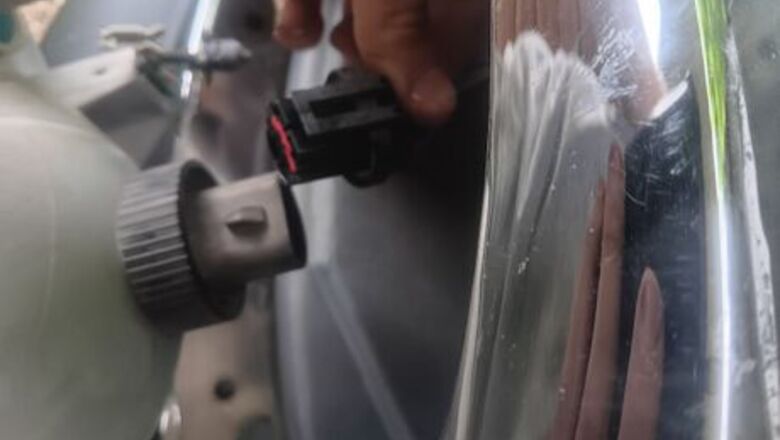
Remove the main headlights. Pull up on the push tabs that hold the headlights in place. On this specific truck, there are 4 push tabs (2 for each headlight) that need to be pulled up. Once these are up, the main headlight assembly can be pulled out. Disconnect the bulb by lifting the tab on top of the connector. The headlight is now fully disconnected and can be set off to the side
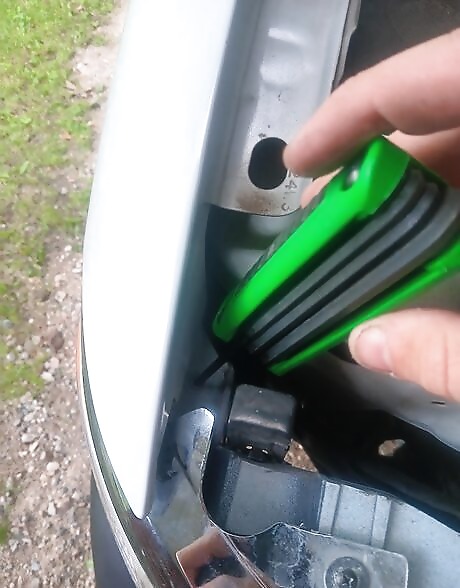
Remove turn signal lights. Remove the T20 torx screw on top of the turn signal light housing. Pull the housing straight out. Disconnect the light by pulling outward on the 2 tabs on the connector. The turn signal housing is now fully disconnected and can be set off to the side.
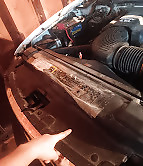
Remove plastic engine bay cover. Unscrew the retaining screws on the plastic cover using the Philips screwdriver. On this particular truck, there are 13 screws that need to be removed. The panel can now be pulled straight up and be set aside.20240616_141300.jpg
Unscrew the grille retention screws. Unscrew the 8 grill retention Philips head screws located behind where the headlights are located, and on top of the grill. These can require a bit of torque, so be mindful not to strip the screws. After these are all out, place them in a magnetic parts holder, so as not to misplace them.
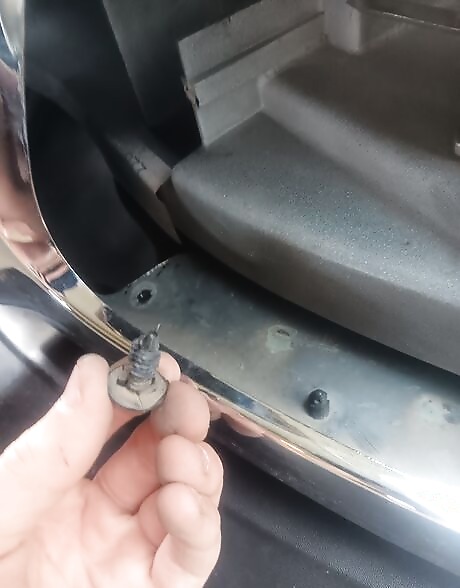
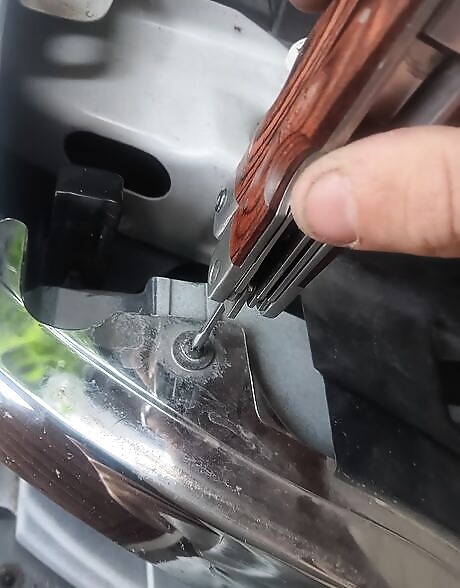
Pull out the panel retaining push pins. Pull out the push pins located underneath the grill. (8 on this truck) Some encouragement may be needed, as these are very hard to remove by hand. Consider using a flathead screwdriver or small prybar to remove these. But be careful, if you slip, it could scratch the vehicle's bumper or worse, put a hole in the radiator.
Remove the grille. Remove the 2 clips that hold the grille in place. These two clips are located directly behind the grille, and in front of the radiator. Using a swift motion, forcefully pull the grille straight outwards, and it should come out. If this doesn’t work, use a flathead screwdriver to pry on the clips until you are able to remove the grill. The grille is now completely removed and ready to install the new one.
Preparing the new grille
Snap together the two grille pieces. The new grill will most likely come in two pieces, the chrome outline, and the plastic insert. Line the two up and push the clips together. This may be a little bit difficult, so a second set of hands might be useful.

Attach manufacturer emblem. If the emblem is stick on, peel off the protective backing on the emblem. Line it up with the emblem boss on the grill, then press and hold for 10 seconds, to assure a proper bond is made. If it is the pinned type, simply align the pins and push until they snap in place.Picture23578.png
Final assembly
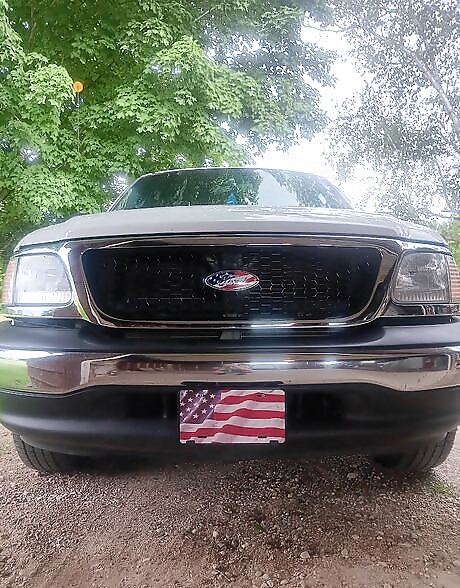
Insert the grille and screw into place. Line up the two grille retention clips and push into place. The holes on the grill should line up with the screw holes on the truck. Screw in the 8 Philips screws, 4 on top of the grill and 4 where the headlights sit.
Reverse disassembly process to complete the job. Assembling the front end of the truck is just as simple as disassembling. Follow the steps given in reverse order. To ensure the job is completed correctly, try pulling on the grill to see if it moves at all. If this is the case, something may have broken or not been installed correctly.


Comments
0 comment