

Roasting Garlic
Purchase a head of fresh garlic at a local grocery store. Garlic heads will be sold at nearly every grocery store. If you’d like fresher, organic, or locally grown garlic, check a health-food store, a natural grocery store, or a local farmer’s market. Fresh garlic is in season from July to early October. A head of garlic comprises 8-10 individual garlic cloves clustered together into a large clump.

Preheat the oven. Before you begin preparing the garlic for roasting, set your oven for 400 °F (204 °C).
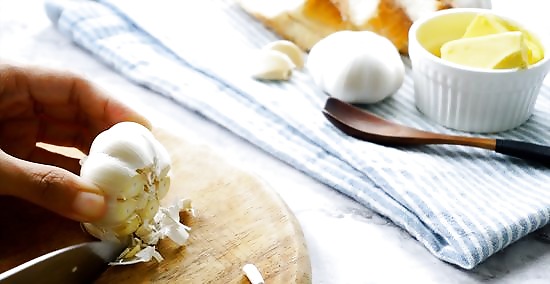
Peel off the outer layer of the garlic shell. Use your fingers to break and peel off the outermost layers of the garlic peel. It’s okay if the thick shell-like layers of the garlic stay in place around the cloves; you just want to remove the loose, papery peel. Leave the head in 1 piece; do not break off individual garlic cloves.
Trim the heads of the garlic cloves. Use a sharp kitchen knife to cut off about ⁄4–⁄2 inch (0.64–1.27 cm) of the tops of the individual cloves. Do this while all of the cloves are still attached together at the base of the garlic head. This will allow the garlic to cook through and allow the olive oil to soak through the roasting garlic. As always, put safety first when using kitchen knives. Always cut away from yourself and never touch the cutting edge of the blade.

Place the garlic cut-side up in a muffin pan. Set your peeled and trimmed garlic head in 1 of the muffin indentations inside of a muffin pan. If you don’t have a muffin pan, you can also place the garlic in a baking pan. The baking pan won’t support the garlic on the sides, though, so it may roll over while cooking.
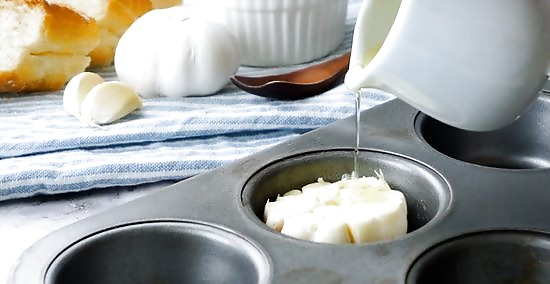
Drizzle 2 teaspoons (9.9 mL) of olive oil over the garlic. Do this slowly, so that the oil soaks in to the garlic and doesn’t pool in the bottom of the muffin pan. After you’ve poured the olive oil over the garlic heads, use your fingers to rub the oil into the cut-open ends of the individual cloves. This will ensure that your roasted garlic is saturated with oil and rich in flavor.
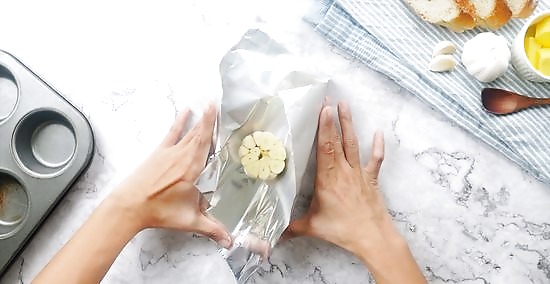
Wrap the garlic heads in foil. Once you’ve rubbed in the olive oil, tear off a small piece of aluminum foil. Wrap this tightly around the garlic head to keep the oil inside while it’s roasting.
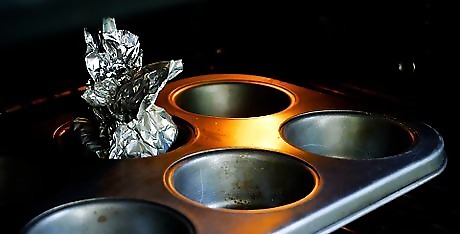
Bake for 35 minutes. Place the muffin tin in the oven. Once the time has passed, check to see if the garlic is fully cooked. Using a hot pad, squeeze the garlic head. If it feels soft when squeezed, it’s fully cooked. If the garlic doesn’t feel soft, bake it for another 5-10 minutes. To confirm that the garlic is fully cooked, stab through the center clove with a kitchen knife. The knife should slide in easily, with hardly any resistance.

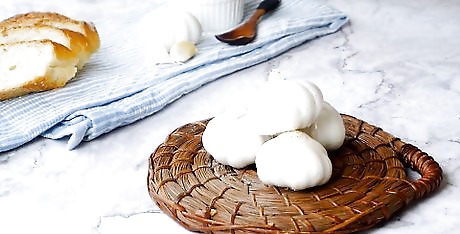
Open and serve the garlic. Once the garlic has cooled for a few minutes, unwrap and discard the foil. Use a small knife or spoon to pull the roasted garlic cloves out of their skins. They should pop out easily. If a few cloves do stick in their skins, use the spoon or knife to gently pry them loose. You can eat the roasted garlic cloves immediately if you’re hungry, or add the roasted cloves to a dish. Roasted garlic can be mashed and spread over a warm baguette, or mixed in with savory pasta dishes. Save leftover roasted garlic in an airtight plastic container. The garlic will keep in your refrigerator for 3-4 days.
Sautéing Chopped Garlic

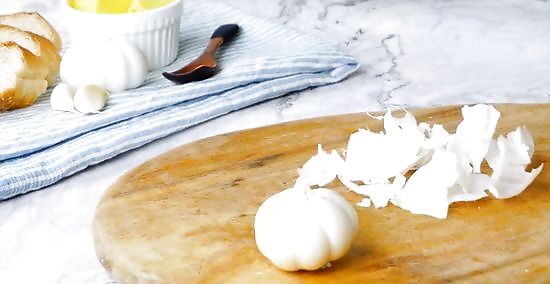
Smash the garlic clove to remove the peel. Take an individual clove of garlic and set it flat on a cutting board. Take a chef’s knife or kitchen knife, and set the blade flat on the clove. Then, take the heel of your hand and bring it down firmly on the side of the knife blade, directly on top of the garlic. This will fracture the peel of the garlic and make it easy for you to remove. Use your fingers to pull the individual cloves off from the garlic head.
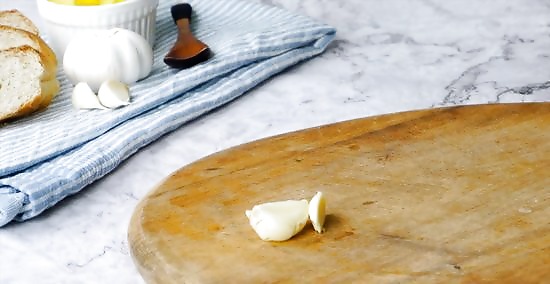
Peel the clove. Use your fingers to pull the broken shell off of the garlic clove. Many cloves of garlic have more than 1 layer of peel. Make sure to remove all of the layers before attempting to slice the clove. If you have a garlic clove with a particularly difficult peel to remove, you may need to use the point of your kitchen knife to slide through the peel. This will make it easier to pull off.
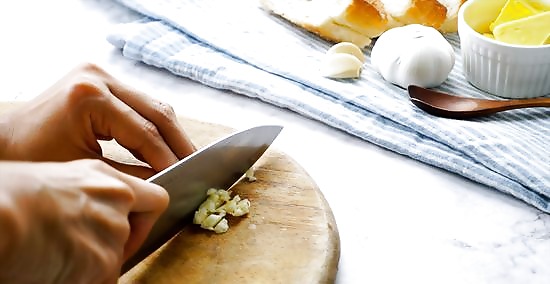
Chop the garlic clove. Use your kitchen knife to make 4 or 5 cuts along the length of the clove. Then use either a chopping motion or a rocking motion (as when using a chef’s knife) to chop the garlic clove into fine chunks. Each piece of garlic should be smaller than ⁄8 inch (0.32 cm) in size. You can chop the garlic as finely as you like, based on how coarse or fine you’d like the bits to be. In technical kitchen terminology, chopping an onion refers to cutting it into relatively large pieces each about ⁄2 inch (1.3 cm) in width and length. A diced onion is cut into pieces about half that size, while a minced onion is cut into very fine pieces, each about ⁄8 inch (0.32 cm) in width and length. Discard the hard base end of the garlic clove. This part is fibrous, thick, and not good to eat.
Add 2–3 tablespoons (30–44 mL) of olive oil to a frying pan. The bottom of the pan should be fully coated by the olive oil, but you don’t want a thick layer of oil to line the pan. You may need to adjust the amount of oil used based on the size of the pan and the amount of garlic you’re sautéing. Use a small skillet (about 8 inches (20 cm)) when sautéing a head of garlic.

Add the garlic and turn on the heat. Use your kitchen knife to scrape the minced garlic from the cutting board into the frying pan. Set the pan on a burner, and turn the heat up to medium-high (about 6 on most ranges). The garlic will start to sizzle and cook within 30 seconds. Adding your chopped garlic to cold—not hot—oil will help the garlic cook properly and not burn.
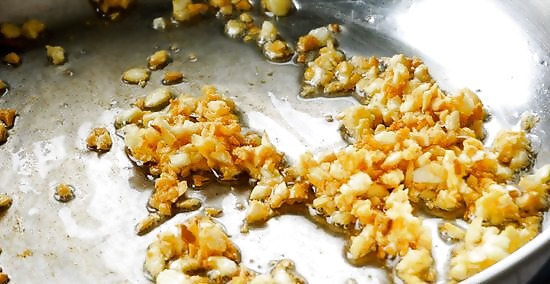
Stir the garlic to keep it from burning. It’s easy to burn garlic when sautéing it. The finely chopped bits can quickly turn from golden-brown to black. Keep a close watch on the garlic while it’s sautéing, and use a wooden spoon or spatula to frequently stir and turn the garlic so all sides will cook evenly. Garlic will sauté fully in less than 5 minutes. A useful trick to keep from burning your sautéed garlic is to prepare every other part of a dish first, and sauté the garlic last. This way, you won’t accidentally leave the garlic on the stove for too long while you’re preoccupied preparing another part of your dinner.

Serve the sautéed garlic. Once the garlic has turned a golden-brown color and begins to smell sweet, take the frying pan off of the heat. Remove the garlic from the hot pan so it doesn’t continue to cook. Sautéed garlic can be added to many pasta dishes, stir fries, soups, casseroles, or sauces. It’s difficult to keep leftover sautéed garlic. While the garlic will keep in the refrigerator for 3-4 days, it will lose its crisp texture and become soggy.
Deep Frying the Garlic
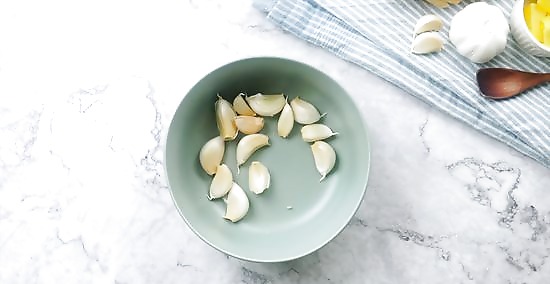
Separate the cloves of 1 or 2 large garlic heads into a large plastic bowl. Use your fingers to pull apart the cloves—still in their skin—from the garlic heads. This should produce about 10-20 individual garlic cloves. Each large garlic head should weigh about 3 ounces (85 g).
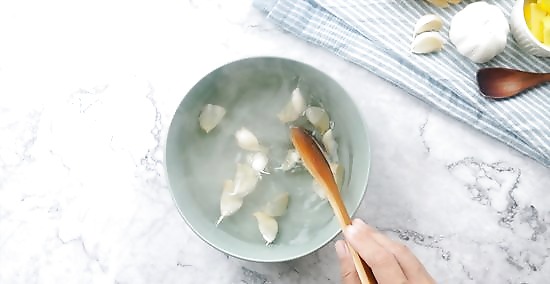
Pour 2 cups (470 mL) of hot water over the cloves and stir them. The hot water doesn’t need to be boiling, so you can use hot water from your kitchen tap. Once the cloves are covered in hot water, stir them in a circular motion with a wooden spoon. Stir constantly for 1 minute. The agitation in hot water will loosen the garlic skins.
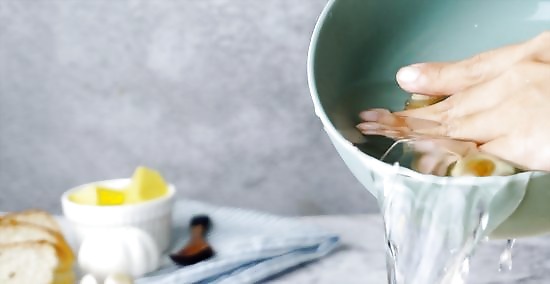
Drain the water and peel the cloves. Use a hand to hold the cloves in the bowl, and pour the water down the drain. Then use your fingers to crack open the loosened skin of each clove. Peel the layers off of each individual clove. You can discard the broken garlic peel segments. Also use a kitchen knife to slice off the stem ends of the garlic cloves.

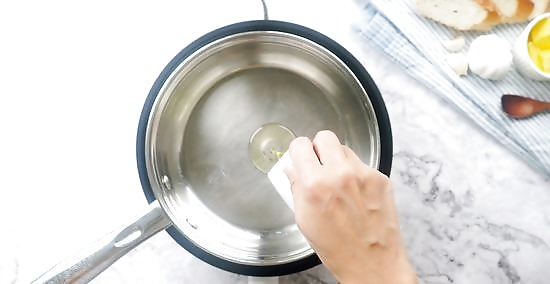
Place the cloves and 1.25 cups (300 mL) of olive oil in a saucepan. The level of oil should completely cover the cloves at the bottom of the pan. If you don’t have olive oil, you can substitute canola or grapeseed oil. A medium-sized saucepan will work best for this step. Use a pan that’s about 6 inches (15 cm) in diameter.
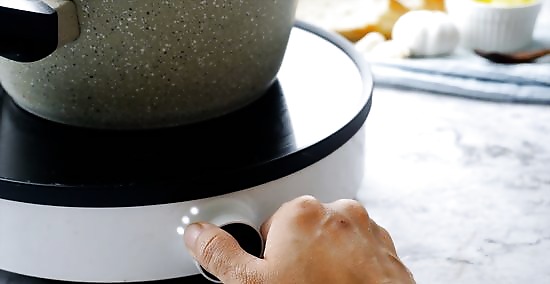
Simmer the oil over medium-low heat. Set the burner to about 4, and keep a close eye on the olive oil as it begins to simmer. The oil should form gentle bubbles, but should not begin to boil. If you have a liquid thermometer, dip it into the simmering oil. The temperature should read between 210–220 °F (99–104 °C). If the oil begins to boil, turn down the heat and remove the pan from the stove for 2 minutes.

Simmer the garlic for 35 minutes. You’ll be able to tell when the garlic has fully cooked, as it will lose its translucence and take on a more opaque, dark tone. The cooked cloves will also soften to the point that you can split 1 open by pressing on it with a spoon. Once the garlic is opaque and fully cooked, remove the pan from the heat and let the oil cool.

Store garlic in an airtight container. If you’re not planning to use the cooked garlic in a meal right away, store it for later in the refrigerator. Seal the garlic in a plastic container, and it should keep in the fridge for about 1 week. If you want to re-use the oil to cook more garlic at a later date, store it in a separate airtight container. The oil will also keep for roughly 1 week in your refrigerator.


Comments
0 comment