views
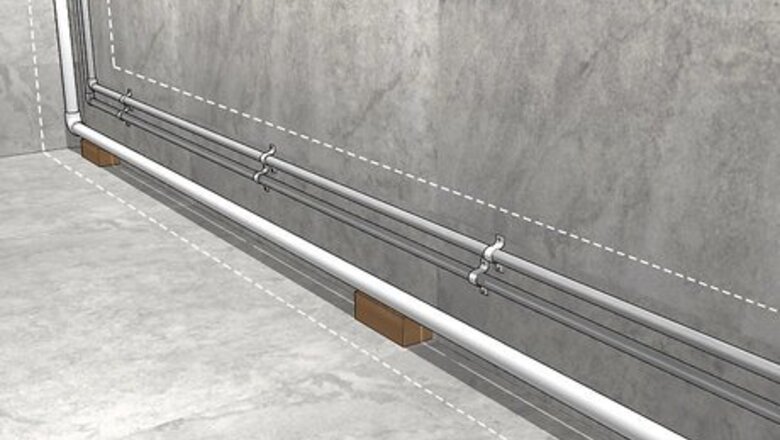
Building a Wood Enclosure for the Pipes
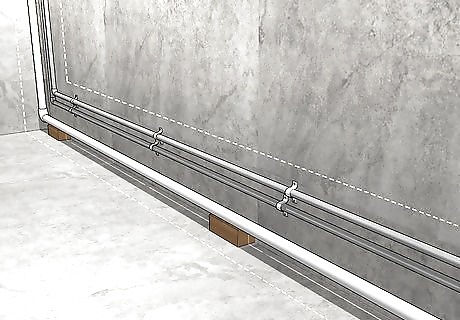
Choose a building plan for the enclosure. A simple way of constructing the enclosure is to secure a length of lumber to either side of the piping, and build the box out of thinner wood pieces by attaching them to the lumber and to each other with butt joints.
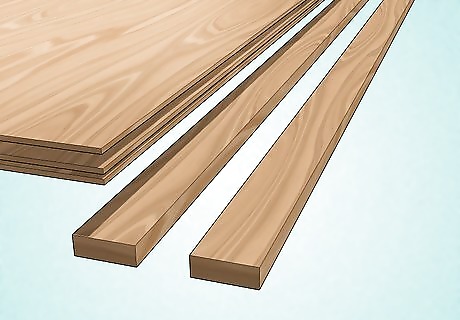
Choose the wood you want to use for the enclosure. The type of wood that’s best for your pipe enclosure depends on several things. If you’re concerned about the appearance of the enclosure, pick wood that’s attractive as is, and/or will look good when finished. Otherwise, pick the least expensive wood that will do the job. Keep in mind that some woods are easier to work with (cut, fasten, finish) than others. If your basement tends to be damp, choose a wood that does well in higher humidity.
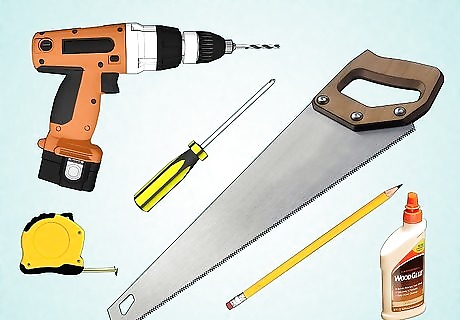
Gather the tools you need to build your enclosure. You’ll need basic carpentry tools such as a power drill, saw, fasteners, screwdrivers, measuring tape, wood glue, and a pencil. Having them neatly arranged in a tool box can make it easier to lay hands on the tool you need. Try to have more tools than just the basic ones, in case the project takes an unexpected turn. Use the tool best suited for each part of the project. For example, a flat head screwdriver might turn a Phillips head screw, but it could damage the screw in the process.
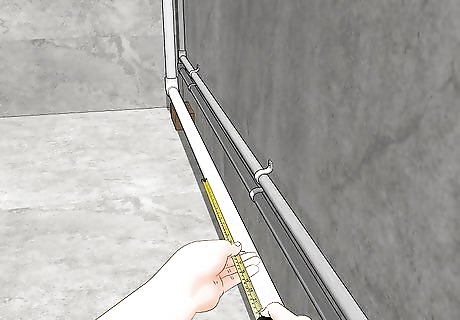
Measure the space around the pipes. Your enclosure will not only need to fit around the pipe with enough clearance, but also fit within the surrounding area. If there are obstructions such as posts or corners, it could be a tight squeeze. A tape measure has a moveable hook at the end. This is so your measurement will be accurate whether the hook is pulled out or pushed in. For precise measurements with a ruler, start at the "2" unit mark and then subtract one unit, rather than starting the measurement at the extreme end of the ruler.
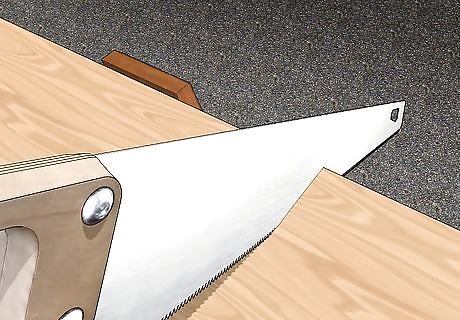
Measure and cut the wood according to your building plan. The old saying “measure twice and cut once” applies here. Mark the cut lines with pencil, and double check before committing. Using a miter box can help you cut in a straight line at the correct angle. Cut as accurately as you can, but remember that it's better to cut off too little wood than too much. You can cut it shorter, but not longer! As a shortcut, if a precise number length is not needed for a piece, but other pieces need to match it in length, you can use the first piece as your "ruler" to measure the matching ones.
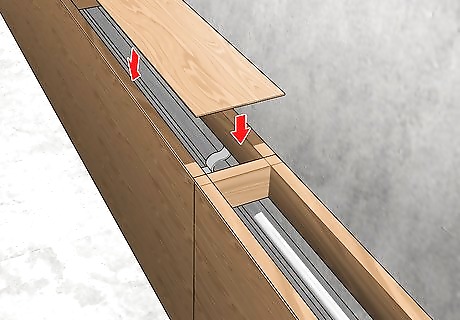
Attach the wood parts to the wall, floor, and/or ceiling. Test fit the parts before committing, first at your work area away from the pipes, then at what will be their final positions. Make any adjustments necessary to get a good fit. Examine the attachment points to make sure they are sturdy enough to hold the wood, and that no utilities or other obstructions are beneath them. A stud finder is a huge time saver when looking for attachment points on a framed wall. Walls made from hard, dense material such as concrete and brick require specialized drill bits and fasteners.
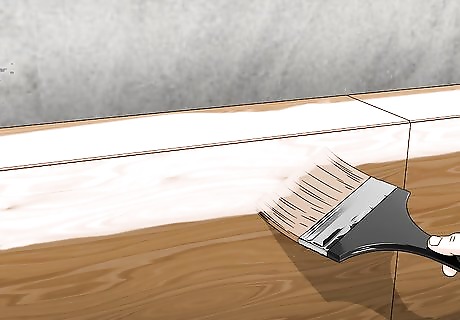
Finish the enclosure by sanding, painting, or staining. Unless you’re going for a utilitarian look, you’ll probably want to pretty up your pipe cover. Choose a finishing scheme that matches the look of the surroundings. Always start sanding with coarse-grit sandpaper, and progress to finer grits for a polished feel. If you plan to paint or stain the enclosure, ventilate your basement as well as you can. You may have to shut down your heating system to avoid a possible explosion from built-up paint fumes.
Covering the Surface of the Pipe
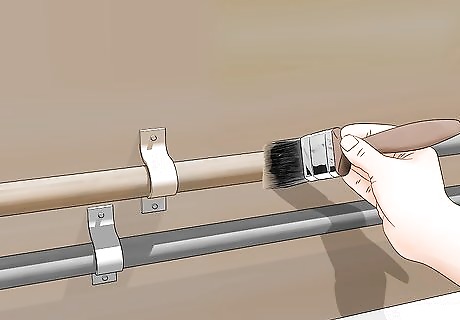
Paint the pipe. Because basements tend to be damp, your best bet is a water-resistant paint. You can try to color-match nearby elements like walls or ceilings to make the pipe less noticeable. On the other hand, you can choose a color that contrasts with its surroundings to make a statement. Ventilate your basement as well as you can. You may have to shut down your heating system to avoid a possible explosion from built-up paint fumes. Use a drop cloth and painter's tape to catch any spillage or over-painting. Avoid painting over valves, spigots, or other moving parts. Painting these could cause them to jam.
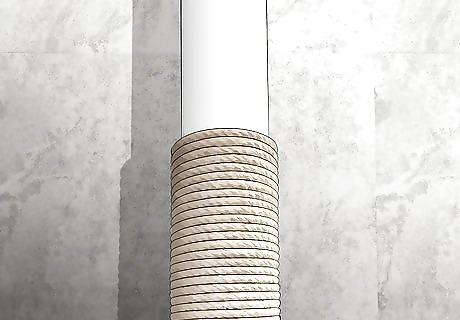
Wrap the pipe with rope, fabric, or yarn. The possibilities here are endless, since in addition to colors you can play with patterns, textures, and thicknesses.
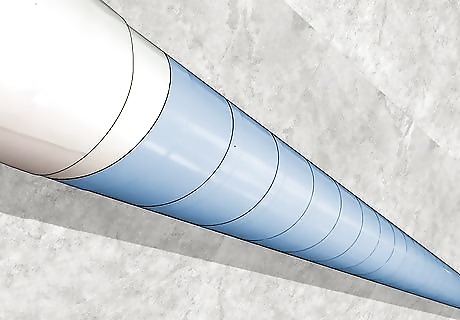
Wrap the pipe with decorative tape. Just like with paint, the tape you choose should be able to resist moisture, in case your basement becomes too humid. Many brands of utility tape come in a variety of fun colors. You can try mixing two or more colors of tape together for a maypole effect. Avoid taping over valves, spigots, or other moving parts. The tape could cause them to jam.
Hiding the Pipes
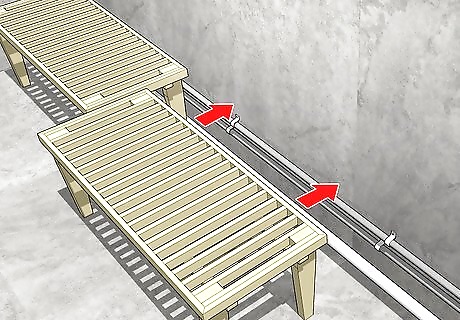
Hide the pipes with furniture. This works well if you have a finished basement, or are working on one. You’ll have to balance the flow of the room with your desire to conceal the piping, but in many cases the answer is already sitting in your basement ready to go! If the pipes are horizontal and low to the ground, something like a sideboard, or better yet, a couch, can block a good amount of space near the floor. If the pipes are vertical, consider using an entertainment center, a breakfront, a bookcase, or a wardrobe. Make sure you leave enough clearance between the furniture and the pipes to avoid accidental damage.
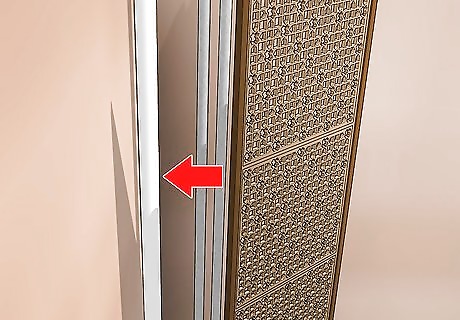
Hide the pipes with a decorative screen. Screens come in many different sizes, configurations, and themes. While not as sturdy as a wall or a partition, they have the advantage of portability in case you want to change things up. A folding screen allows you to change up the width of the area the screen blocks, although there will be some space lost in the room itself if the screen is folded smaller. You can hide a run of pipes inside the angle of a folding screen.
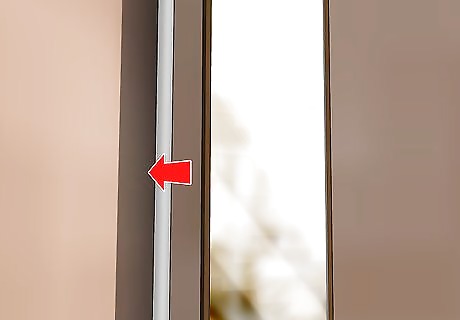
Hide the pipes with a mirror. Mirrors don’t just bounce light and make spaces seem bigger. While they’re performing their main function, they can also be blocking your view of pipes. A wall mirror works best at blocking pipes that are recessed, with available structural elements around them the mirror can attach to. A freestanding mirror is a good choice for blocking vertical pipes, since they are taller than they are wide. This kind of mirror can also be moved easily.
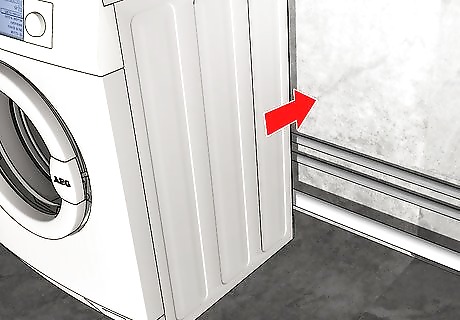
Hide the pipes with an appliance. What finished basement is complete without a TV? What about a fridge? Even if your basement is a little more modest, devices like washers and dryers can cover a lot of wall space. Some appliances, such as refrigerators, require extra clearance behind them because of the heat they generate. Washers and dryers usually only conceal the pipes they require to function, but a stacked washer/dryer model can take up a lot more vertical space if other pipes need covering.



Comments
0 comment