views
Personalizing Your Skates
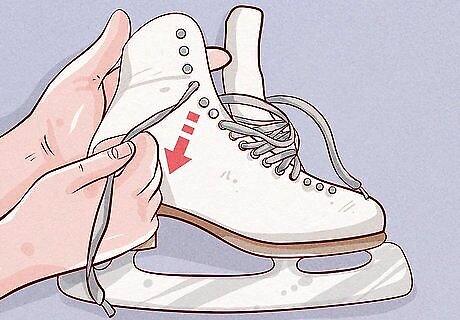
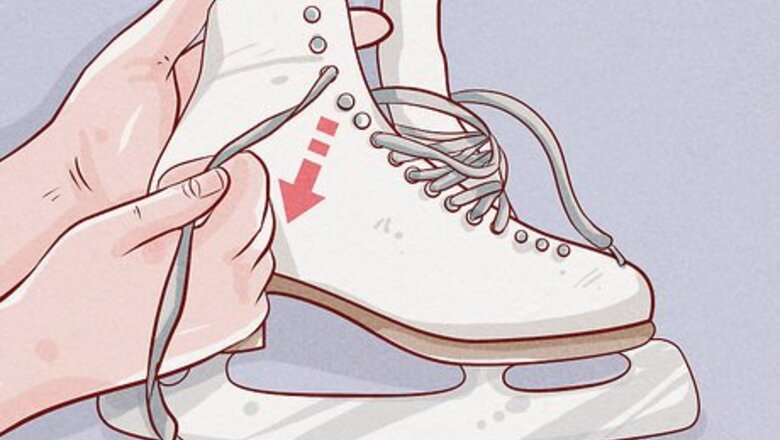
Take out the laces so you don’t get paint on them. Using your fingers, remove your laces from the eyelets. Place them somewhere safe so you can restring your laces after you paint them. You can put your laces on a nearby table, for example. Alternatively, you can replace the laces with personalized laces, like colored or patterned laces.
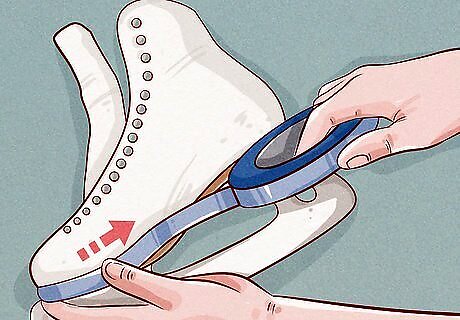
Cover the wooden bottom and heel with blue painter’s tape to protect it. Rip pieces of painter’s tape about 2–6 in (5.1–15.2 cm) long, and apply them to the wooden sections of your shoe. Continue applying tape until you cover the bottom and heel. If you’d like, you can also wrap the eyelets. You can also wrap the blade with tape to avoid any paint drips or splatters.
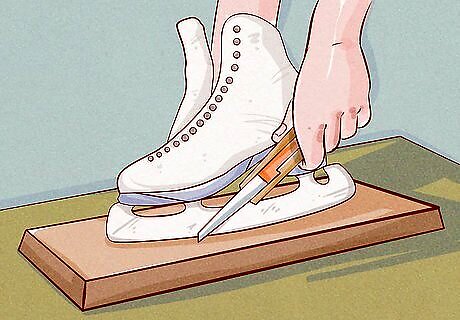
Cut a hole in the top of a shoebox to the size of your skate blade. Find a couple of shoe boxes with lids. Using a pair of scissors or a box cutter, cut a slit in the top of the box large enough to fit the blade of your skate. Do this for 1 box per skate. Then, place the lid on top of the rest of the box, and put your blade inside the slit. Placing the blade of your skate in a box makes an instant stand for your skates, helpful when painting them. If it’s helpful, measure the size of your blade with a ruler, and draw a line in the middle of the lid.
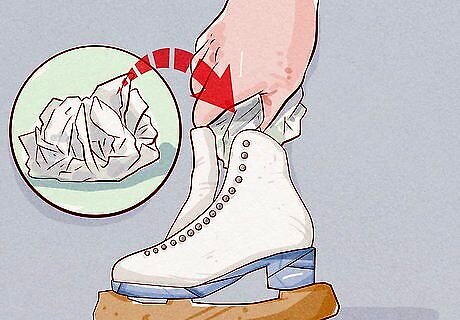
Stuff the boot with newspaper so it keeps its shape. Crumple up a piece of newspaper with both hands, and place it inside your boot. Push the newspaper to the toe of the boot, and continue stuffing more pieces until you reach the top. You can also use tissue paper or paper towels.
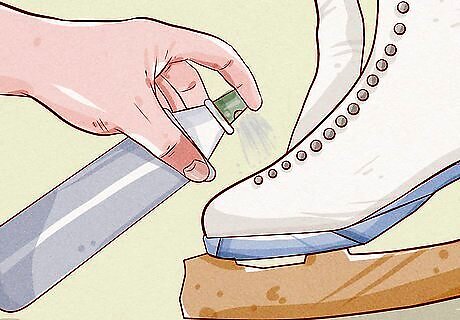
Use spray paint if you want to easily paint your skates. Spray all of your boots with a light, even coat of all-purpose spray paint. Apply the paint in several light coats to avoid any paint dripping, and let your boots dry completely in between coats. It takes about 30-45 minutes for each coat to dry. Apply your spray paint in a well-ventilated room. You can do this in your garage or outside, for example.
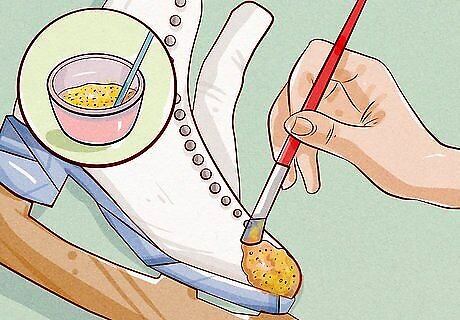
Mix Mod Podge and glitter if you want a shimmery set of skates. If you want to add some glitter to your competition skates, pour about ⁄2 c (120 mL) of Mod Podge into a small bowl. Then, pour in as much glitter as you’d like! Mix it up with a paintbrush, then paint your mix onto your skates. Let your first coat dry completely (about 30 minutes), then apply an additional coat if you’d like. Use a paintbrush about ⁄4–⁄2 in (0.64–1.27 cm) wide to easily apply your glitter. You can do this in addition to or instead of using spray paint. Use more for a highly concentrated look, or use less for a subtle, shimmery effect.
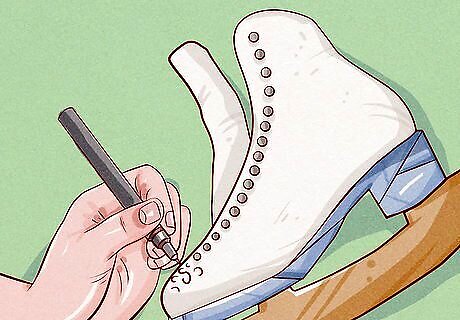
Use a paint marker if you want to add fine details to your skates. Purchase an oil-based paint marker from an art or craft store. Paint markers add precise lines and small details. When adding your details, make sure they complement your skate's new color. To use, press down on the tip to release the paint, and draw like you would with a pen. You can use multiple pens in several colors, if you’d like. For example, if you paint your skates light blue, you can add small white snowflakes or yellow stars to the toe and sides of your skates.
Creating Decorative Ice Skates
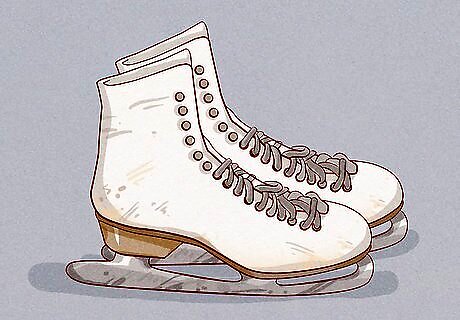
Get a pair of used skates from a thrift store or second-hand shop. Go shopping and keep an eye out for used ice skates. Select any size or color you’d like. It is helpful to wipe down your skates with an all-purpose cleaning product before you begin. If you have a pair of old personal skates, consider repurposing them and using them in your decoration.
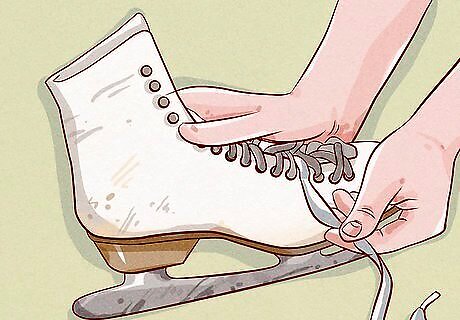
Remove the laces using your fingers. To protect your laces from paint or glue, take them out before you work on your skates. You can place them in a safe location so you can restring the boots when you are finished. Alternatively, throw out your laces and get a fresh pair. This may brighten up your skates and be a great finishing touch.
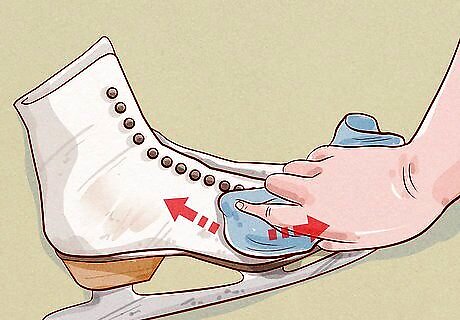
Paint your skates with rub-on silver/gold leaf paint for a metallic effect. If you want to add a shiny background to your skates, purchase rub-on silver or gold leaf from a craft or art store. Get a clean microfiber cloth, and dip the corner into the paint. Then, gently rub the cloth onto your skates in a small, circular motion. Continue rubbing on the paint until you cover all surfaces of your boot. Be sure to paint around the eyelets and the tongue! One coat should cover your skates completely. If you have opaque areas, you can apply another coat after the paint dries. Rub-on leaf paint dries in 5-10 minutes.
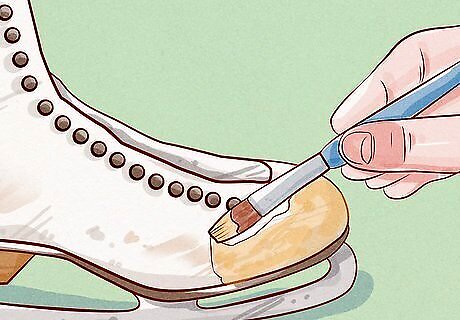
Use acrylic paint and a brush if you prefer a solid-colored boot. Purchase paint in a solid color, such as white, cream, or light blue. Then, squeeze a quarter-size amount of paint into a small bowl, and dip a paintbrush ⁄8–⁄4 in (0.32–0.64 cm) wide into the paint. Apply the paint to the entire boot, starting at the tip and working your way around the boot. Let your skate dry, then apply another coat if your paint still looks transparent. Squeeze out more paint into your bowl if you run out. Acrylic paint dries in 15-45 minutes.
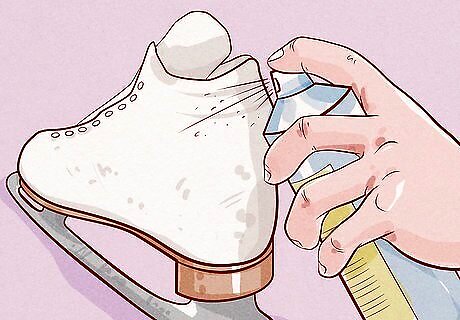
Apply spray paint to your skates if you want to easily cover the boots. Purchase an all-purpose spray paint from a home supply or craft store. Use painter's tape to cover up any areas you don't want painted. Then, spray light, even coats of spray paint to the entirety of your boot. Let your coats dry for 30-60 minutes, and then apply another coat if you'd like. You can also use glitter spray paint to easily get a shiny effect.
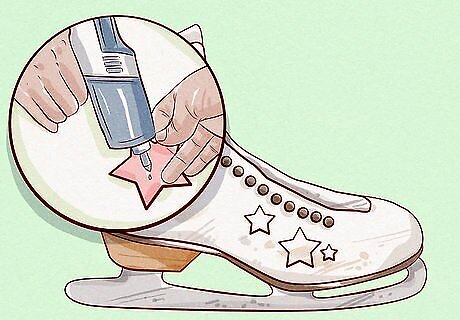
Fill your skates with embellishments to customize your decoration. Gather embellishments like flowers, plastic stars, and icicle and snowflake decorations for a wintery look. Plug in your hot glue gun and let it heat up. Then, apply a small dab of glue to the back of your embellishments. Immediately stick them to the boot, and hold it there for 15-20 seconds so it adheres. Continue embellishing your skates until you are satisfied with the look. You can add a few decorations or several! Let some embellishments dangle off the sides of your skates.

Add decorations to the top and outside of your boot. Choose embellishments like flowers, ribbons, bows, or faux fur, and attach them to your boots using hot glue and glue sticks. Apply a few dabs of glue, and hold the items to your skates for 15-30 seconds. This adds finishing touches to your decoration.
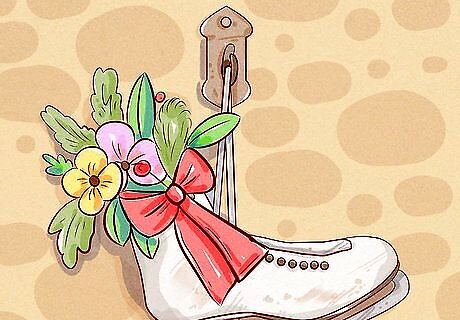
Hang your skates from your wall for a seasonal, unique decoration. Tie the ends of your laces together twice to make a double knot. Using a hammer, secure a nail to the wall, and then drape the laces over top of the nail. Position your skates so the top skate is 2–3 in (5.1–7.6 cm) higher than the skate in the back. Alternatively, cut a piece of string 2–3 ft (0.61–0.91 m) long to use in place of your laces. You can weave the string from the top most eyelet of both boots and tie them together at the ends. This is a good idea if you want to incorporate your shoelaces into your creation. In addition, you can hang this from your christmas tree instead of your wall.
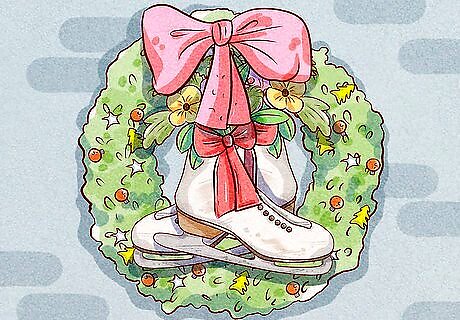
Attach your skates to a wreath if you want to enhance your creation. Place a wreath of any size on a flat surface, and place your boot on top of it towards the side. Wrap your boot around the wreath using floral wire. If you want to use a second boot, lay it half way on top of the first boot, and secure it using floral wire. You can trim your floral wire using wire cutters. You can wrap the pieces through the eyelets on the opposing side or on the base of the blade, for example. Hang your wreath from a heavy-duty wreath hook. You can purchase these at most home supply stores. While you don’t have to attach your skates to a wreath, it can make a creative, lovely front door display.




Comments
0 comment