
Setting Files to Always Permanently Delete by Default

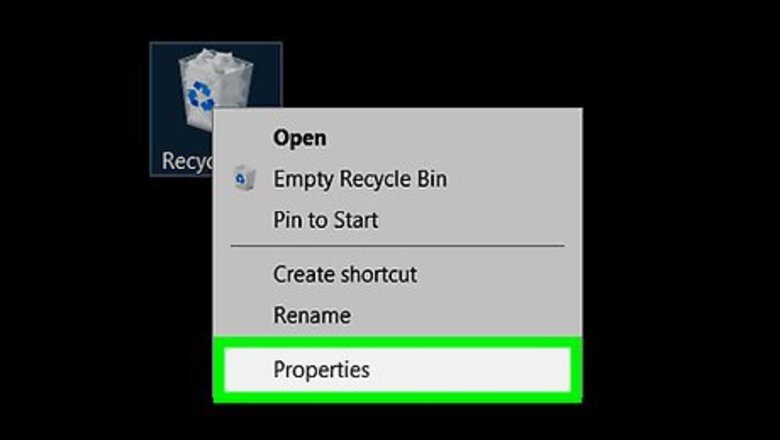
Open the Recycle Bin Properties. Right-click on the Recycle Bin icon on the desktop and click Properties. You can also Open File Explorer, click the ⯈ arrow to the leftmost part of the address bar, select Recycle Bin from the dropdown, and select "Recycle Bin properties" under the Manage tab which Recycle Bin should've opened to by default.

Choose the "Don't move files to the Recycle Bin. Remove files immediately when deleted." It's underneath the "Settings for selected location" section. In Windows XP, this will appear as a checkbox instead of a radio button and will be close to the top of the Recycle Bin Properties window.

Save your changes. Click the OK button.

Finished. Deleting a file will permanently remove it from your computer instead of sending it to the Recycle Bin. To reverse your changes, re-open the Recycle Bin Properties and switch to the "Custom size" option. In Windows XP, uncheck the box that you previously checked.
Using the Keyboard Shortcut When Deleting Files

Select one or more files to delete. You may do this in File Explorer or on the desktop.

Hold down the ⇧ Shift keyboard key.

Delete the file. Either press the Del keyboard key or right-click over one of the selected files and choose Delete.

Confirm the file deletion, if prompted. Click the Yes button if a message appears asking you to confirm whether you want to delete the selected file(s).


Comments
0 comment