views
Doing a Standard Braid
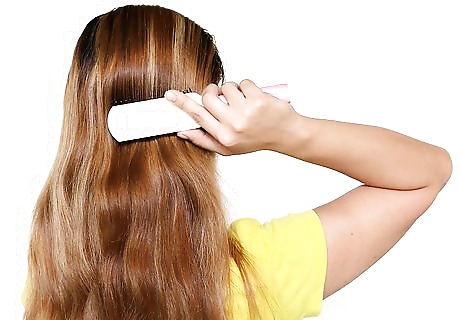
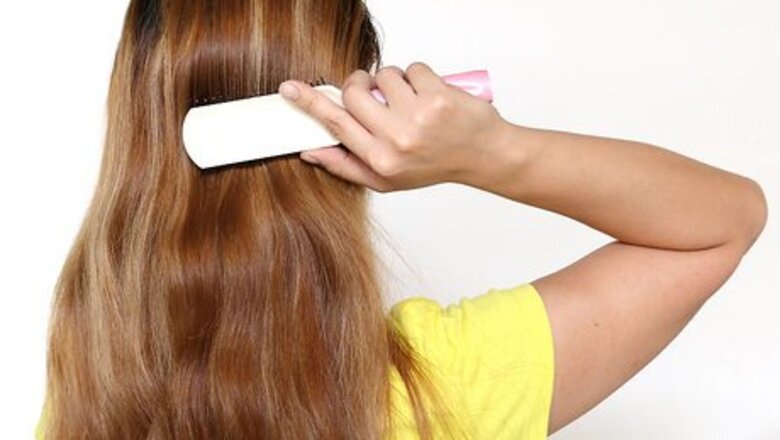
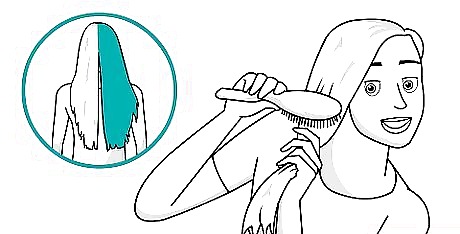
Start with brushed, tangle-free hair. Comb out your hair, starting from the ends and working your way up to the roots. If your hair is very frizzy, consider applying a bit of hair oil or smoothing cream.
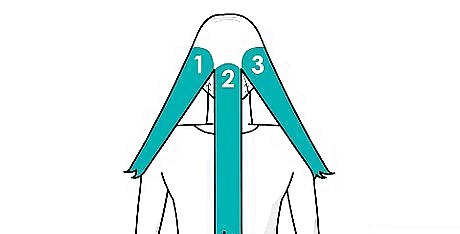
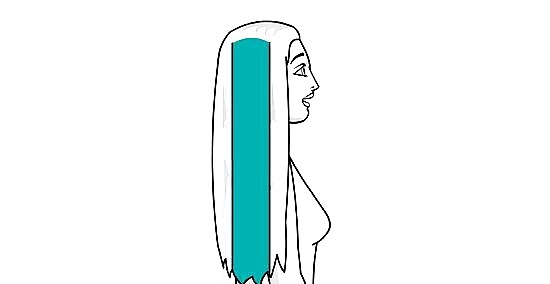
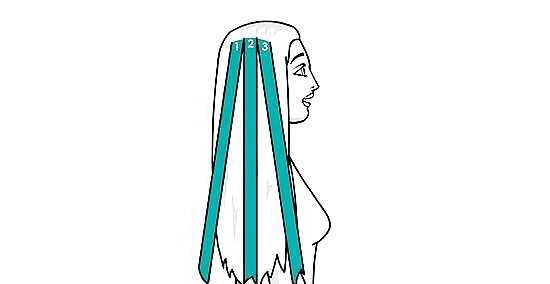
Divide your hair into three even sections at the nape of your neck. You will have a right section, a middle section, and a left section. Hold the left section in your left hand and the right section in your right hand. If you want two braids, one on each side of your head, then part your hair down the middle. Choose one side to start braiding first. Part the hair on that side into three sections. Try to position the braid just behind your ear for a sleek, chic look.
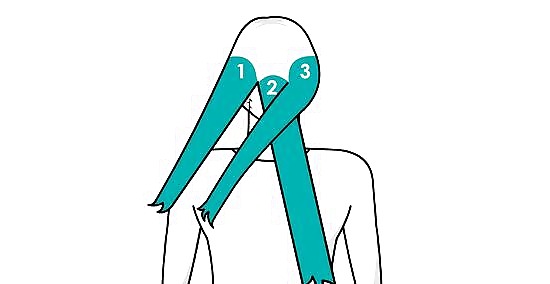
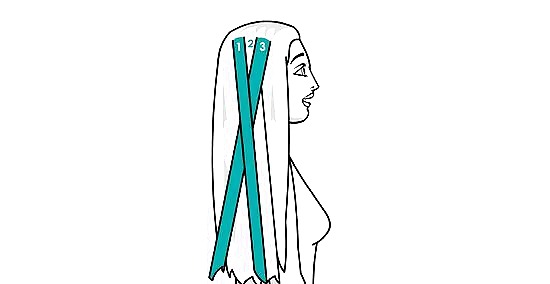
Cross the right section over the middle section. The right section is now in the middle. What used to be the middle section is now on the right.
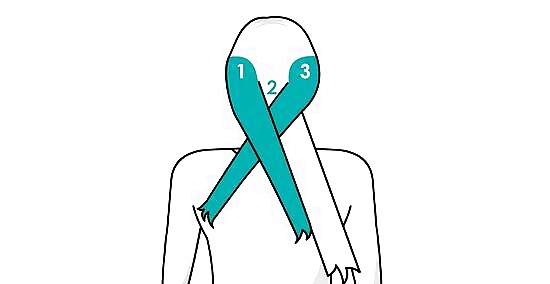
Cross the left section over the new middle section. The left section is now the middle section. What used to be the middle section is now on the left.
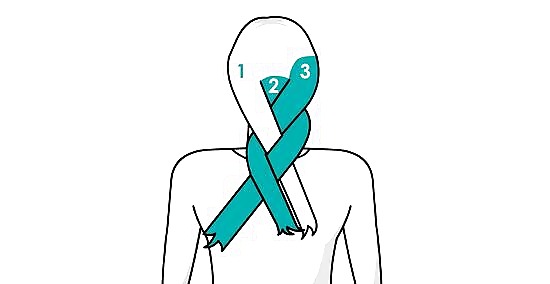
Continue the braid, alternating right and left sides. Always bring the outer section over to the middle. Alternate the right and left sides until you have a few inches of hair left. Pull the sections tight to keep the braid secure. If the braid is too loose, it will fall out. You can always loosen the braid once you tie it off by massaging it between your palms. Try to smooth your hair down with your fingers as you are braiding. This will keep the braid neat.
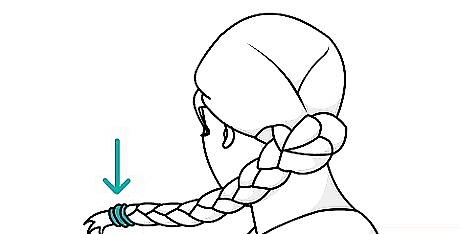
Tie your braid off with a hair tie. You can make your braid as long or as short as you want. Most people leave the last 1 to 2 inches (2.54 to 5.08 centimeters) of their hair unbraided; you can leave more if that's what you like. Hold the end of your braid secure with one hand, and use the other hand to wrap a hair tie around the end of your braid. Make sure that the hair tie is snug; if it is too loose, you may need to wrap it a few more times. Try to use a hair tie that matches your hair color: black, brown, or beige/blond. If you have dark red hair, go for a brown hair tie. If you have lighter red hair, use a beige hair tie. If you are doing two braids, then repeat the whole process on the other side of your head.
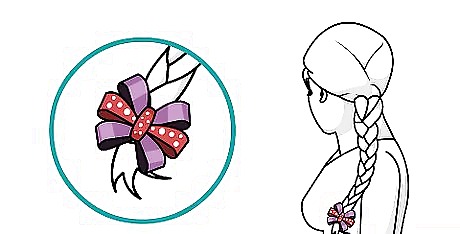
Consider adding a ribbon or pretty hairclip to the end of your braid. You can tie a thick ribbon around the end of your braid into a bow. You can also tuck in a silk flower, or add a pretty hairclip. This is a great way to dress up an otherwise ordinary braid. Here are some ideas to get you started: If it is summer, consider tucking a silk hibiscus or orchid into your braid for a tropical look. In the fall, consider using a clip made from bronze, leather, or wood. If it is winter, consider using a delicate silver clip with clear rhinestones. You can also go festive with a red and green ribbon for Christmas, or a blue and white ribbon for Hanukkah. If it is spring, stick with ribbons, delicate flowers, pastel colors, or bright colors. EXPERT TIP Ndeye Anta Niang Ndeye Anta Niang Professional Hair Stylist & Master Braider Ndeye Anta Niang is a Hair Stylist, Master Braider, and Founder of AntaBraids, a traveling braiding service based in New York City. Ndeye has over 20 years of experience in African hair including braiding box braids, Senegalese twists, crochet braids, faux dread locs, goddess locs, kinky twists, and lakhass braids. Ndeye was the first female of her tribe in Africa to move to America and is now sharing her knowledge of African braids passed on from generation to generation. Ndeye Anta Niang Ndeye Anta Niang Professional Hair Stylist & Master Braider Our Expert Agrees: Try braiding strips of colorful African or floral prints, then add them to your braids. You can also add embellishments like feathers, leather, metallic accessories, or even small objects that you love.
Doing a French Braid
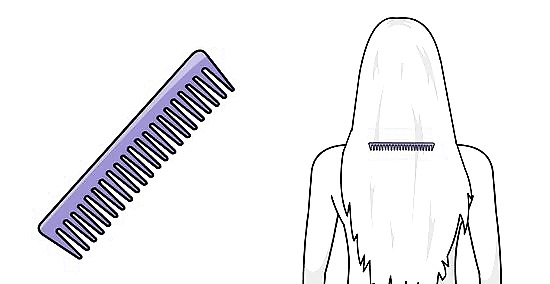
Start with brushed, tangle-free hair. Comb out your hair so that it is smooth and frizz free. Begin from the ends and work your way up to the roots. If your hair is frizzy, try applying a bit of hair oil or smoothing cream.
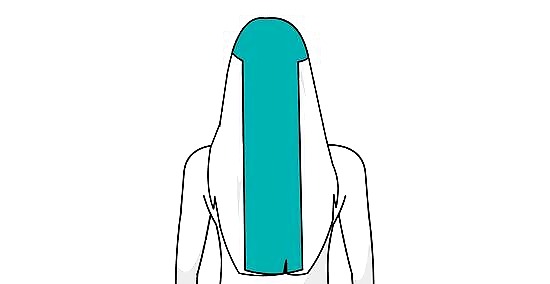
Gather some hair at the back of your head into a half-up, half-down ponytail. Start gathering your hair at just above eyebrow level or so. You will start braiding this hair chunk first.
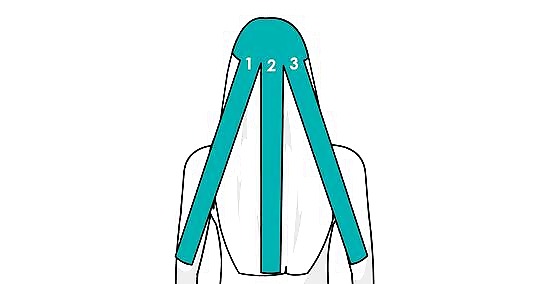
Divide the hair chunk into three even sections. Smooth each section that you divide so that it will be neat in your braid. Hold the right section with your right hand and the left strand section in your left hand. You can also use mini claw-clips to hold each section separate.
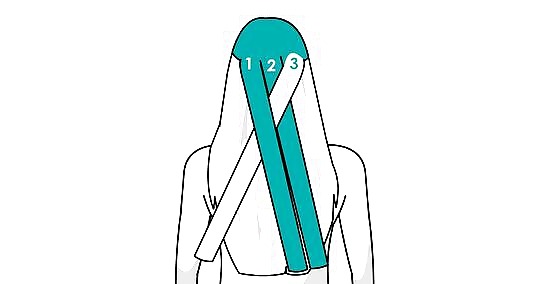
Start with a standard braid. Cross the right section over the middle section so that it becomes the middle section. Next, cross the left section over the new middle section. You do not need to standard-braid any further. If you want to do a Dutch or reverse French braid, cross the right/left sections under the middle sections instead of over. This will created a "lifted" look for your braid.
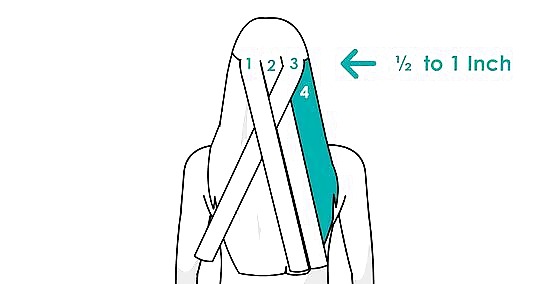
Add a small strand of hair to the right section. Gather a ½ to 1 inch (1.27 to 2.54 centimeters) wide strand of hair from your hairline. Add it to the right section. It is now part of the right section.
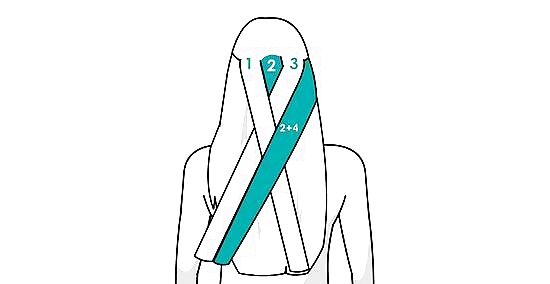
Cross the now-thicker right section over the middle section. The right section is now in the middle. What used to be the middle section is now on the outside. If you are doing a Dutch or reverse French braid, cross the right section under the middle section instead of over.
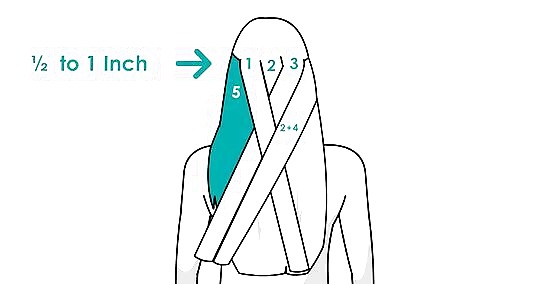
Add a small strand of hair to the left section. Gather a ½ to 1 inch (1.27 to 2.54 centimeters) wide strand of hair from your hairline. Add it to the left section. It is now part of the left section.
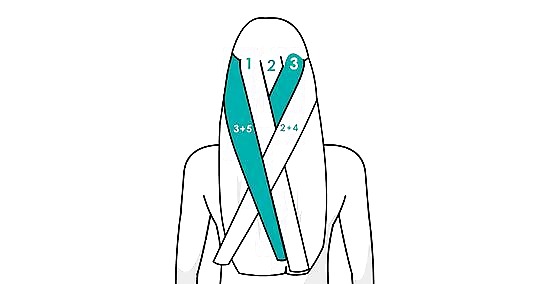
Cross the now-thicker left section over the new middle section. The left section is now in the middle. What used to be the middle section is now on the outside. If you are doing a Dutch or reverse French braid, cross the left section under the middle section instead of over.
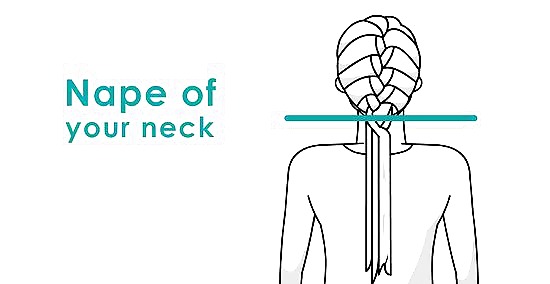
Continue French braiding your hair until you reach the nape of your neck. Keep adding thin strands of hair to the right and left sections before you cross them over/under to the middle. Try to smooth down each section just after you cross it over. This will give you a neater braid. Try to keep the braid as tight as possible at this point.
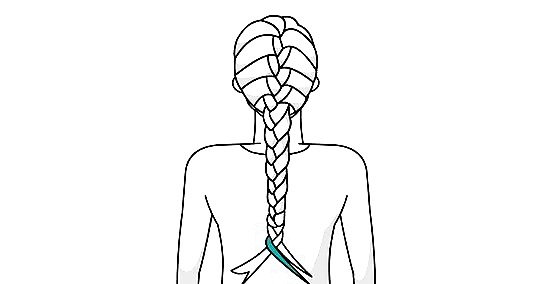
Decide how you want to finish off your braid. When you reach the nape of your hair, you can tie your French/Dutch braid off with a hair elastic, or continue braiding standard fashion. If you decide to continue braiding, keep the braid as tight as you can. You can muss it up later, after you have tied it off, to make it look looser.
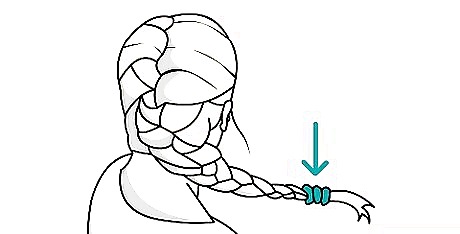
Tie your braid off with a hair tie. Whether you decide to end your braid at the nape of your neck, or at the last few inches/centimeters of your hair, you will need to tie it off. Choose a hair tie that closely matches your hair color, and wrap it around the end of your braid enough times so that it does not slide off.
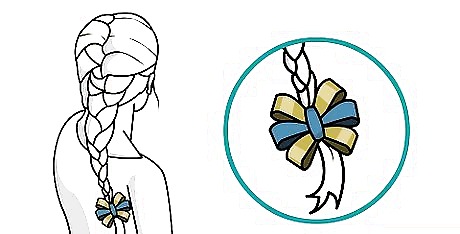
Consider tying a ribbon around the end of your braid after you tie it off. This will help hide the hair tie. You can also add a hairclip or silk flower instead. Here are some more ideas to get you started: Let the season inspire you. Tuck a silk hibiscus flower into your braid during the summer. Wear a hairclip made from leather in the fall. Let the holiday inspire you. If it is around Halloween, clip an orange and black bow to the end of your braid. If you want, you can even glue a plastic spider to the center of the bow. Match the decoration to your outfit. If you are wearing an elegant dark blue evening gown with silver embellishments, a delicate silver hairclip with clear/white crystals might look lovely. Match the decoration to the event. If you are attending a school rally or sports event, consider wearing a ribbon in your braid that matches your school or favorite team's colors.
Doing a Small Side Braid
Part your hair off to the side. The side part should be above one of your eyebrows. You will start braiding from this part towards the opposite temple. This side braid works great for shorter hairstyles.
Gather a small chunk of hair right next to the side part and your hairline. For a thin, head-band style braid, gather a 1 inch (2.54 centimeters) wide chunk. For a thicker, boho-style braid, gather a 2 inch (5.08 centimeters) wide chunk.
Divide the chunk into three even sections. Hold the two outside sections with one hand and the middle section with your other hand.
Begin with a standard braid. Take the section closest to your hairline and cross it over the middle section. Then, take the section closest to the part, and cross it over the new middle section. After these two crossovers, you are ready to start French braiding. You do not need to standard braid anymore. This method will give you a smooth, flat French braid. If you want a Dutch or reverse French braid, cross the outer sections under the middle sections instead of over.
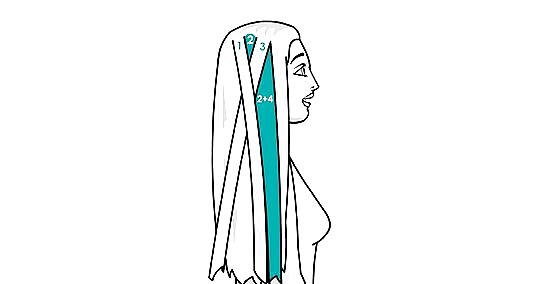
Add a thin strand of hair to the section closest to your hairline. Grab the strand from your hairline. It should be the same thickness, or thinner, than the section itself. Add the strand to the hairline section. Your hairline section is now thicker.
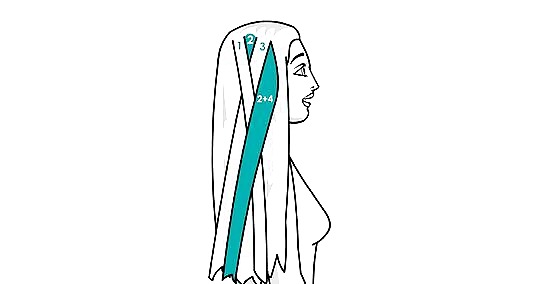
Cross the hairline section over the middle section. It is now the new middle section. If you are making a Dutch or reverse French braid, then cross the hairline section under the middle section instead.
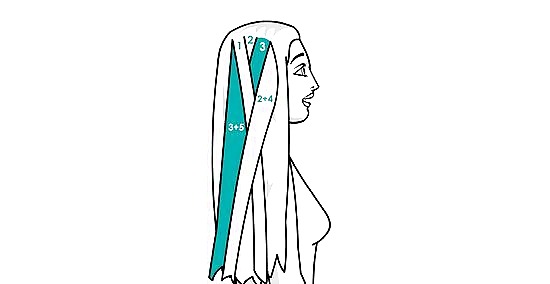
Add a thin strand of hair to the section closest to your side part. Grab the strand from the side part. It should be the same thickness, or thinner, than the section itself. Add the strand to the side part section. Your side part section is now thicker.
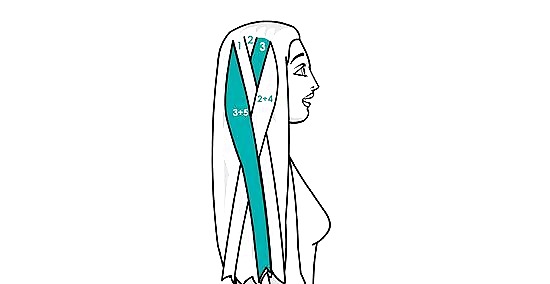
Cross the side part section over the new middle section. It is now the newest middle section. If you are making a Dutch or reverse French braid, then cross the side part section under the middle section instead.
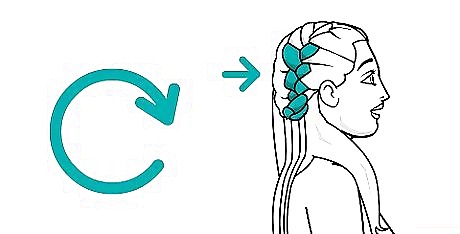
Continue adding strands and crossing over sections. Try to position the braid between your ear and side part. As you braid, try to keep the sections as tight as possible. Also, try to smooth the hairs down. This will give you a smoother, neater braid in the end. You can always muss it up later. If you are doing a Dutch or reverse French braid, remember to cross the outer sections under the middle sections instead of over.
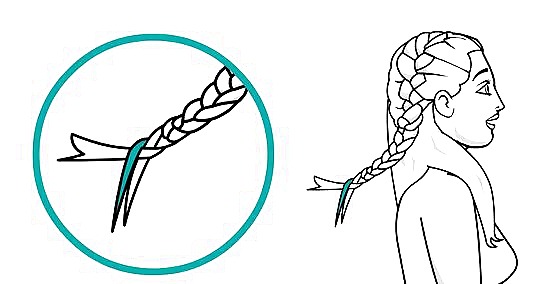
Consider how you want to end the braid. If you are working with a thin, delicate braid, you can end it just above your ear, finish it off as a standard braid, and then tie it off with a clear hair elastic. If you are working with a thicker, boho-style braid, you can continue French braiding it so that it wraps around your head. Read on to find out how to do that.
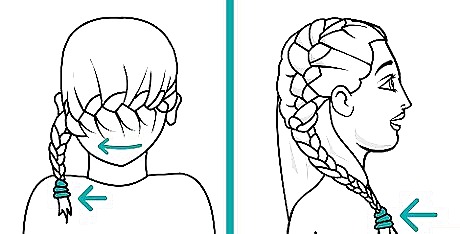
Stop braiding when you are 1 inch (2.54 centimeters) away from the nape of your neck. Start French braiding horizontally across the back of your head instead, until you reach the other side of your neck. At this point, you can tie the hair off with a hair tie. You can also continue braiding it standard fashion, and tie it off when you are 1 to 2 inches (2.54 to 5.08 centimeters) away from the ends.
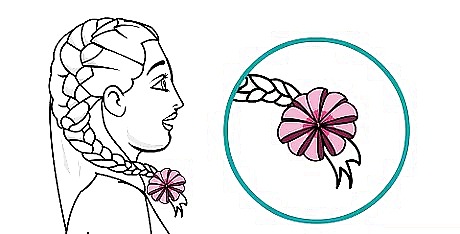
Consider adding a decorations to the end of your braid after you tie it off. Not only will this help hide the hair tie, but it can help make your braid look more interesting. Here are some ideas to get you started: Add a silk flower to your braid for a boho look. The bigger the flower, the better. Consider twisting the rest of the braid into a bun and securing it with bobby pins. You can then tuck an ornate hair comb into the bun. If you did a mini side braid, consider tying the end off with some leather lace and leaving the rest of your hair loose for a boho or elvish look.


Comments
0 comment