views
Checking the Dimmer Switch

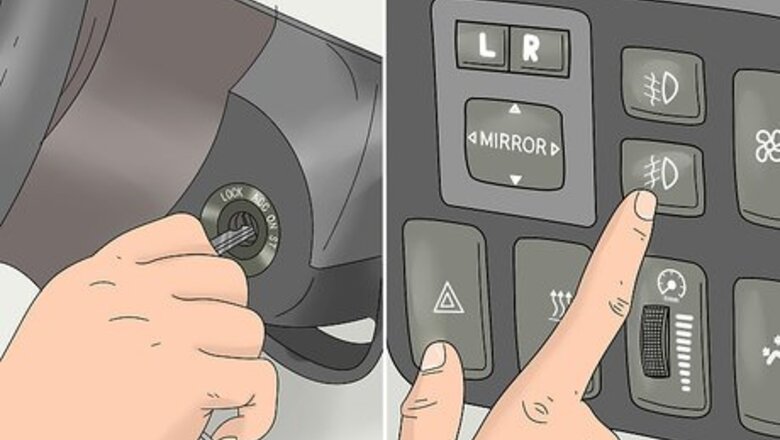
Turn your vehicle and headlights on. You don’t need to start your car, but you do need power running to the lights. Put the key in the ignition and turn it to the “on” or “accessory” position. Then, turn on your headlights.

Locate the dimmer switch for your lights. Most vehicles have a dashboard light control switch that will dim the dashboard lights as well as turn them off. Find the control switch, dial, or knob, which is generally located on the console near the steering column or may be part of the headlight switch. If you are having trouble locating the dashboard light control switch, refer to the owner's manual for further assistance.
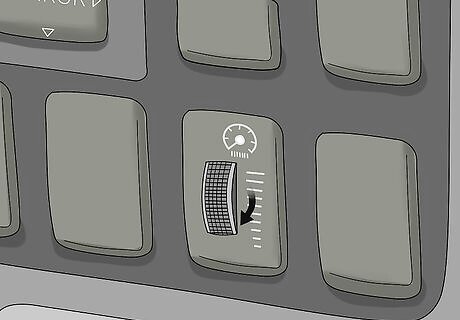
Adjust the dial or knob to see if that fixes the problem. If the switch was accidentally bumped, your dashboard lights might have been turned off. Flip the switch or turn the dial or knob up and see if the lights on your dash come on or get brighter. If adjusting the switch doesn’t work, you may have a blown fuse or bad lightbulb. Or, the entire switch may be faulty, in which case, have it replaced by a certified mechanic. Turn off your headlights and vehicle when you’re done.
Fixing a Blown Fuse
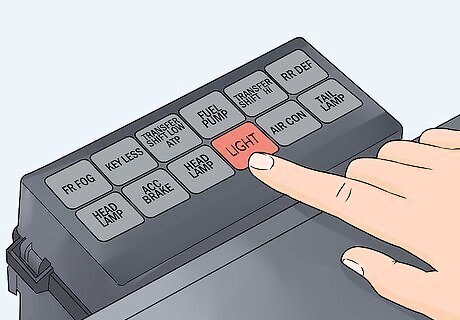
Find the fuse that powers your dashboard lights. The location of the fuse box can vary between vehicles and some have more than one fuse box. Check under the hood, under the dashboard, or near or in the glove compartment. Once you find the fuse box or boxes, remove the lid and check the diagram on the underside of the lid for a fuse labeled "dash lights" or just “lights.” Refer to your owner’s manual if you have trouble locating the fuse boxes or the dashboard light fuse. If you have more than one fuse labeled “lights,” you’ll need to check them all.
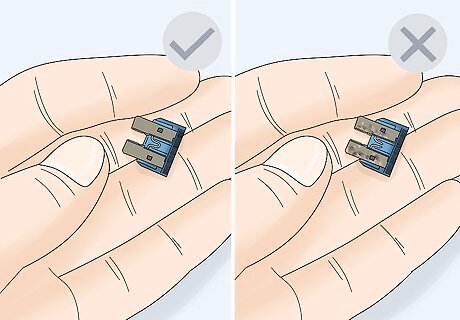
Inspect the fuse to see if it’s bad. Use a fuse puller to remove the fuse that powers the dashboard lights. Look at the metal strip, or filament, to see if it’s broken and check for blackening on the fuse—either of these indicates the fuse is blown. If the fuse looks good, test it with a multimeter to ensure it’s working properly. If you don’t have a fuse puller, you can use a pair of needle-nose pliers to remove the fuse. Make sure your vehicle is off and the key is out of the ignition before pulling any fuses!
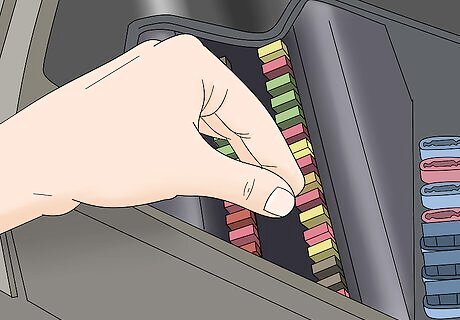
Replace the fuse if necessary and test your dashboard lights. Take the blown fuse to the auto parts store and select a replacement of the same type and amperage rating. This information is printed on the fuse itself, and fuses are also numbered and color-coded to make this easier. When you return home, press the replacement fuse into the correct fuse slot until you hear it click. Replace the fuse box cover, then turn on your vehicle and headlights to see if the dashboard lights are working. Note that using a fuse with a different amperage could create an electrical hazard.
Replacing the Dash Lightbulbs

Disconnect the vehicle’s battery first. Whenever you’re working on the electrical components in your vehicle, it’s essential to disconnect the battery to prevent electrical shocks or shorts. Turn off your vehicle and remove the key from the ignition if you haven’t already done so. Then, use a wrench to disconnect the negative terminal before disconnecting the positive terminal.
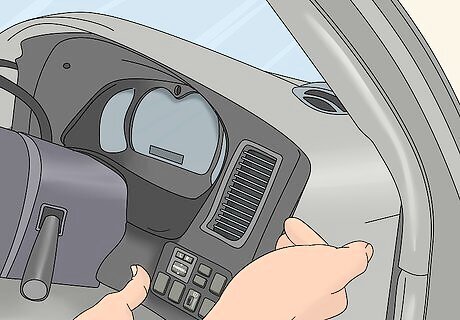
Remove the dashboard trim. The process for removing the trim varies between vehicles. Refer to your factory manual or search for a diagram for your specific make and model online. Generally, you can begin by removing the lowest trim panel and working your way up. Use a screwdriver to remove the screws holding each piece of trim in place, then pull the trim away from the dash. On some vehicles, you may have to remove the radio to access the trim. Be sure to keep track of all the screws and set them aside in a safe place so you can replace them when you’re done.
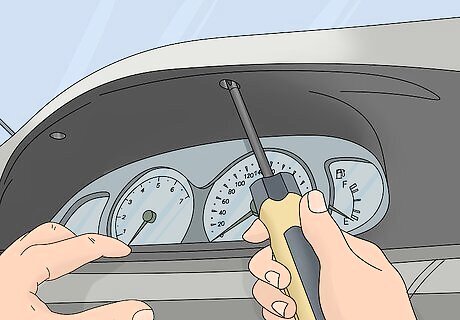
Pry off the instrument cluster faceplate. The faceplate covers your vehicle's dashboard gauge panel. Remove the screws holding the plate on, then carefully pry up the faceplate using a nylon pry tool or butter knife wrapped in electrical tape. Disconnect the switches, controls, and cables on the back of the faceplate by pressing in the release tabs, then lift the faceplate out of the dash. The faceplate is secured with spring-clip fasteners, which should disengage fairly easily. Avoid using a screwdriver to pry up the faceplate, as it can easily mark or damage the dash.
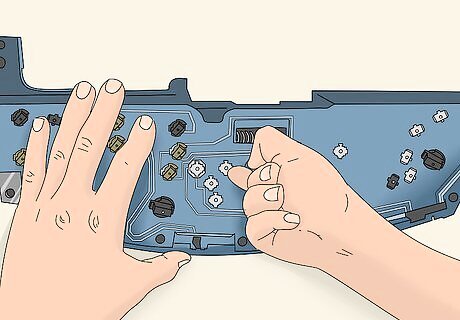
Remove the lightbulbs on the back of the instrument panel. Carefully twist each bulb counterclockwise and pull it out of the socket. To prevent breaking the glass, be careful not to turn or pull the bulb too hard. Use a small screwdriver to pry out the bulbs if you aren’t able to remove them by hand. Older vehicles have standard bulbs, but newer vehicles use LEDs to light the dash. Unfortunately, if your vehicle has LED bulbs, you won’t be able to replace them yourself. Take your vehicle to a repair shop to get the entire instrument panel replaced.

Replace the lightbulbs with ones that match them exactly. Pick up some replacement bulbs at your local auto parts store, making sure that they match the electrical rating and size of the old bulbs. Avoid touching the new bulbs with your hands as the oil can damage them. Wear gloves or cover your fingers with a rag and twist the new bulbs into place. It’s best to replace all of the lightbulbs at one time, even if some of them are working properly. This can prevent you from having to tear apart the dash again in the future if another bulb goes out.
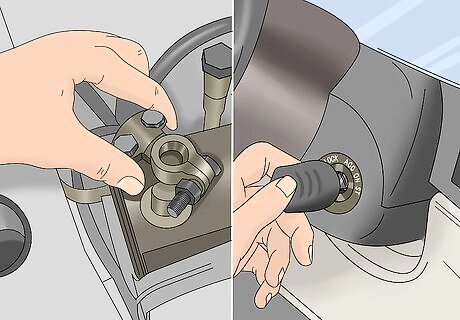
Replace the faceplate and trim and reconnect the battery. Simply reverse the order of the steps you took to remove these components. Replace the faceplate and reattach the trim. Then reconnect the positive battery terminal before reconnecting the negative battery terminal. When you’re done, start your vehicle, turn on the headlights, and see if your dashboard lights come on. If they don’t, head over to a repair shop to have a certified mechanic diagnose and fix the problem.




Comments
0 comment