views
Repairing a Snapped String
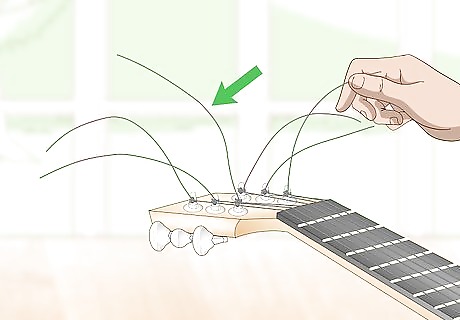
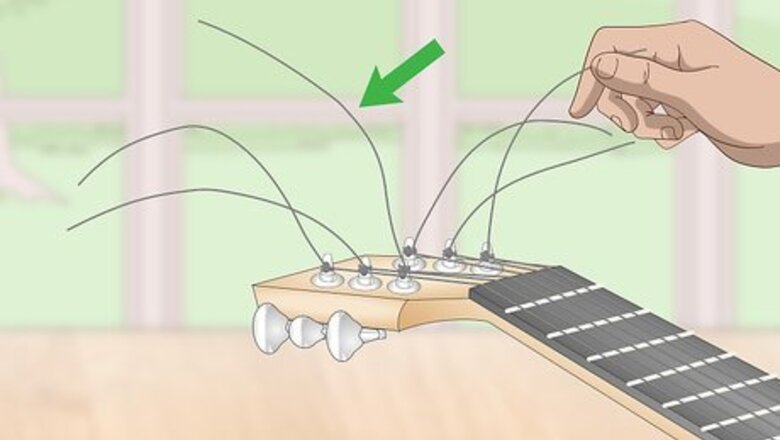
Leave the long tails when you string your guitar. To take advantage of this particular trick, you need plenty of string leftover at the machine head of your guitar. Instead of snipping it off when you're done bringing the string to tension, leave the tails at the top. This gives you plenty of string to play with if it breaks. Take a coin and roll it along the string to curl the tails, similar to the way you would curl a ribbon. That way you don't risk getting poked by the sharp string ends.
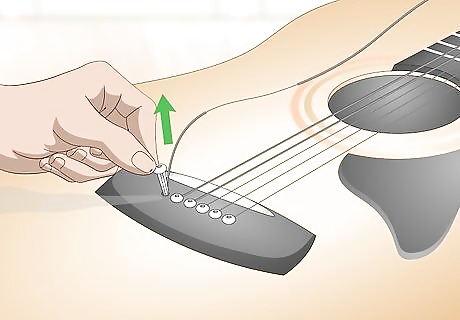
Pull out the bridge pin to free the end of the broken string. When you have a break, simply pop out the bridge string to release the loose end of your broken string. Take care to set the bridge pin somewhere that you won't lose it, particularly if you're in a situation with low light. If there's nowhere clean or safe to hold the pin and you don't have any pockets, hold it between your lips – but take care not to bite it.
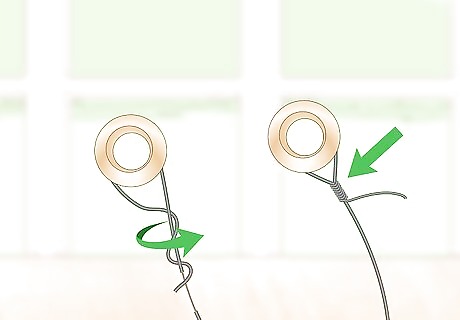
Unwind the broken string and twist it back through the ball end. Pull the end of the string out a little bit, then stick it through the ball end. Twist the string around itself just a few times to secure it. The ball end portion of the string and the broken end of the string should now be attached together. You don't need to twist the string more than 3 or 4 times, just enough to make sure they stay attached.Tip: This method could work for nearly any break in the lower part of the string, depending on the length of the tail you left at the top.
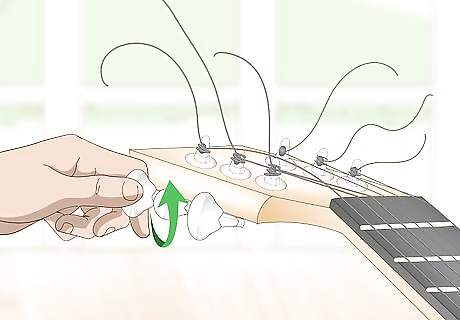
Unwind the string from the tuning post. Once you've attached the end, loosen the top end of the string so you've got some slack to play with when you put the broken end back into the peg hole. It can help to note how much of the string you twisted around the ball end, so you know how much slack you need. However, if you have plenty of string at the top of your guitar, you shouldn't have any problems.
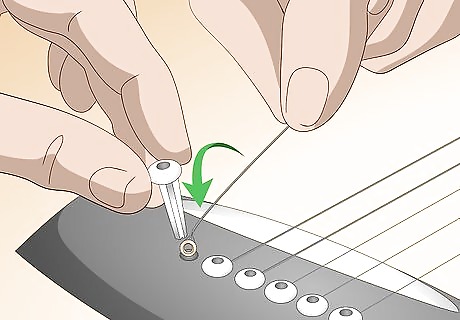
Put the broken end back into the peg hole and pull the string back up. Insert the "new" ball end of the string into the peg hole and snap the bridge pin back into place. Line the string up on the bridge, and run it back up through the tuning post. If the bridge pin doesn't snap into place immediately, place your thumb on it to keep it from popping out until you run the string back up through the tuning post. It should snap into place when you bring the string back to the correct tension.
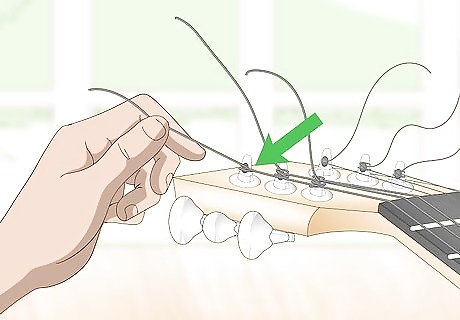
Bring the string back up to tune. Slip the string back through the tuning post and turn the key until the string is back to the correct tension. If you're in the middle of a song, you likely won't get it back to the perfect tone, but you can get it close enough. If you still have a longer string tail at the machine head of your guitar, curl the end under when you have a chance.
Replacing the String
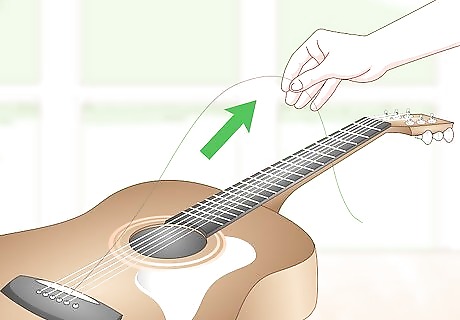
Take off the broken string. Carefully remove both ends of the broken string. You'll likely have to pull out the bridge pin to free the lower end. Unwind the top end of the string from the tuning post. Yanking it out could damage the post. Coil the pieces of the broken string before disposing of them, so the sharp ends aren't exposed. They could tear a garbage bag or poke someone.
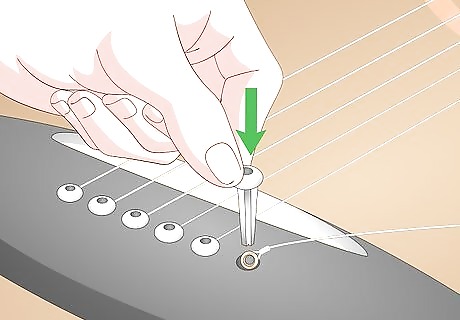
Insert the ball end of the string into the peg hole and replace the pin. Take the ball end of the new string and slip it into the peg hole to a depth of about 1 inch (2.5 cm). Then drop the bridge pin back into the hole and press it with your thumb until it snaps into place. Tug on the string a little to make sure the bridge pin is set.
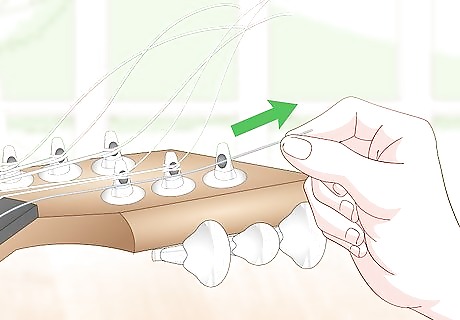
Pull the end of the new string through the tuning post. Uncoil the string and run it through the slot in the bridge and up the fretboard. Insert the end into the tuning post and pull about 2 inches (5.1 cm) of string through the post. You should be able to pull the string about 5 inches (13 cm) away from your guitar before winding.
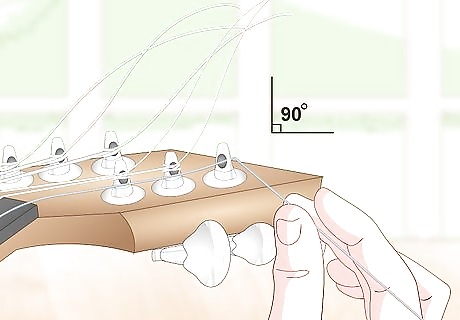
Bend the string 90 degrees and wind the tuning peg. Bend the portion of the string that you pulled through the tuning post away from the rest of the string so it won't get tangled as you wind it up. Turn the peg counterclockwise to wind the string. Watch the string winding over the post as you turn the tuning peg. Go slow so that the string winds neatly and doesn't cross itself. An overlapping wind could cause the string to fall out of tune more frequently.Tip: You can use a peg winder, which will wind the string more quickly. However, be careful not to wind the string too tightly and break the string.
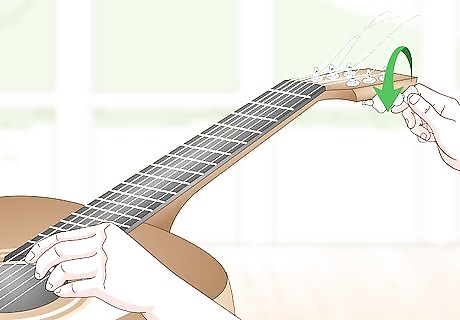
Tune the string to get it back to correct tension. Once you've wound the string to the point that it makes a clean sound when plucked, stop winding and use an electronic tuner or other method to get the string to produce the right tone. After changing a string, you'll likely need to tune your other strings as well. They may have lost tension when you removed the broken string.
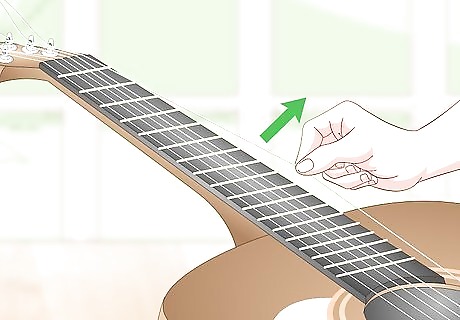
Stretch the string and retune it. Carefully pull the string away from the guitar, running your fingers down the length of the string and then back up again. Stretching the string will help the string stay in tune. After you stretch the string, you'll need to retune it. You may want to go through the process again. Expert Answer Q How do you fix a loose string on a guitar? Carlos Alonzo Rivera, MA Carlos Alonzo Rivera, MA Professional Guitarist Carlos Alonzo Rivera is a guitarist, composer, and educator based in San Francisco, California. He holds a Bachelor of Arts degree in Music from California State University, Chico, as well as a Master of Music degree in Classical Guitar Performance from the San Francisco Conservatory of Music. Carlos specializes in the following genres: classical, jazz. rock, metal and blues. Carlos Alonzo Rivera, MA EXPERT ADVICE Answer from Carlos Alonzo Rivera, MA: The easiest solution is to adjust the tuning peg at the headstock. If the string is just not secure, you can remove peg on the bridge and pull the string through so that it's tight and secure.
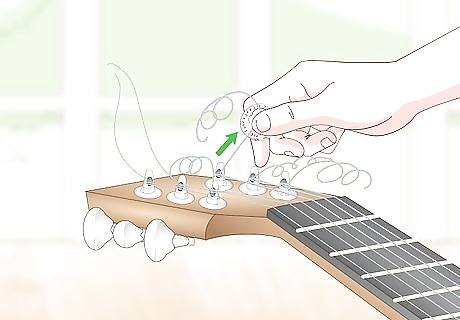
Use a coin to curl the leftover string at the head. If you want to leave enough string at the top so that you can temporarily repair the string if it snaps, curl the leftover tail of string rather than snipping it off. Otherwise, the sharp ends can be dangerous. If you don't want to leave the ends on, you can trim them off with wire cutters.
Preventing Strings from Snapping
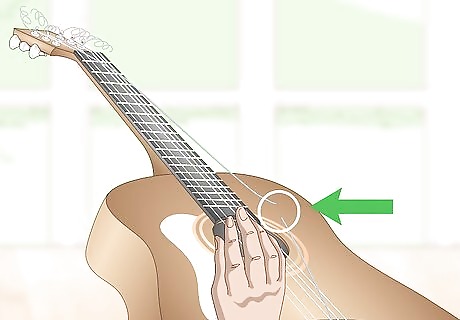
Determine where your strings most frequently snap. Strings typically break either because they're worn down from overuse or from prolonged contact with a sharp edge on your guitar. If your strings typically break in the same place, inspect your guitar in that area to see if there are any sharp edges. You can typically sand down a sharp edge on your own, without having to take your guitar to a repair shop. However, if you lack confidence making this kind of repair on your own, you're probably better off letting an expert take care of it.Tip: In some cases, you may be able to use the old string itself to smooth down a sharp edge. An old string can be especially effective for a sharp bridge – just rub it back and forth in the groove.
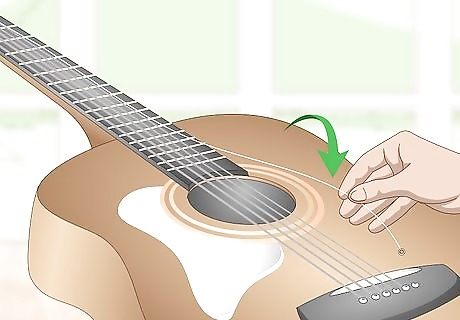
Switch out strings for alternate tunings. If you tuned your guitar to an alternate tuning, your strings may be at a higher tension than they are designed to hold for an extended period of time. If you find your strings snap more frequently when you're in an alternate tuning, you may want to invest in strings specifically designed for that tuning. For example, most string manufacturers make strings specifically designed for Nashville tuning. The string package will indicate which tunings the strings are appropriate for. You can also ask a staff member at a music store to help you find the best strings for the tuning you want to use.
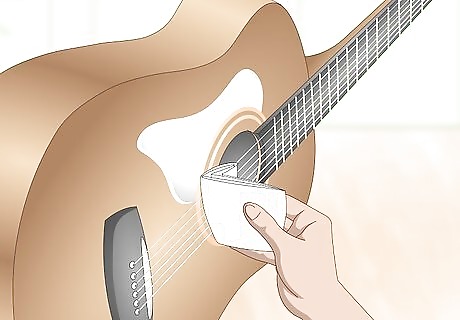
Clean your strings after playing your guitar. When you play your guitar, the oils and grime from your fingers are transferred to the strings. To clean your strings, simply wipe a clean rag or old t-shirt up and down your strings every time you finish playing. Over time, this dirt can corrode strings, causing them to snap. This is your likely culprit if your strings break where you play frequently, and sharp frets aren't the issue.
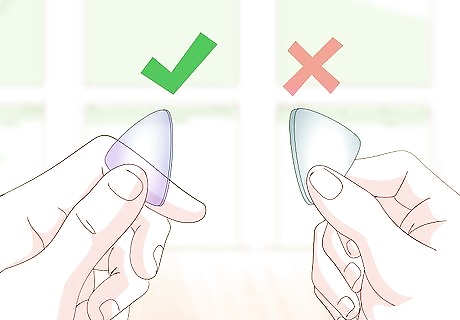
Try playing with a lighter pick. A heavier guitar pick puts more force on your strings, causing more wear. If your strings frequently break around the sound hole, or where you normally strum, you may be playing with a pick that's too thick for your strings. A staff member at your local music store can help you match your guitar pick to your strings. You want something with enough weight to strum effectively and produce the sound you want, but not so much that it causes excessive wear to your strings.
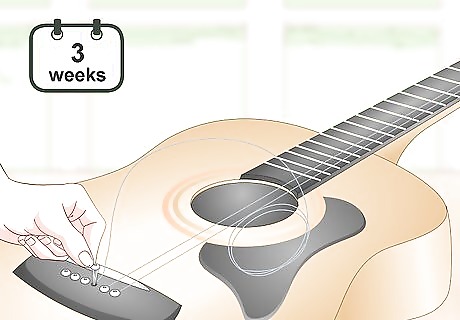
Change your strings at least once every 3 weeks. If you play on a regular basis, at least 3 times a week for more than an hour each time, your strings will start to show signs of wear after 3 weeks and may break more frequently. Thinner strings tend to wear down more quickly, so you may find you need to change them more frequently.
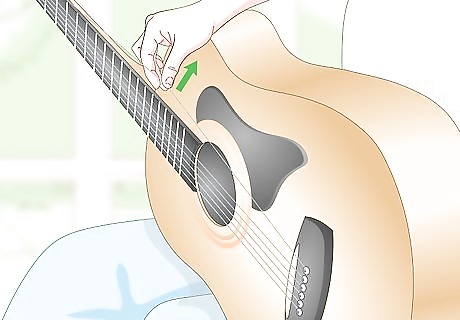
Stretch new strings before playing. Whenever you change your strings, make sure you stretch them. Pull them out gently from the guitar, going from the top to the bottom, then retune. Stretching helps new strings hold tune and also prevent them from snapping too easily. Repeat the stretching process several times before you start playing your guitar. Ideally, you should stretch them until you are able to tug at the stings without them going out of tune.




Comments
0 comment