views
Repairing Dents with a Plunger
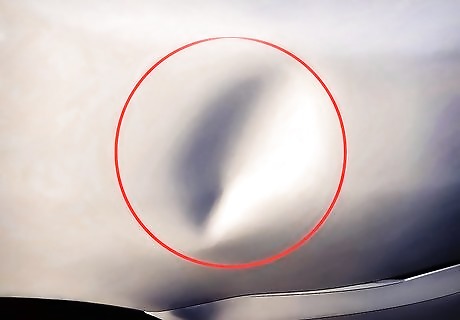
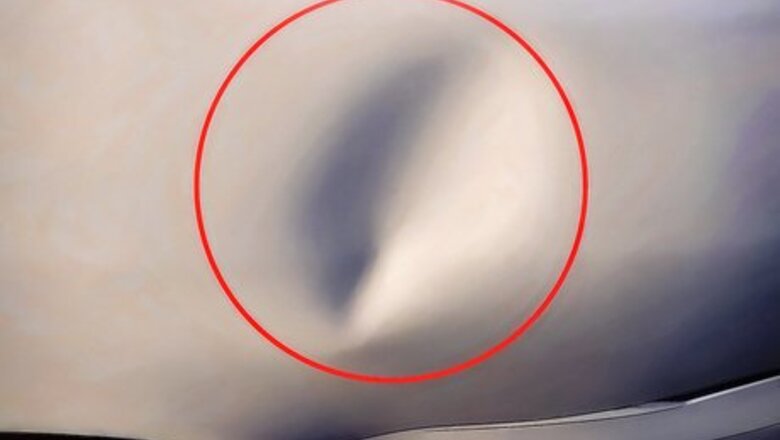
Assess the size and location of the dent. Using a plunger to remove a dent works best on large, shallow dents in flat components of the body like the door or hood. Whether you use a toilet plunger or an automotive one designed for dent pulling, no plunger can remove creases from steel, they can only pop dents back out. If the dent is smaller than a quarter, a plunger likely will not resolve it. The flatter the body panel, the better the plunger method will work.
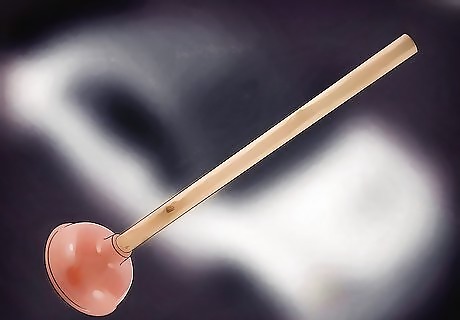
Purchase a clean plunger. You can actually use a toilet plunger with a similar level of effectiveness for this method as you can a dent removing plunger purchased from an auto parts store. Plungers designed for dent removal may have a higher success rate with more difficult dents. Use a clean plunger to avoid getting any kind of debris on the paint of your vehicle. Automotive plungers are often quite a bit more expensive than toilet plungers.
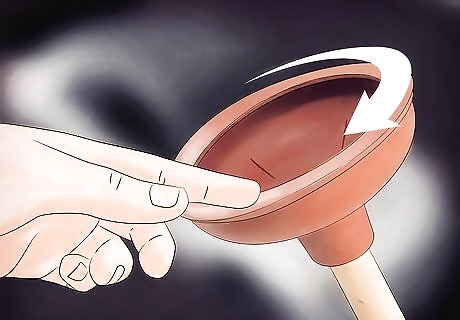
Moisten the rubber edge on the plunger. Use a bit of water and a rag to moisten the suction surface of the plunger. This will allow it to create a seal against the vehicle, which will enable you to pull up on the plunger to suck the metal back into shape. Make sure to use clean, plain water to avoid damaging the paint.
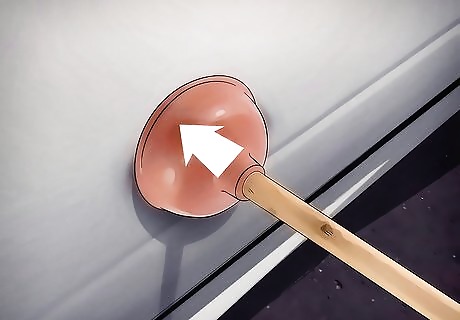
Position the plunger over the dent and press into the vehicle. If the dent is larger than the circumference of the plunger, start on the edges of the dent. If it is smaller than the plunger, place the plunger directly over the dent. Press the plunger into the vehicle. You may need to repeat the process from multiple angles on larger dents. When placing the plunger along the side of the dent, ensure the plunger is over both the dented and undented area.
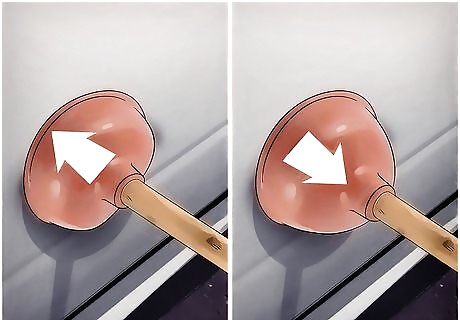
Pull out on the plunger repeatedly. Pull backward on the plunger in short, jerking motions just as you might when plunging a toilet. The plunger may pop off before the dent is removed, so prepare yourself to re-moisten the plunger and start again. It may take multiple tries to suck a dent back out of the metal. Short, quick motions will yield the best results when sucking dents out of steel.
Popping Out Dents with Dry Ice
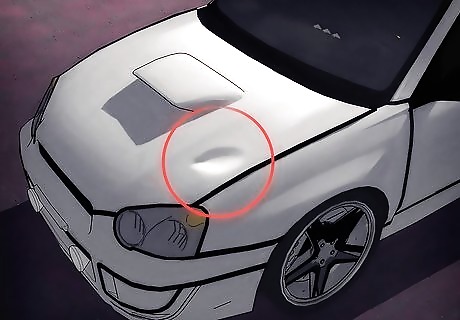
Assess the angle of the dent. Dry ice needs to be applied to the dent for a short time in order to effectively remove it, so it may work best on horizontal surfaces such as the hood, roof or trunk lid of the vehicle. If the dent is on the side, you will need to hold the dry ice in place with tongs. You can purchase dry ice at many large retail stores or at office supply stores. Dry ice works best on medium sized dents and may be less effective on large ones.
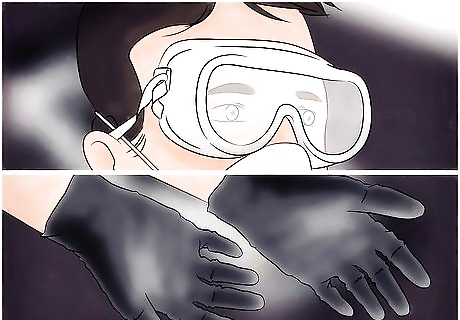
Put on safety glasses and gloves. Always wear safety glasses and heavy duty gloves when handling dry ice. Because of the extreme temperatures involved, coming into contact with dry ice on bare skin could seriously hurt you. Large rubber gloves and goggle style glasses are required for this project. Do not open the dry ice package until you have adequate safety gear in place.
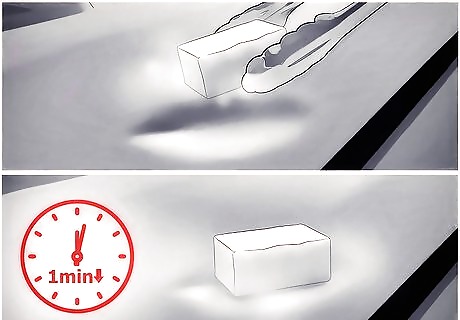
Use tongs to place a bit of dry ice on the dent. Use a pair of long metal tongs to remove a chunk of dry ice and apply it directly to the dent. If the dent is on a horizontal surface, you may place the dry ice on it, otherwise you will need to hold it there. Allow the dry ice to contact the metal for thirty seconds to a minute before removing it again. Be sure that if you are going to hold the dry ice in place that you use tongs and wear gloves to prevent ice burns. Do not leave the dry ice on the paint for longer than a minute or it may damage it.
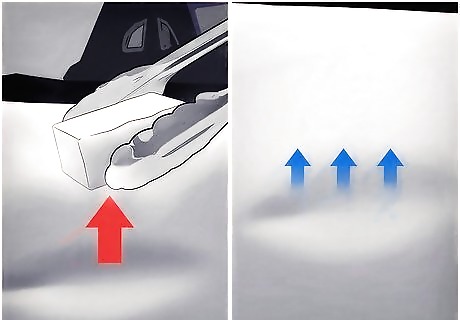
Allow the dent to interact with the ambient air. After you remove the dry ice from the metal, the warmth from the ambient air will interact with the extreme cold created by the ice. This interaction will cause the metal to shift and pop out the dent. The intense cold will cause the metal to retract then expand again as it warms. This shift in temperature may pop the dent out.
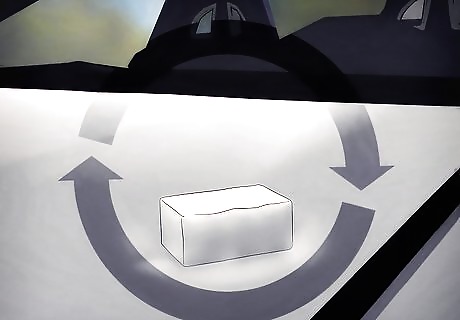
Repeat the process as necessary. Depending on the size and severity of the dent, you may need to apply the dry ice and allow it to warm again multiple times to remove the dent entirely. Repeat the process until the dent is gone. Allow the metal to reach normal temperature again before re-applying dry ice. Pay attention to the clear coat on the metal. If it begins to crack, stop applying dry ice immediately.
Pressing Out Dents from Behind
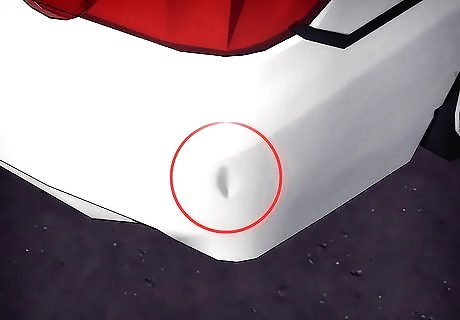
Assess the location of the dent. Some dents are best accessed from behind. This is especially true for dents with very small diameters that are difficult to remove with other methods. Determine if the dent you intend to remove is located somewhere you can access by removing components of the body. You will likely need to remove body components to access a dent from behind. Determine if you can gain access to the dent based on the tools you have on hand and your level of expertise in removing and replacing body panels.
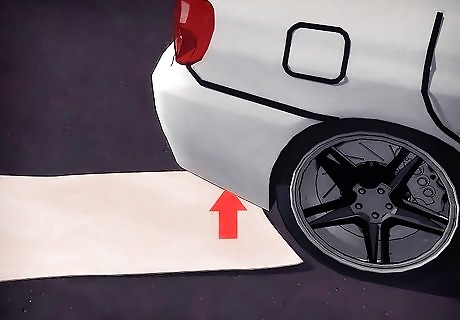
Remove body components as necessary. Once you have identified what components of the body you will need to remove to gain access to the dent, lay down blankets on the ground for any painted pieces you will need to remove. You may also need to replace mud guards from the bottom of the vehicle, tail or headlights or the wheels. Be careful not to lose any of the hardware used to fasten the body components to the vehicle that you remove. Never lay painted components down on blacktop without a blanket or something to protect the paint.
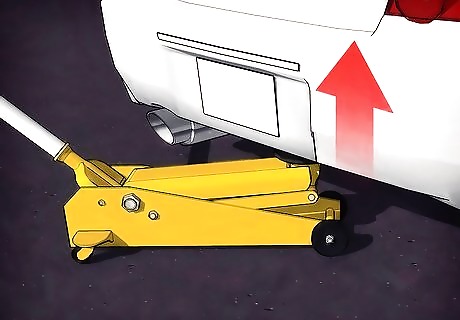
Locate the backside of the dent. Once you are able to access the back side of the dent, jack up the car if need be and find the dent from the inside. You may need a flashlight in order to see the inside of the dent. Locate the dent and position yourself so you can reach it. You may need to try multiple positions in order to apply the leverage you need to the dent.
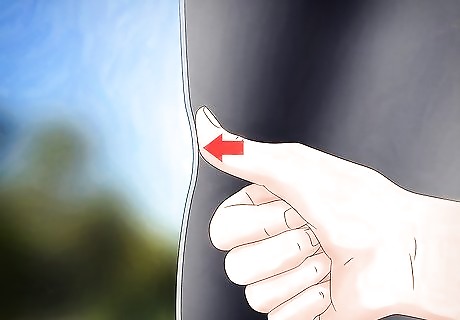
Apply pressure to the back of the dent. For larger dents, you may be able to apply pressure to the inside with your hands to pop the dent back out. Dents with smaller diameters may require that you press into them with a harder surface such as the handle to a hammer. Attempt to press the dent back out before resorting to using a mallet. There is less chance of damaging the metal by applying pressure than there is in striking at it with a mallet.
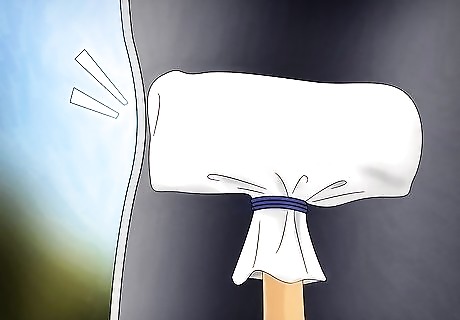
Use a wooden mallet covered in a cloth to bang on the dent. Wrap a cloth around the head of a wood mallet to soften the striking surface, then hit the inside of the dent with the mallet. You may need to hit the dent repeatedly in order to knock it back out. Be careful not to bang on the interior metal from an angle or the side of the mallet may create small creases in the metal. Do not continue to hammer on the metal after the dent pops out or you could cause the metal to bow outward slightly.
Using Glue Dent Pullers
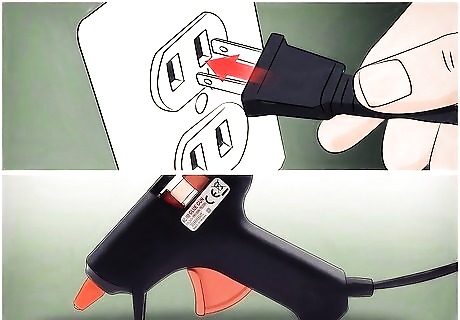
Plug the glue gun in. Glue based dent pullers use traditional glue guns to heat the glue before applying it to the vehicle. You will need to plug the gun in a few minutes before you start in order to heat the gun up enough to melt the glue. Be sure to use an extension cord that can reach the vehicle for the glue gun. You will need to re-wax the vehicle after using this method.
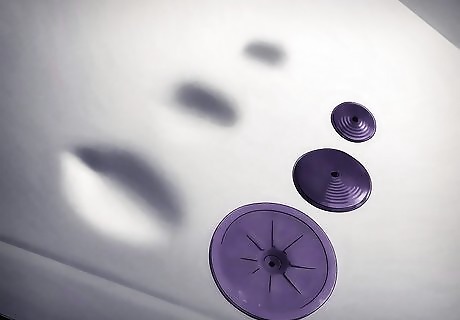
Choose the pulling tab best suited for the dent. Using a glue based dent remover kit purchased from an auto parts store, choose the tab that best fits the dent you are trying to pull. Usually, you want to use a tab that fits entirely within the dent so it pulls directly from the center point. Follow the directions in your dent pulling kit so help you determine which tab is right for your application.
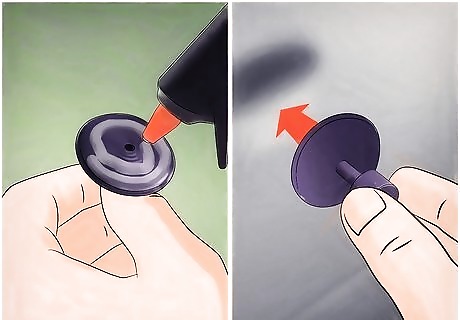
Apply glue to the tab, then place the tab in the center of the dent. Apply a dab of hot glue to the tab of your choice, then quickly place the tab, glue side down, in the center of the dent. Hold the tab in place for a moment to allow the glue to set. It’s okay if some of the glue squeezes out the sides of the tab when you apply it. Hold the tab in place until the glue dries enough to hold itself up.
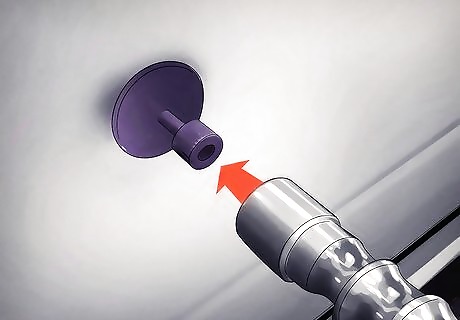
Attach the pulling mechanism to the tab. Slide the pulling mechanism bracket over the tab with the two posts on either side of the dent. If the kit came with multiple brackets, ensure you use one that is longer than the diameter of the dent so the posts are at least a half inch from the start of the dent on either side. The posts need to be outside the dent in order to pull the dent out. If the bracket is not wider than the dent, this method will not work for you.
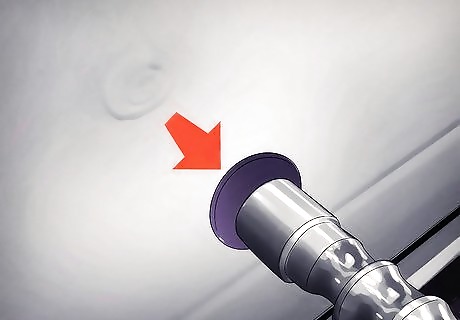
Turn the knob until the dent pops out. Place the knob on the end of the tab that’s glued to the center of the dent. Turn the knob clockwise to tighten it, drawing the glued tab toward the bracket and pulling the metal with it. Continue to turn the knob until the dent pops out. The glue may give way as you turn the knob. If this occurs, remove the old glue and begin the process again. You may need to repeat this method on more than one spot to remove the entire dent.
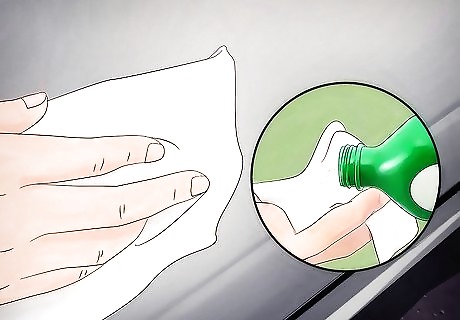
Remove the glue with isopropyl alcohol. Peel any loose glue off with your fingers, then use rubbing alcohol to help remove any glue or residue remaining. This will likely remove the wax, and possibly even the clear coat from your paint, so be sure to apply a fresh coat of wax as soon as possible. The glue and the alcohol are both harsh on paint, so be sure to wash and wax the vehicle after using them.





Comments
0 comment