views
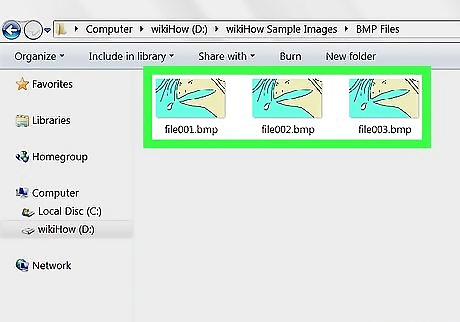
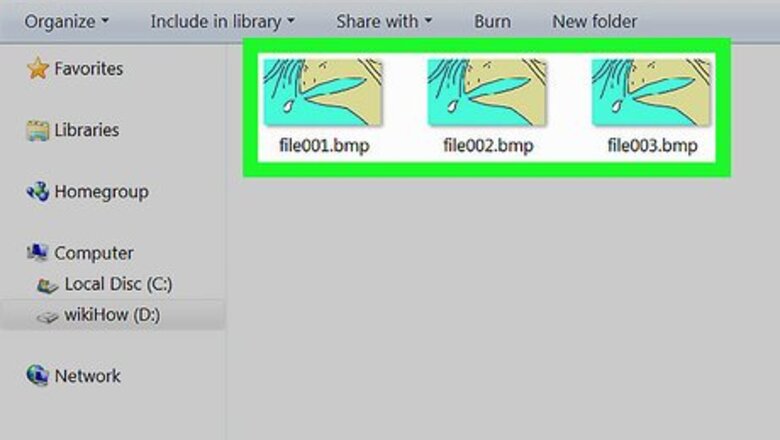
Format the file names of the images in the sequence. Each file’s name must contain the same number of digits at the end, as well as the correct file extension. Example: file001.bmp, file002.bmp, file003.bmp. Example: joe123.tiff, joe124.tiff, joe125.tiff.

Open Adobe Premiere. It’s the purple and blue icon that says ″Pr″ inside. You’ll find it in the Applications folder (macOS) or in the All Apps area of the Start menu (Windows).
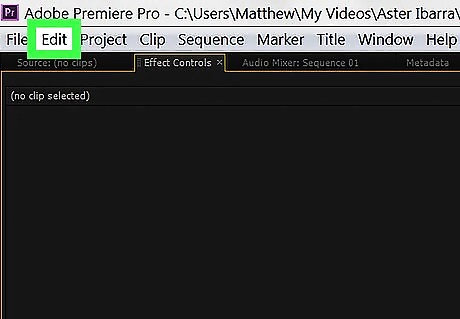
Click the Edit menu (Windows) or Premiere Pro menu (macOS). It's in the menu bar at the top of the screen.
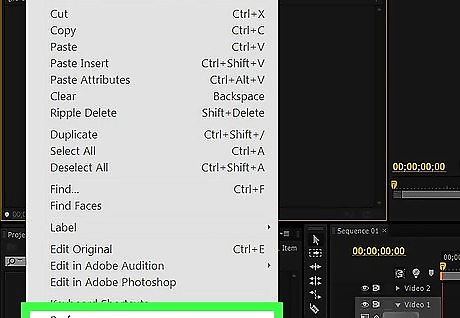
Click Preferences.
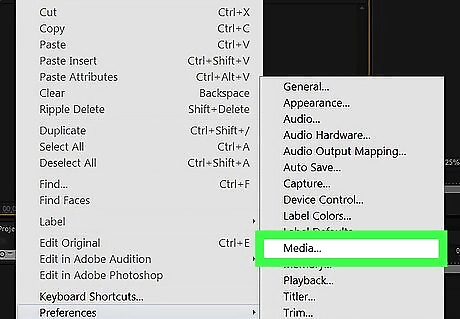
Click Media.
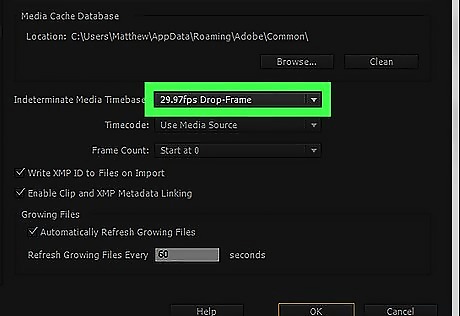
Select a frame rate from the ″Indeterminate Media Timebase″ menu. It’s at the top of the window. The value you select determines the number of frames-per-second in your sequence.
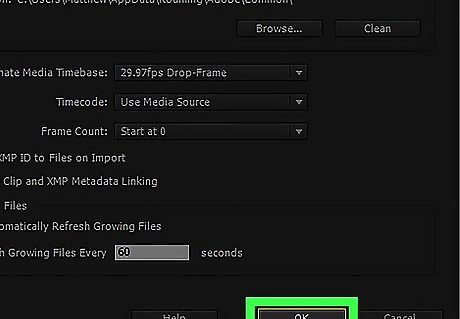
Click OK.
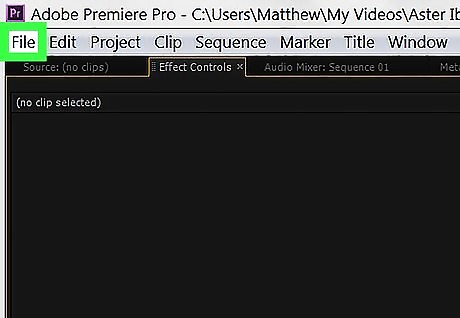
Click the File menu. It’s at the top of the screen.
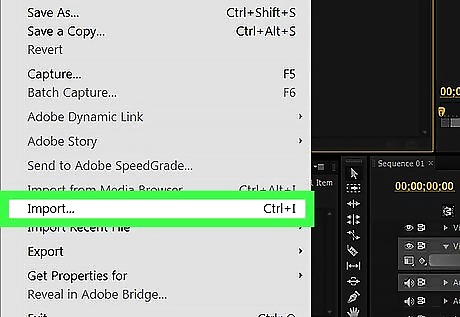
Click Import.
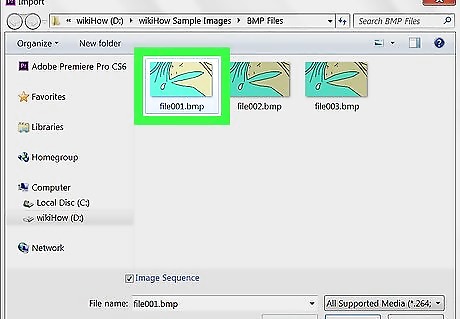
Select the first image in the sequence. This should be the image with a file name that ends in the lowest number. For example, if your sequence consists of file001.bmp through file110.bmp, click file001.bmp.
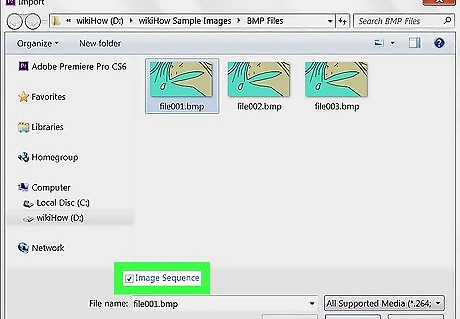
Click Image Sequence.
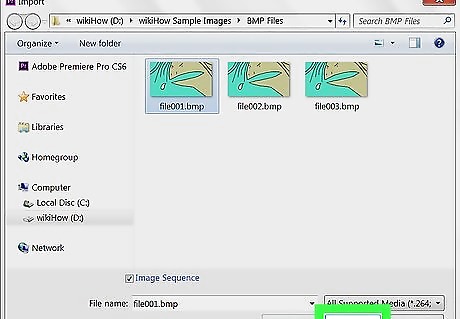
Click Import (macOS) or Open (Windows). Premiere will now import your images in order.


Comments
0 comment